


DIY Fall Centerpiece Box
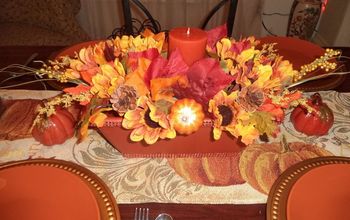
It is officially fall ya’ll!! Can you believe it? This month has FLOWN! And I have like zero fall decoration in my house. Seriously. I admit that I am an awful seasonal decorator. Honestly, it’s hard enough for me to decorate for “all year”…let’s not even try the whole “change it up for every season and holiday” thing. Luckily, my sister is good at that kind of thing so I will show you her new fall dining table centerpiece…and a DIY tutorial to make the box.
For this project you need:
1×6 board (if you want 28 1/2″ long box or less, 8ft is enough)
Nail gun and compressor (unless your gun is electric obviously)
Miter or chop saw
Stain
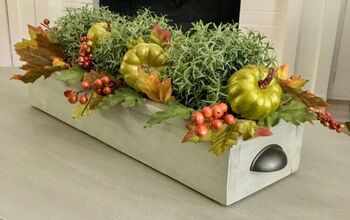
That’s it! This is so simple, you guys. By the way, you can use 1x4s instead of 1x6s for a shorter and narrower box.
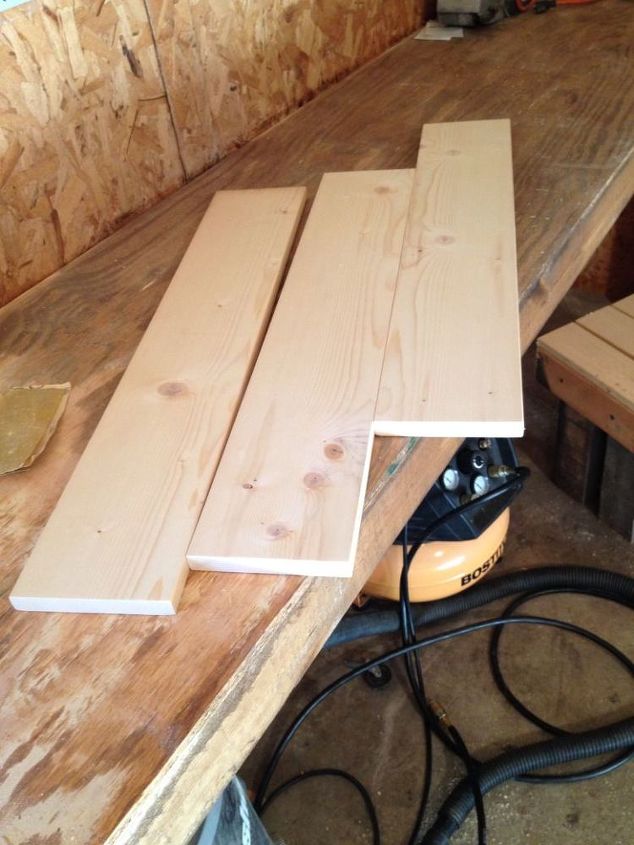
First, measure and cut three boards the length you want your box.
For this project you need:
1×6 board (if you want 28 1/2″ long box or less, 8ft is enough)
Nail gun and compressor (unless your gun is electric obviously)
Miter or chop saw
Stain
That’s it! This is so simple, you guys. By the way, you can use 1x4s instead of 1x6s for a shorter and narrower box.
First, measure and cut three boards the length you want your box.
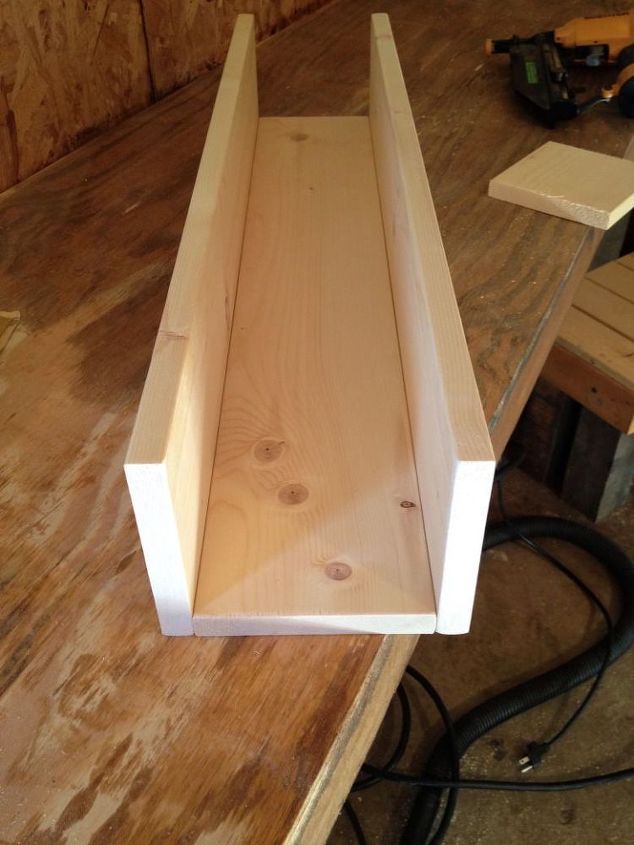
Use a nail gun to attach the sides.
Measure and cut the pieces for the narrow sides and attach using nail gun.
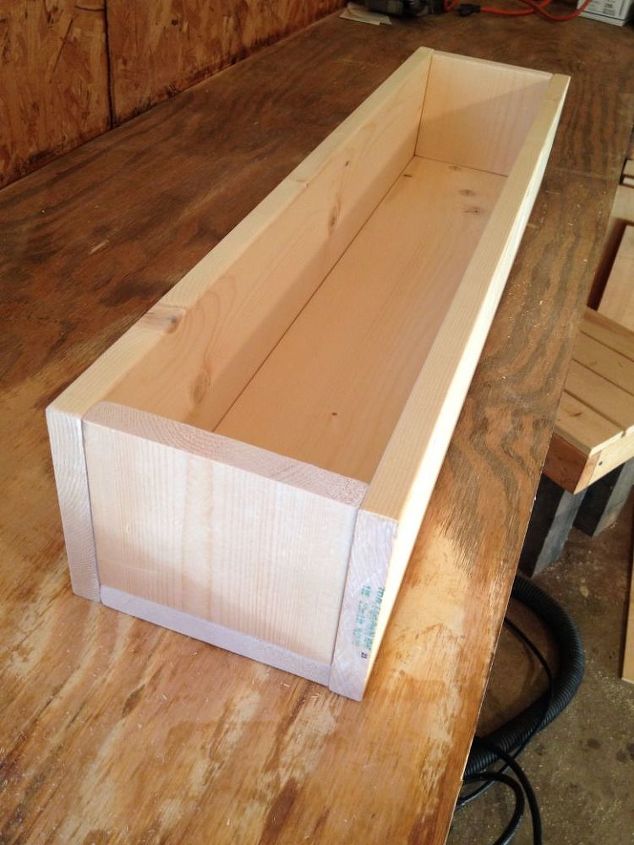
Making the box is so simple! There it is, now you just have to stain it.
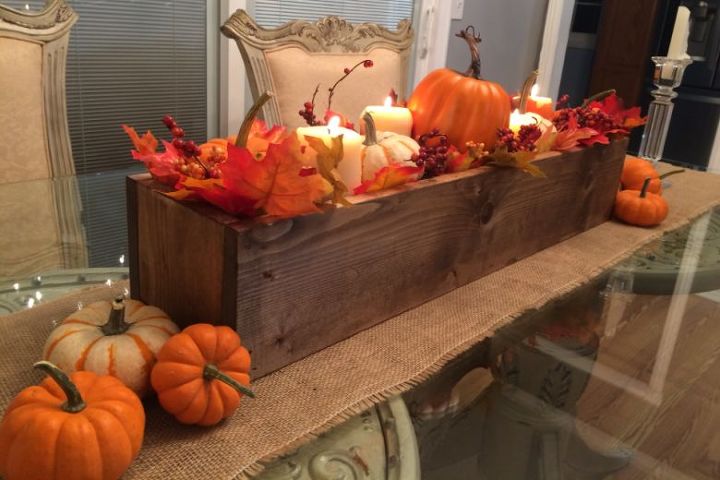
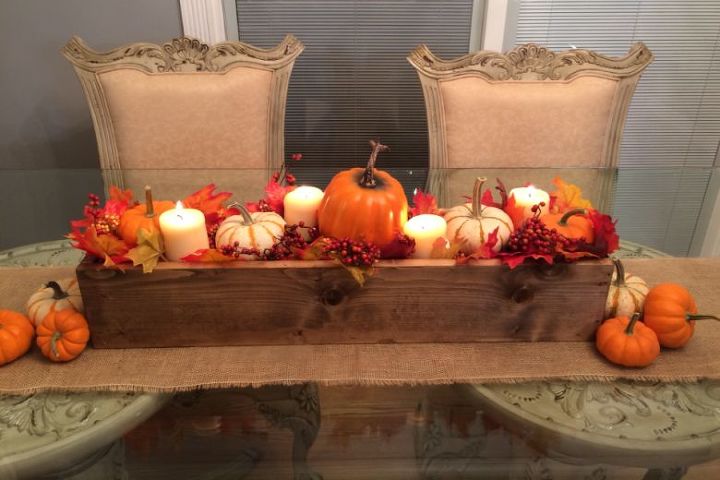
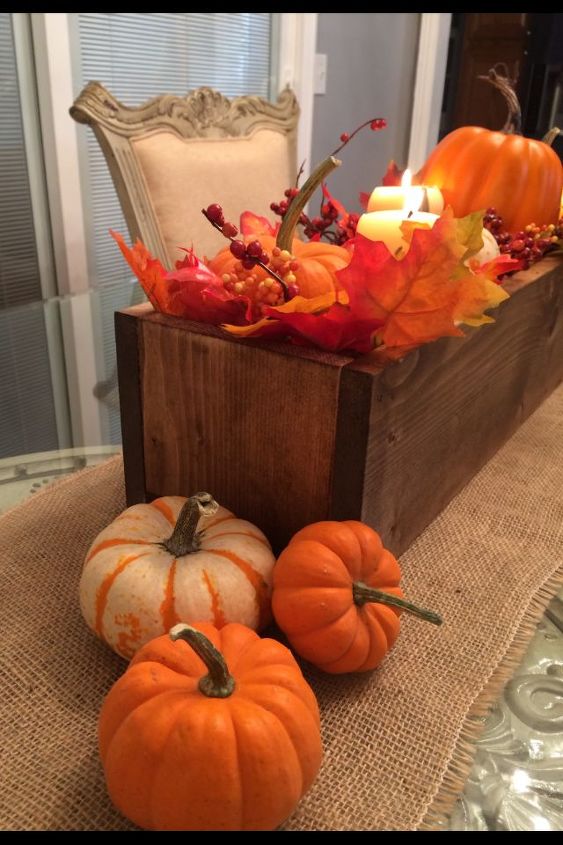
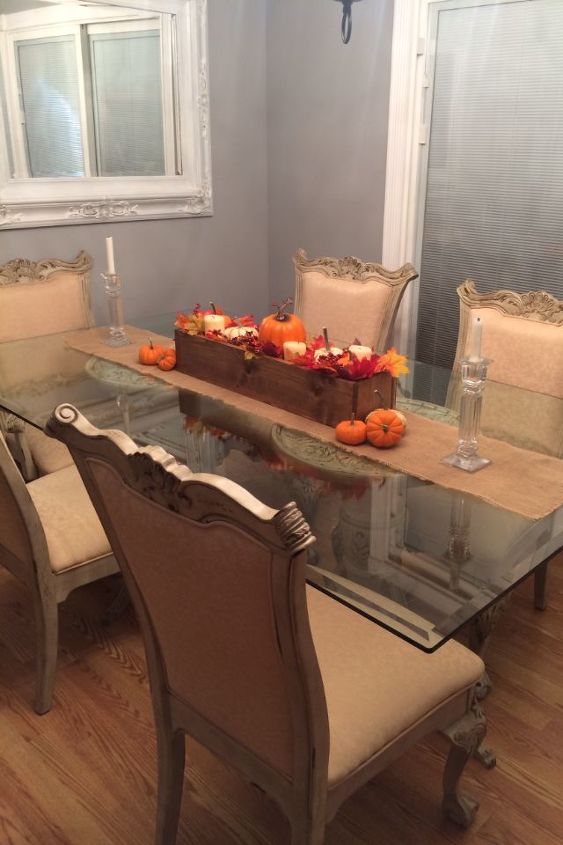
I think I need her to come over and decorate my table haha! So jealous!

Want more details about this and other DIY projects? Check out my blog post!
Comments
Join the conversation
4 of 6 comments
-
So simple and soooo lovely! I've got a few just like in in my house and love changing them out for the seasons!
-
great idea


Frequently asked questions
Have a question about this project?