


Dining Room China Cabinet Makeover

by
Michelle
$100
2 Days
Medium
My mom found this ugly duckling China Cabinet at an auction here in town and thankfully she decided to purchase it for me. I knew when I seen this, that it could be something beautiful! So, I was set on a mission to make it that way. In order to re-do this piece, there was a lot of trial and error for me. It was definitely a learning process, which is actually what inspired my blog name, Imperfectly Chic.
That is because despite our best efforts, and no matter how easy DIY projects may seem in the posts we see online, there is always a bump in the road that makes the process a little bit more difficult. I love projects like this, and I love to learn, so this was a lot of fun for me, despite the hard work that it took. The outcome did end up to be beautiful, even though it has a few imperfections, but that is what makes it mine.
It came out better than I even imagined. Here is my DIY Step-by-Step Dining Room Hutch Makeover Tutorial - I hope some of you find this helpful!

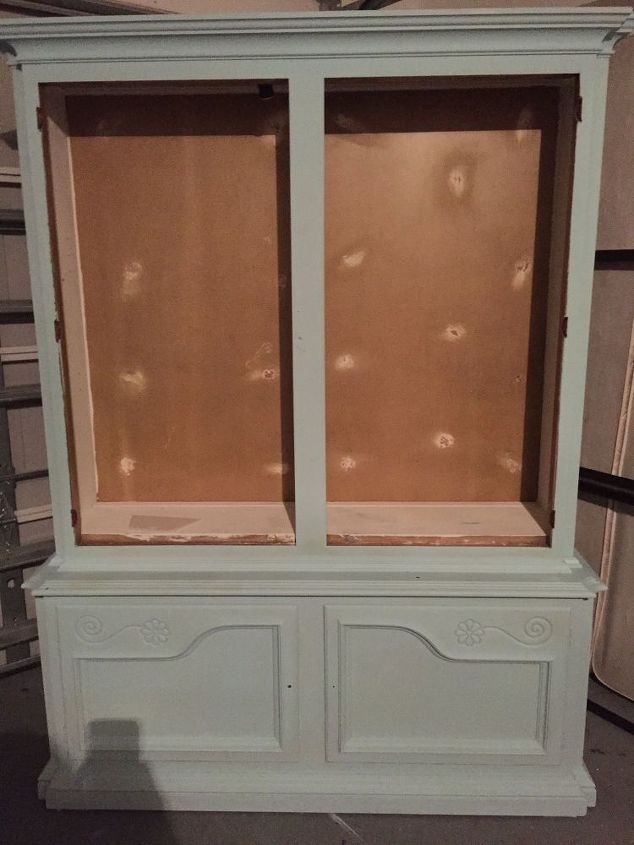
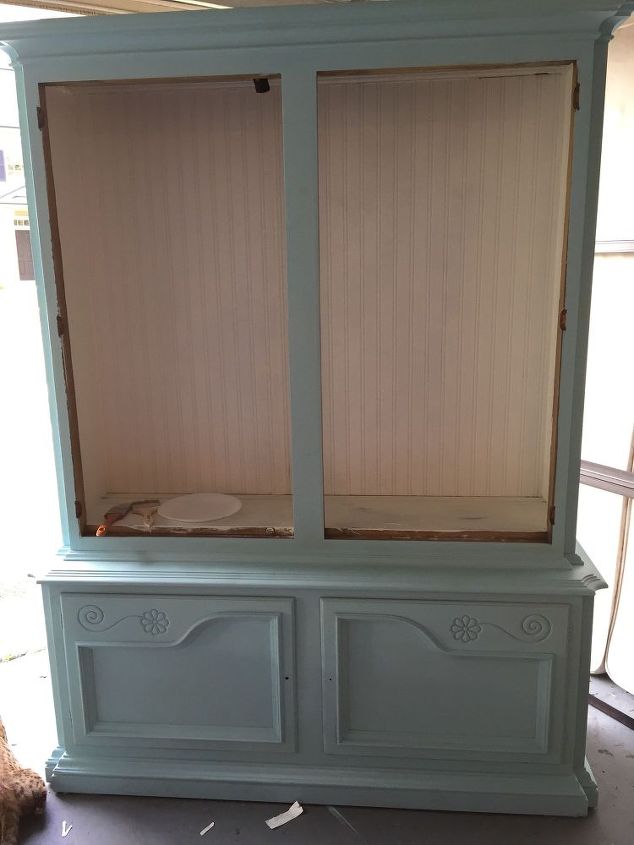
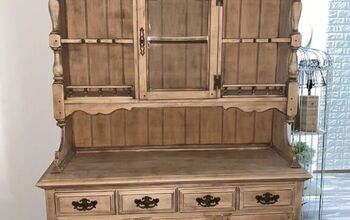
Here is the hutch before the makeover. There was a lot to NOT love about this thing, but i knew it could turn into something great.
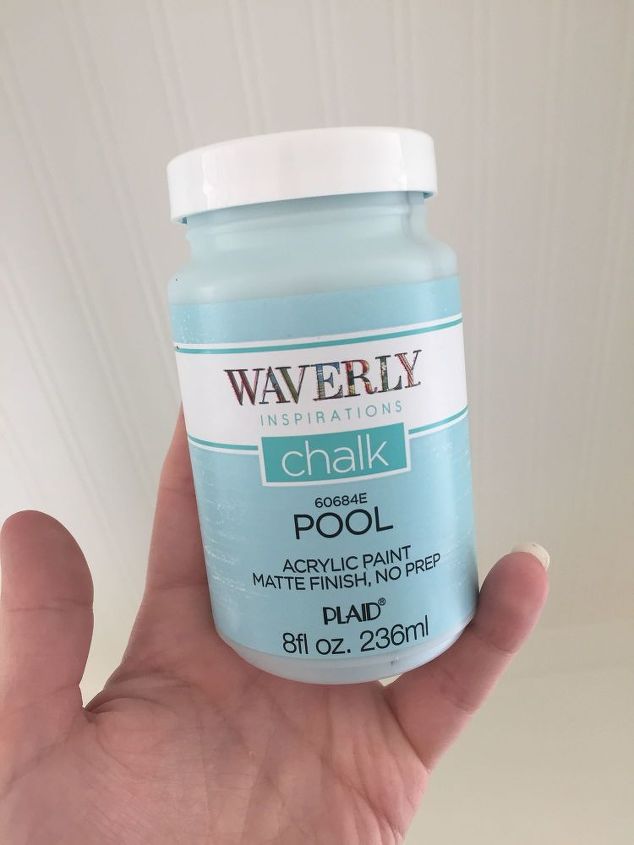
The paint that I decided to use is called Waverly Inspirations Chalk Paint, in "Pool". I found it at Wal-Mart actually, and decided to give it a try because it is readily available. Surprisingly, it only took about 4-5 of these little jars of paint to completly finish the hutch.
Initially, I started out painting the hutch to see if I liked the color, or if I felt it was too much. This color in particular is actually one of my favorites. I lightly sanded the piece since it was not absolutely necessary to do so because I used chalk paint.
So, I liked the color and the way it looked, but realized that I should do this the right way by removing all of the doors and hardware, and then paint it again. I gave the whole thing probably about 4 coats of paint in total.
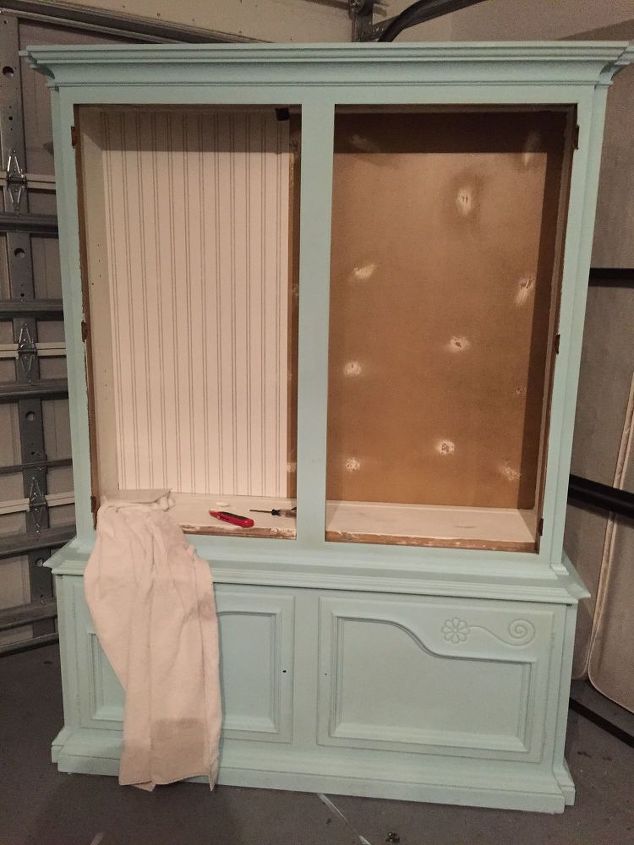
I love the way bead-board backing looks, but real bead-board can get expensive. With some research I was able to find this beautiful wallpaper that looks great and was exactly what I was looking for. The process was really easy, it was actually my first time applying wallpaper. It just took a little bit of patience and some accurate measurements. Here it is going on.
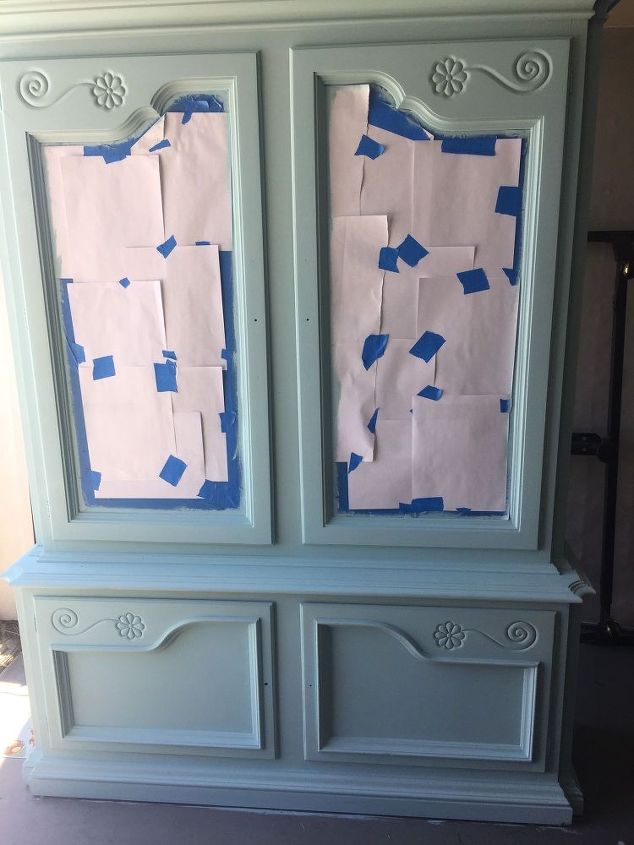
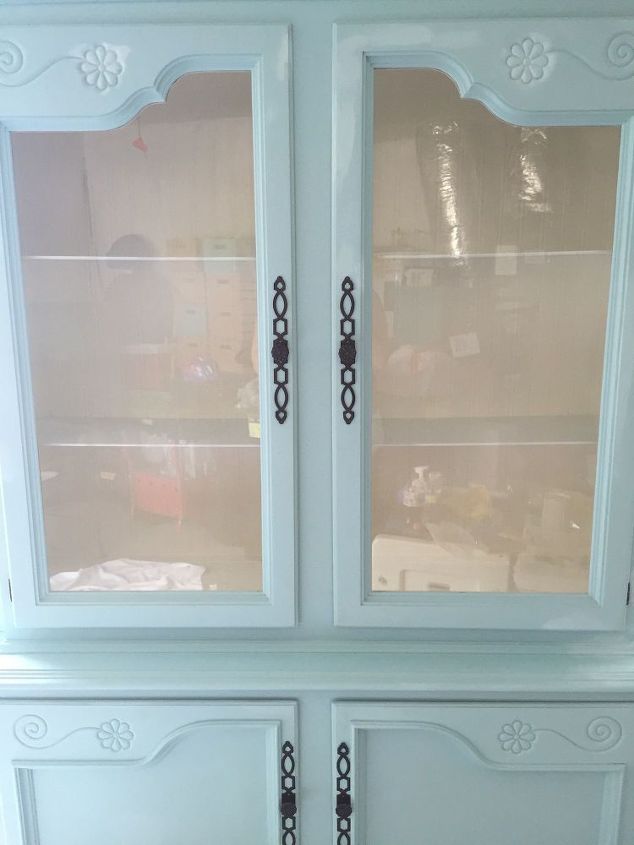
It came out great, and the beautiful thing about this wallpaper is that it is actually paintable! I love it. So, that's what I did. I removed the lower cabinet doors and I taped off all of the blue areas so that I had nice straight lines on the inside of the cabinets.
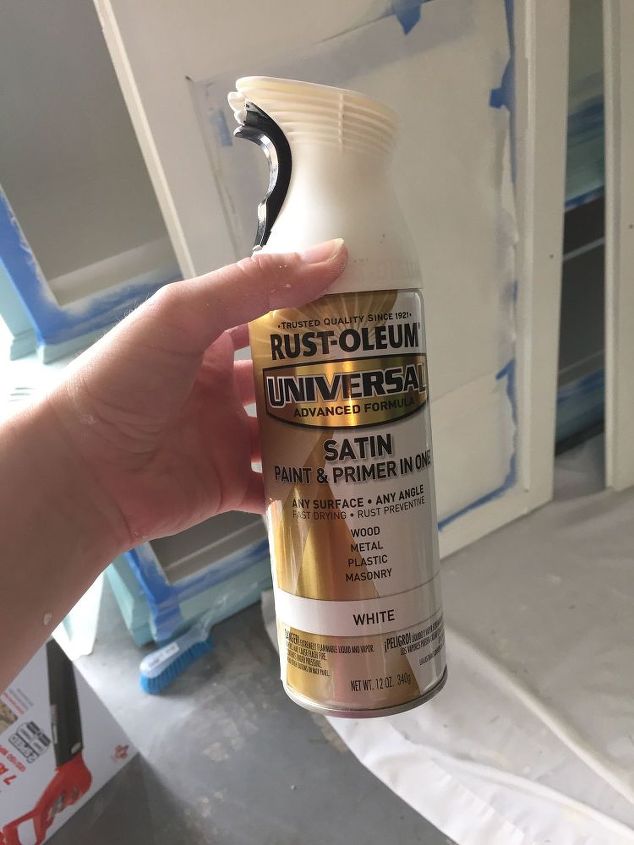
I wanted to paint the inside of the lower cabinet as well so that the entire thing looked finished. I used Rustoleum Universal Spray paint in Satin White for my first coat of white paint on the inside of the cabinet. It covered really well and gave even coverage which was great.
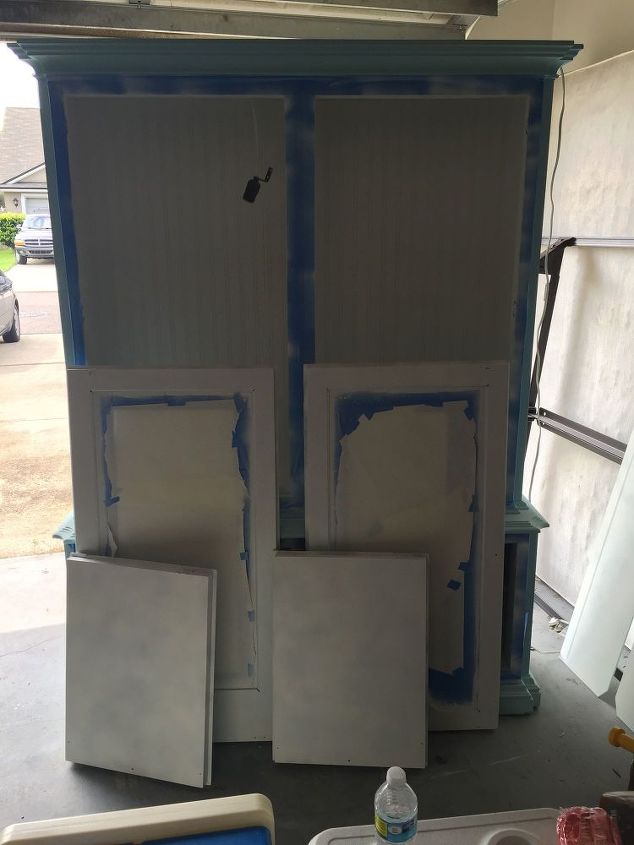
And everything got a nice white coat of paint!
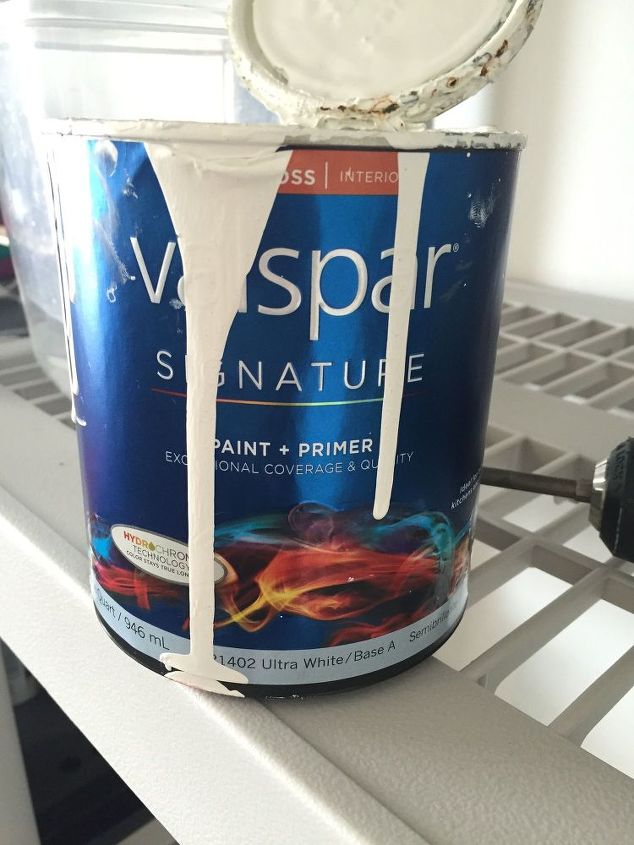
For the second coat of white I used Valspar Signature paint and primer in Paramount White in Semi Gloss.
I didn't like the way the inside of the cabinet looked with the wallpaper because of the gaps and spaces between the paper and the wood, which made it look unfinished, in my opinion.
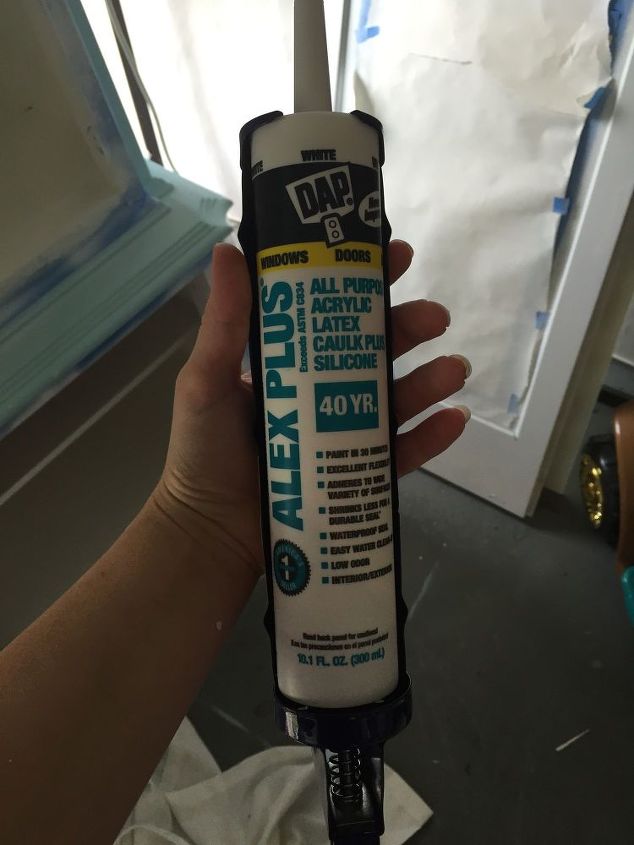
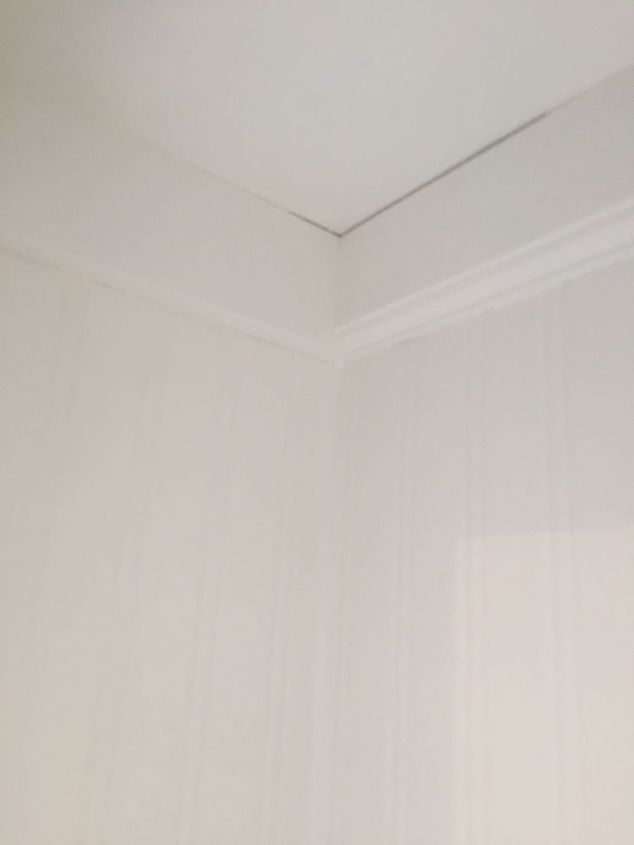
I decided to caulk all of the corners around the wallpaper edges and the wood. It turned out awesome. I used DAP caulk with a cheap caulking gun which was really easy to use, and this caulking dries really fast, which I love!

Here it is after the caulking dried, and after I painted the last coat. It looks great, and professionally done in my opinion. But don't let me toot my own horn ;]
And the finished look! It is by no means perfect, but that is what makes it great, and unique.
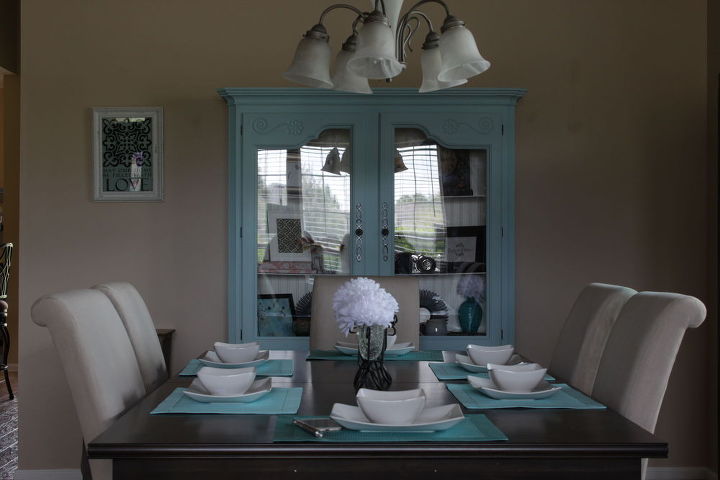
There will always be imperfections that we see in the projects that we do, we are our own worst critics. But nothing is perfect, and it shouldn't have to be. We do these things because it is what we love to do, and we make them our own and that's what matters the most. I love the way it has turned out.
Want more details about this and other DIY projects? Check out my blog post!
Comments
Join the conversation
2 of 244 comments
-
Nice job! Thanks for the upload!
-
You did a fantastic job. I enjoyed seeing all the photos. I learn visually so this was especially important to me.
Thank you.


Frequently asked questions
Have a question about this project?