


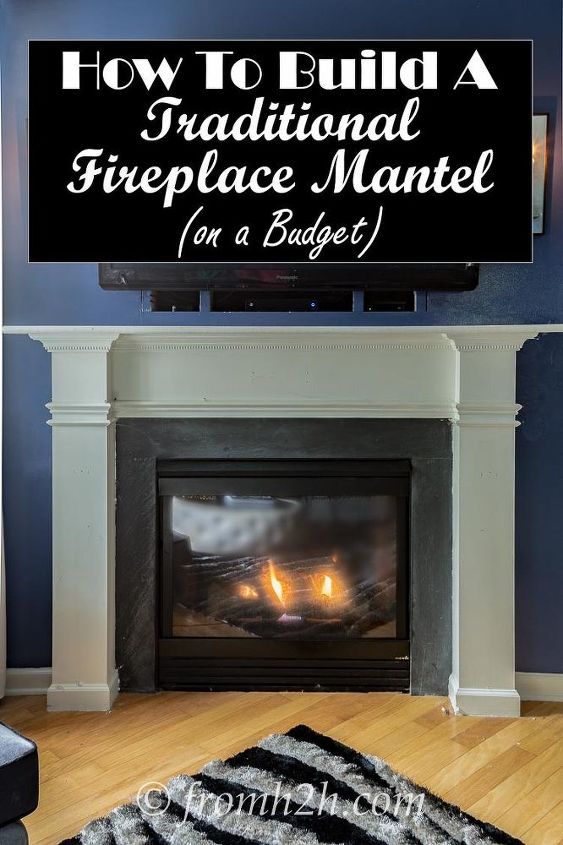
How To Build a Traditional Fireplace Mantel (on a Budget)
This post is another in the "upgrades to my builder grade house" saga. Let me start by saying I love my fireplace. This is the first time that I have ever had a gas fireplace and I love being able to turn it on with the flip of a switch.
Having said that, the look of my builder grade fire place wasn't exactly what I wanted, and I didn't want to spend much money to upgrade it.
Having said that, the look of my builder grade fire place wasn't exactly what I wanted, and I didn't want to spend much money to upgrade it.
I wanted a traditional fireplace mantel. All of the ready-made store bought ones cost a lot more money than I wanted to spend.
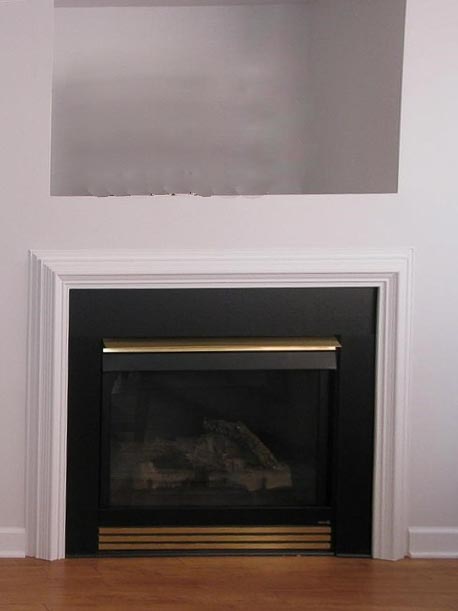
Here is what I started with. The fireplace was fine, but there was no mantel...just some molding around the outside. And I hated the brass!
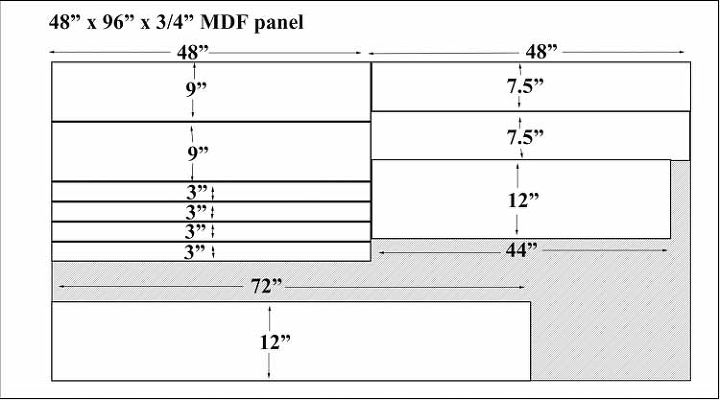
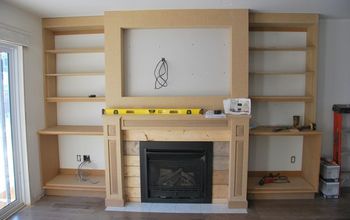
I cut all of the mantel boards out of one sheet of 4' x 8' MDF. It's very inexpensive and easy to paint.
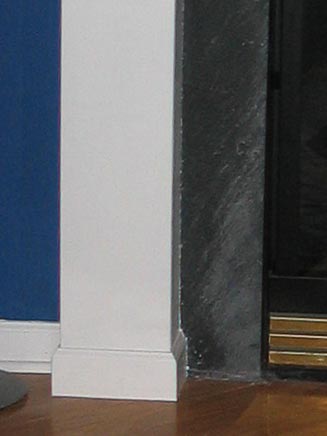
I built 2 columns on the sides of the fireplace with baseboard molding around the bottom.

Then I added the mantel board across the top of the columns and a facing board to fill the space between the fireplace and the mantel board.
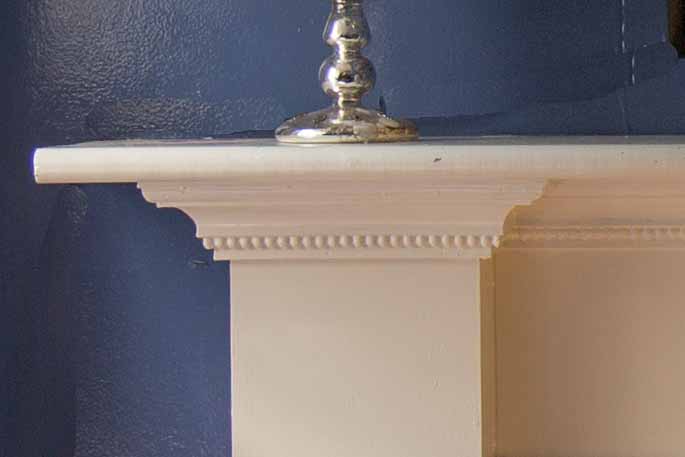
Finally I added some molding for interest....crown molding under the mantel.
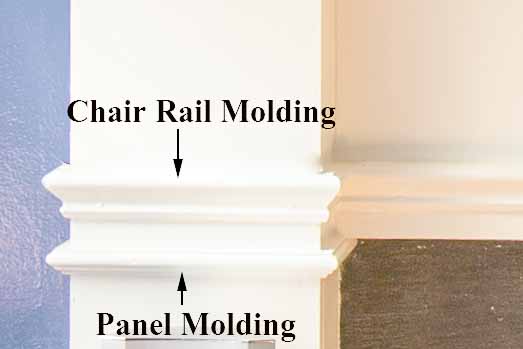
And chair rail molding and panel molding on the columns.
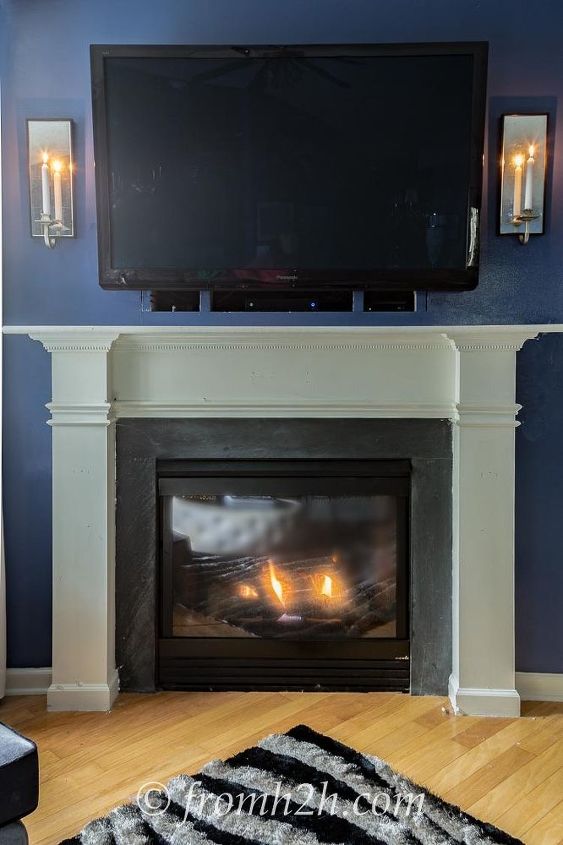
Painting the mantel white, and the brass black was the final step.

Want more details about this and other DIY projects? Check out my blog post!
Comments
Join the conversation
5 comments
-
Gorgeous!
-
This looks great, wow!


Frequently asked questions
Have a question about this project?