


Blood, Sweat And Shelves

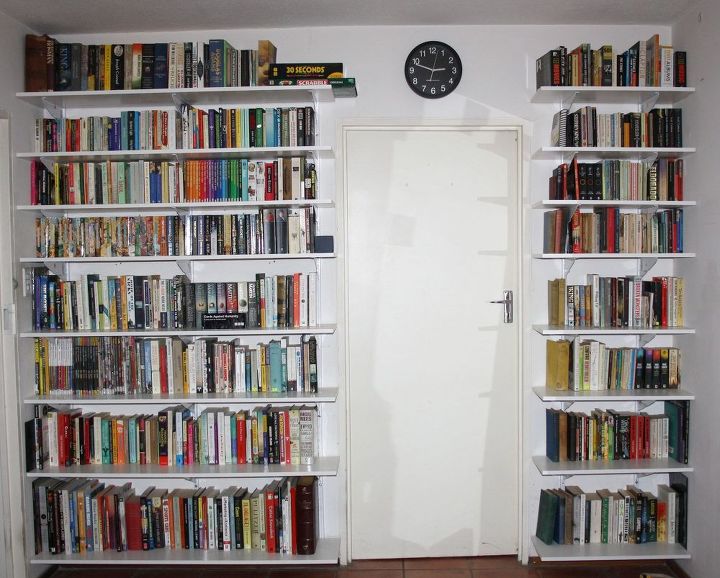
"This weekend, my husband and I decided to try our hands at some DIY," says production manager Patricia Pieterse. "Both book lovers, we knew it was time to replace our haphazard and overworked book storage with floor-to-ceiling shelves."
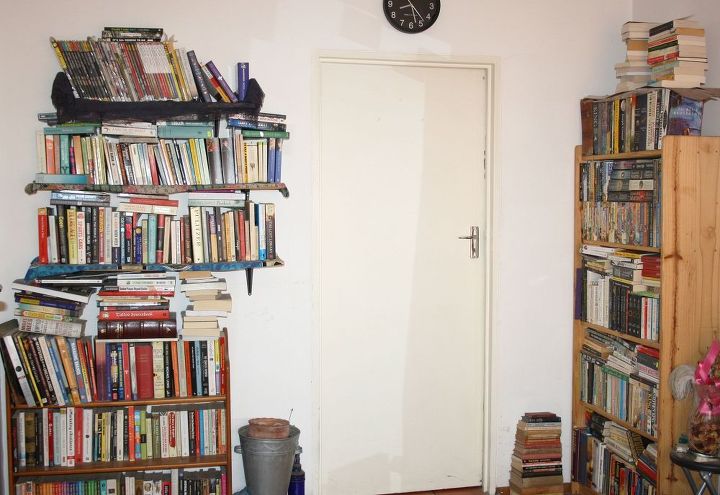
BEFORE YOU START
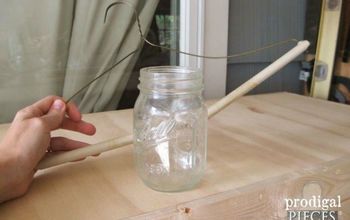
WHAT TO DO


Frequently asked questions
Have a question about this project?