


Knit Your Own Pumpkin Patch for Decorating

by
Dan330
This post will show you how easy it is to create these beautiful knit pumpkins. Your imagination is your only limitation.

My yarn stash was full of beautiful fall colors, so I didn’t even need to purchase any new yarn. I had lots of sizes of double point needles and decided to vary the size of the pumpkins with needle size, yarn thickness and tube length. This example shows the use of double threads, knitted as one. Cast on 12 stitches to each needle, leaving a 8″ tail. Knit 5, purl 1, knit 5, pearl 1 across the first needle using a forth needle that will now hold your row. You simply rotate the needles around the circle. Continue in the above pattern on each needle, around the circle until you reach the desired length. My pumpkins varied between 3″ to 5″ long tubes to give you an idea.
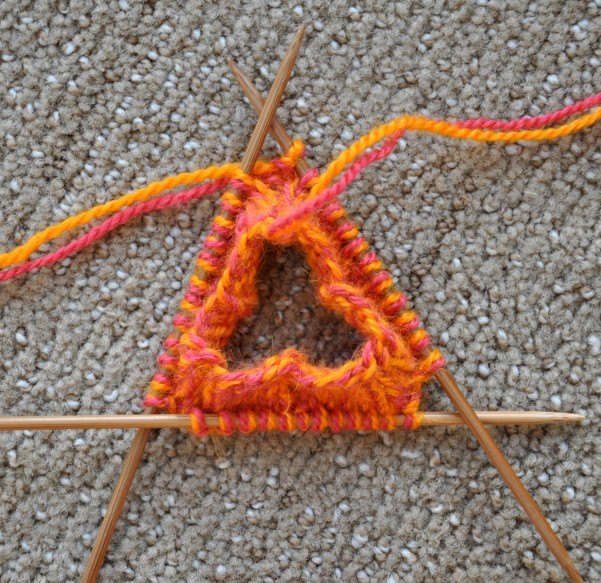
Deciding how long you want your tube will determine the height of the knit pumpkin. Cut about an 8″ tail to use for closing the bottom.
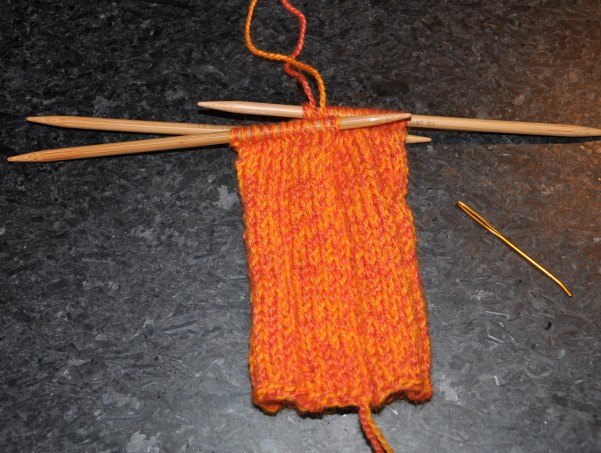
Once the tube is the length you want, take your needle and pull off the stitches one by one until the the 8″ tail goes through all the stitches on the 3 needles.
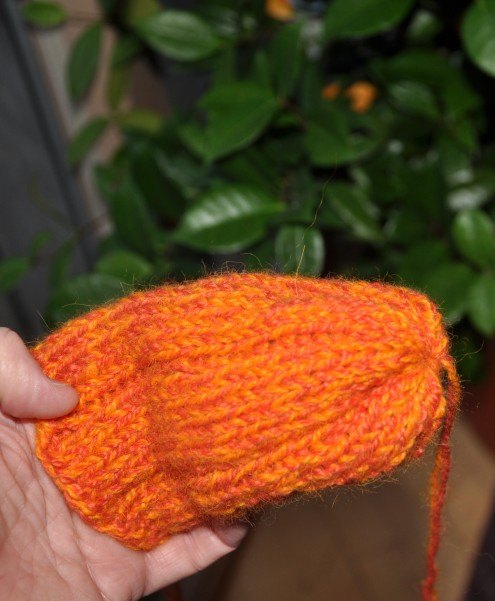
Now pull the yarn tight so the circle at the bottom of the pumpkin is closed. For more details visit our Dan330.com site
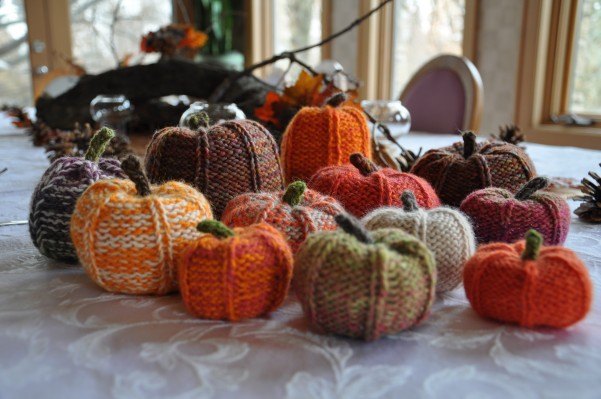
Don't these look great?
Want more details about this and other DIY projects? Check out my blog post!
Comments
Join the conversation
2 of 8 comments
-
DPN’s not dons😁
-
Sorry not much help but I’ll let you know if I can get this worked out on the circulars.


Frequently asked questions
Have a question about this project?