


4 X 4 Pumpkins With Stamped Designs

by
DeeDee
1 Hour
Easy
This was one of those really easy crafts that turned out way better than I expected...love those kind of crafts! And best of all, it was free because I already had all the supplies on hand! Woohoo!
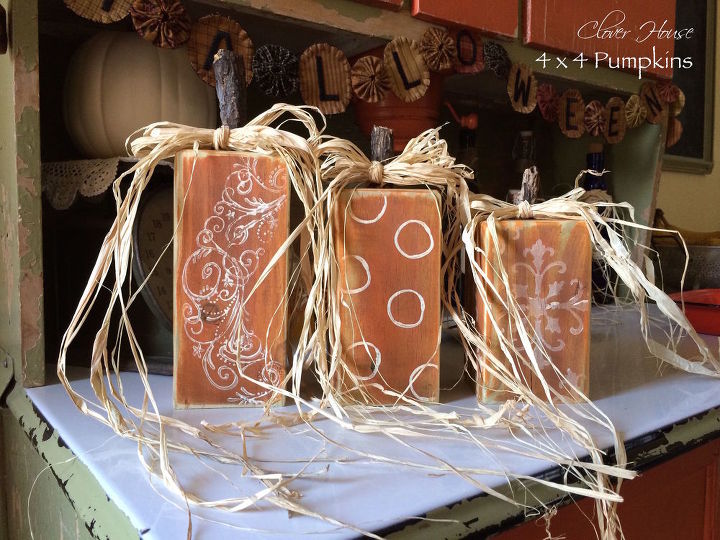
Who knew big ole chunks of leftover wood could be something so pretty! I love how these turned out!
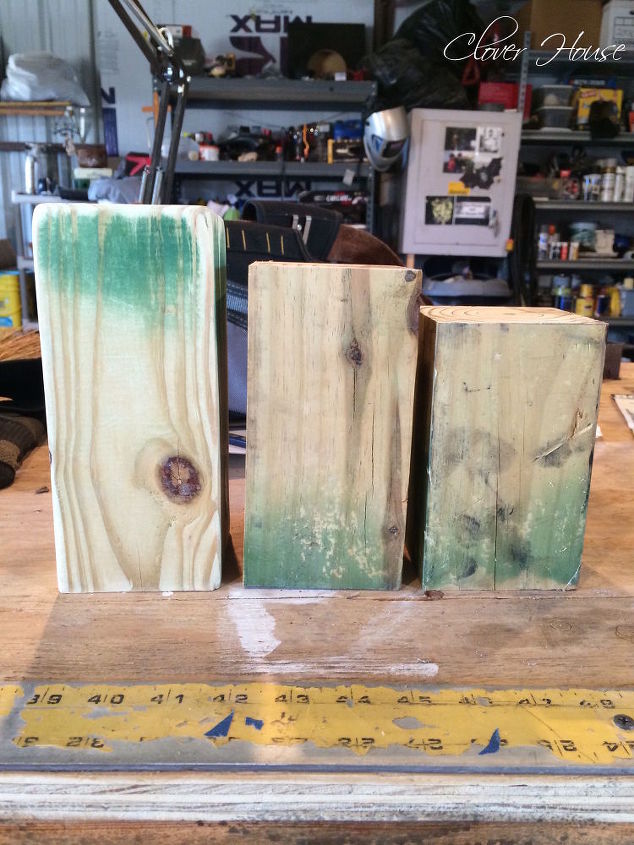
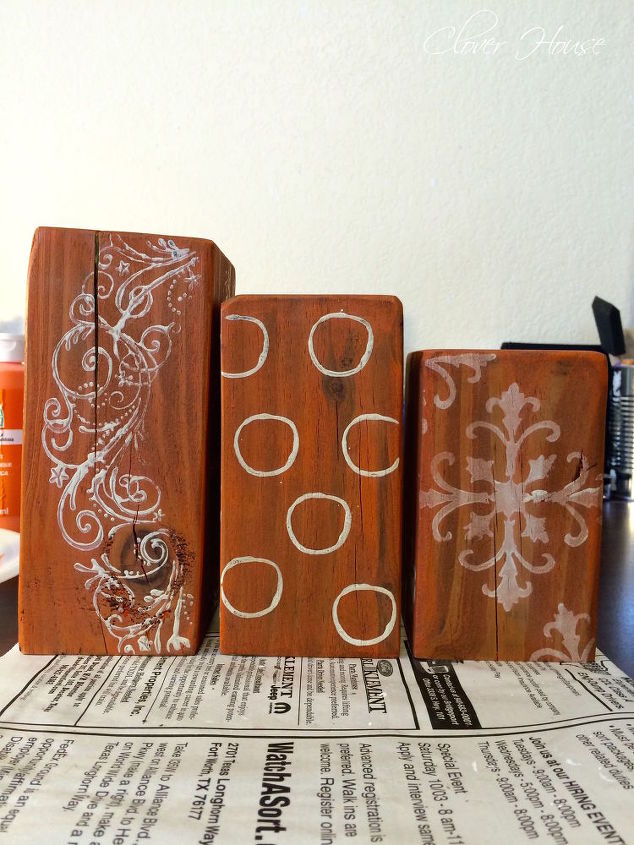
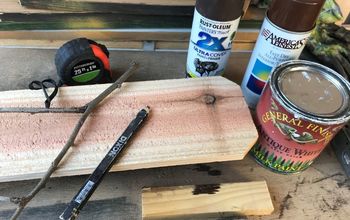
These 4x4s were left over from our Raised Bed Gardens. They all started out being 8" tall, but I cut two of them down so that they ended up being one at 8", 7" and 6". I used the rotary sander to round off the edges and smooth them out before painting.
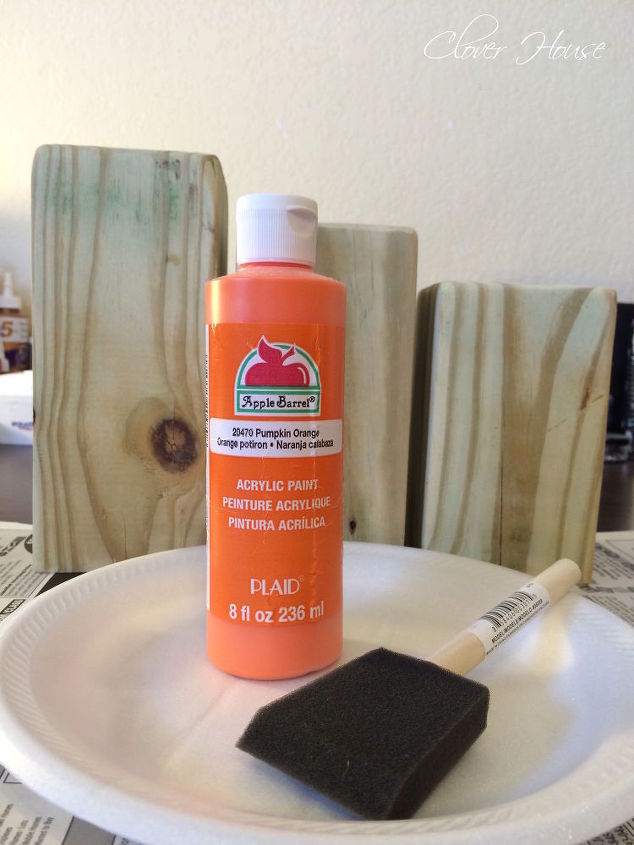
Now that they are all smooth and ready for paint, I grabbed a paper plate, a sponge brush and my pumpkin orange paint and got to painting. I did not paint the bottoms, but all other sides got one good coat.
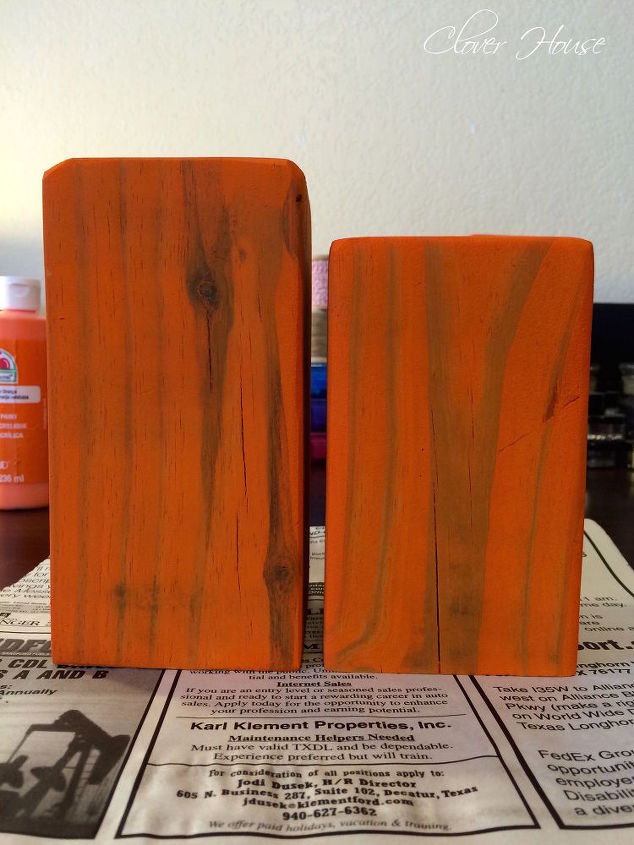
Just one coat of paint so the wood grain could show through. I love the rustic look so that's what I was going for.
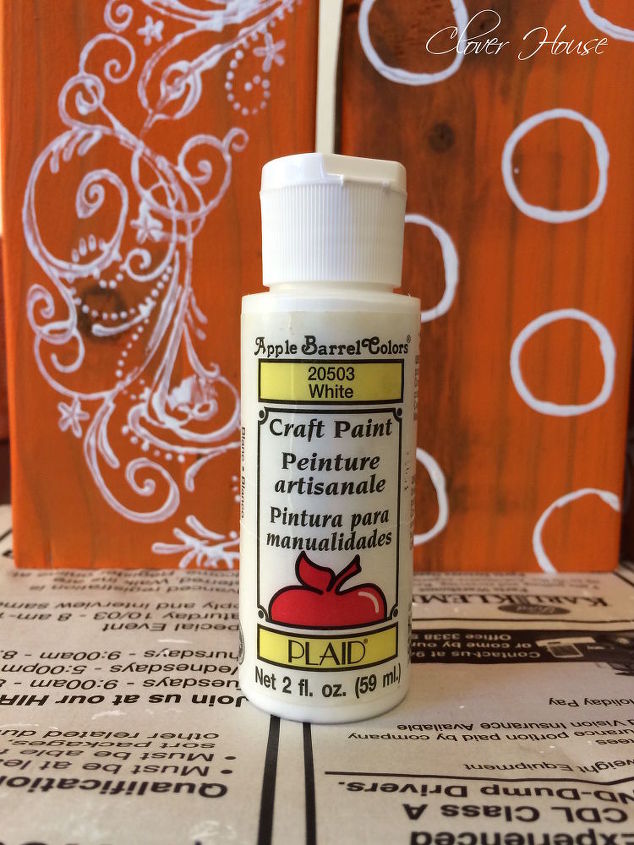
Next I grabbed my white paint and a few stamps and added some designs to my pumpkins.
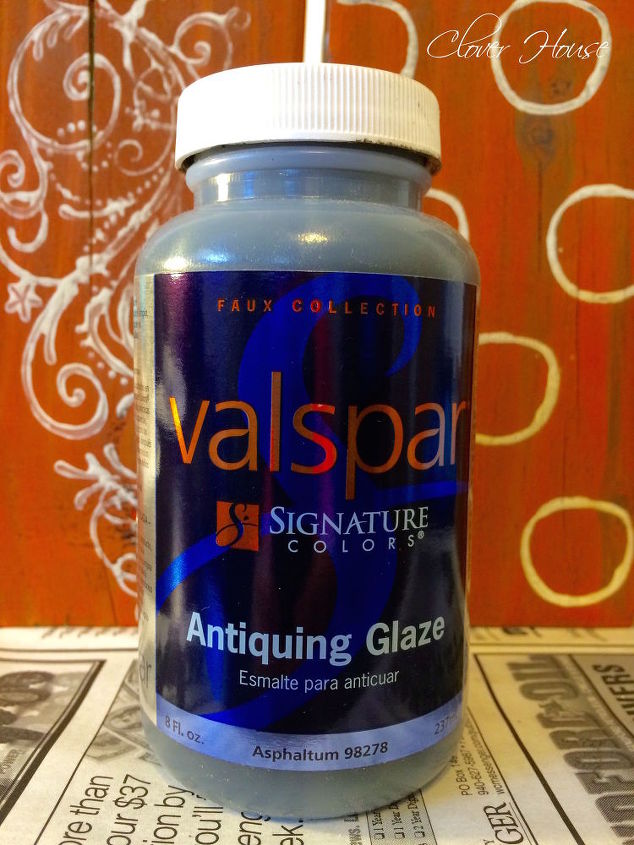
Because they were very bold and bright and I wanted to tone them down some, I grabbed my Valspar Antiquing Glaze and swiped some all over and then used a clean cloth to wipe the excess off.
Now they are more subdued in color, but still not rustic enough for my liking.
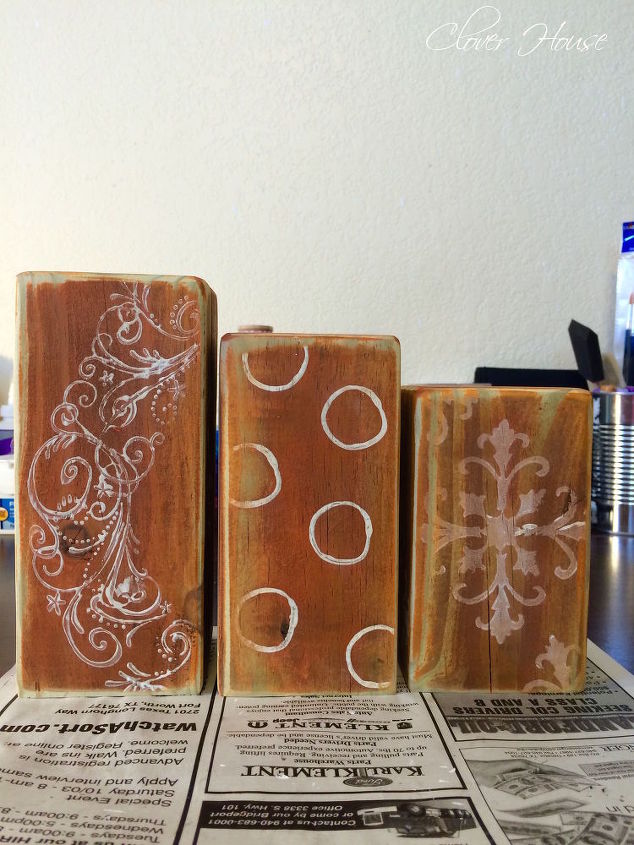
I took the sander to them again and now I like them! YAY! Please visit our blog to see what I used to stamp the designs on with.
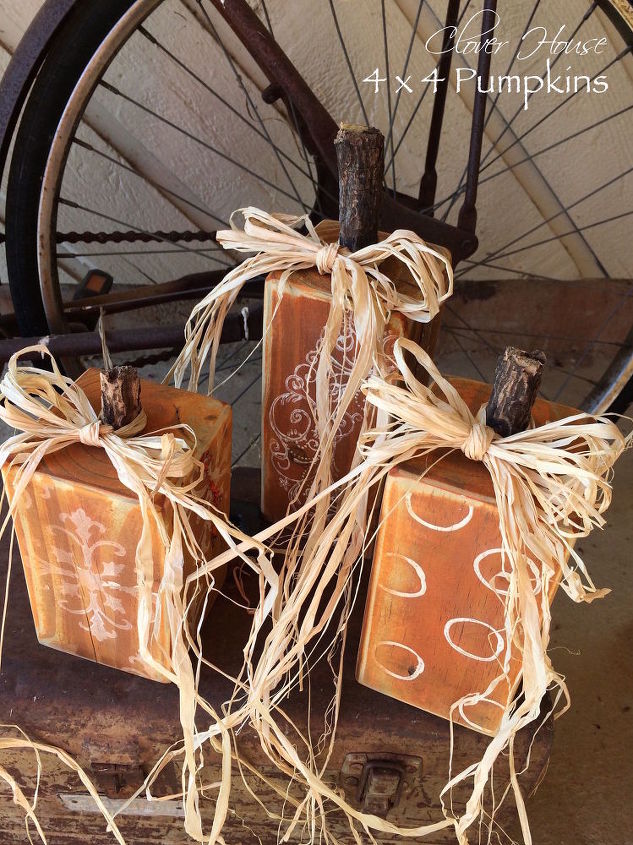
Next I went outside in the wood pile and grabbed a stick, cut it down to the sizes I need for stems, hot glued them on and then added some raffia for the final touches.
Want more details about this and other DIY projects? Check out my blog post!
Comments
Join the conversation
4 of 43 comments
-
very cute
-
Too cute!


Frequently asked questions
Have a question about this project?