


Getting This Sore Hand Was Worth It!
I wanted an easy and little slightly elegant fall leaves. So, I grabbed a piece of burlap!
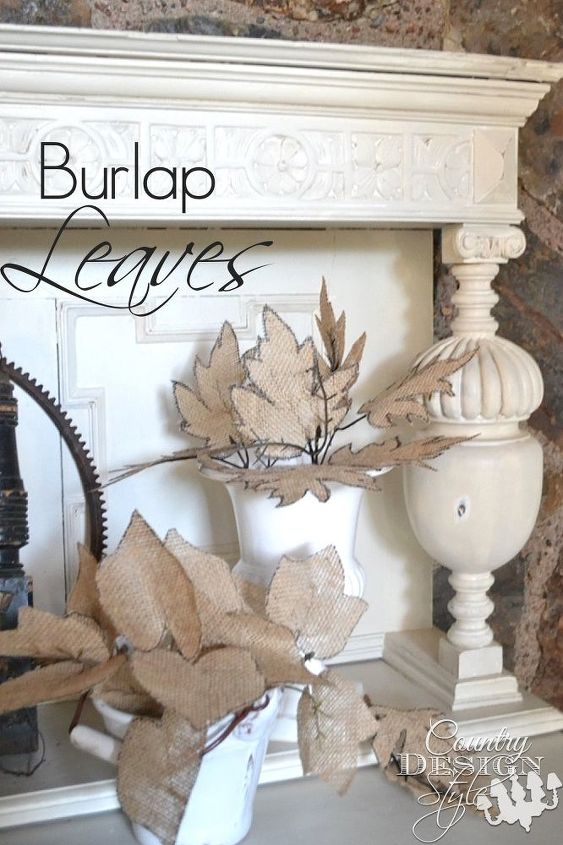
Burlap says elegant to me, right? To add a bit of elegance I added black to the edges and stems.
But my warning, done sit and cut out 36 leaves in one evening!
The simple basic steps are listed below.
Roll or paint a thin layer of Mod Podge on a piece of burlap and hang to let dry. I lay my burlap on a piece of wax paper to protect the table.
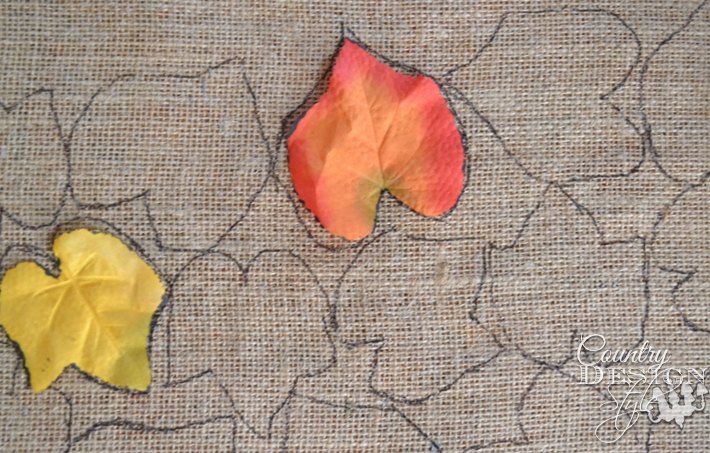
I started with dollar store fall leaves. These are the simple shaped leaves. I did the same with more complicated shapes leaves too. First gently pull off the leaves from the stems AND the leaf veins. Keep the veins attached to the stems and set aside. Using a leaf draw the outline using a black marker. Then cut out the leaves keeping the black along the edges.
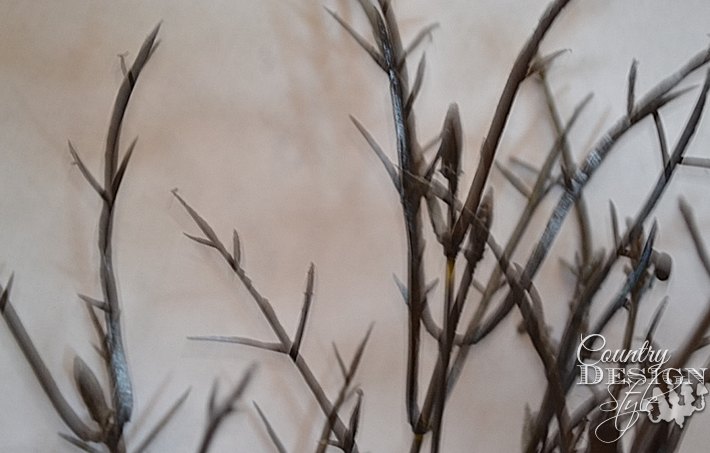
Now for those stems and veins. Spray paint with black. Let dry.
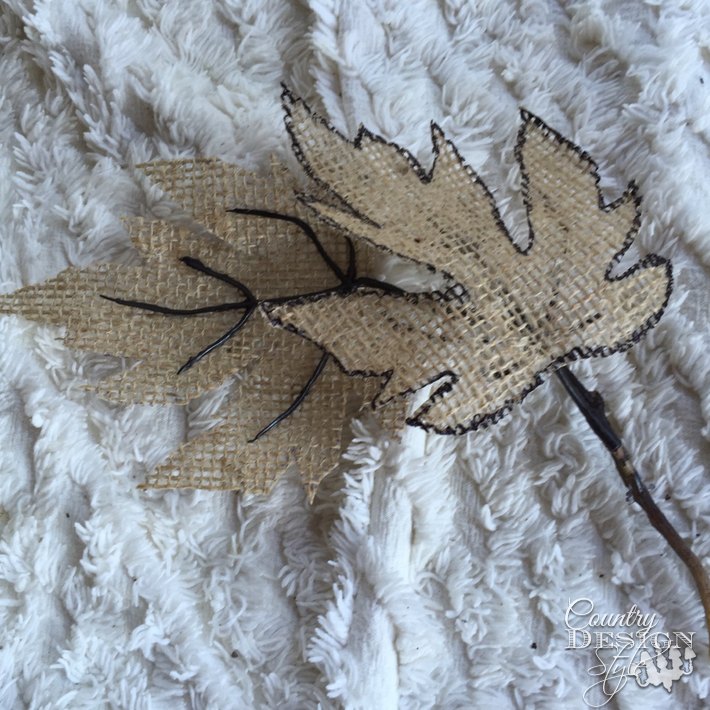
Heat up the hot glue gun and glue the burlap leaves back on the veins. Tip: It's easy to start the hot glue on the base of the veins then move down to the tip. The thread of hot glue tends to follow down the plastic veins.
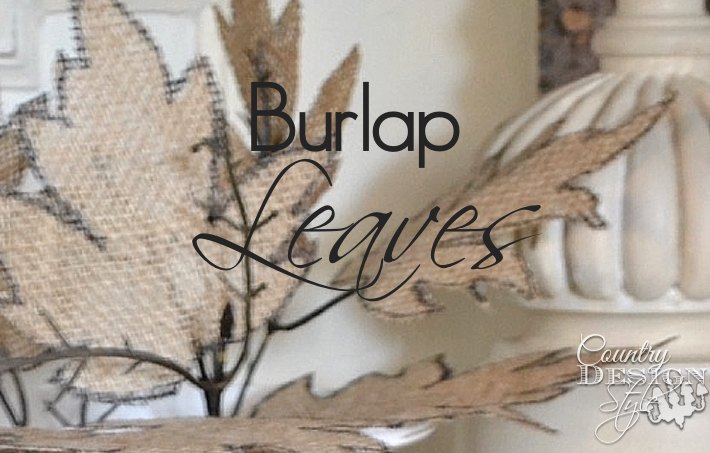
Display you burlap leaves in a vase, add to a wreath, or tuck into a centerpiece.
Enjoy.

Want more details about this and other DIY projects? Check out my blog post!
Comments
Join the conversation
3 of 5 comments
-
SO PRETTY!!!!
-
These are awesome! Adore!


Frequently asked questions
Have a question about this project?