


How to Remove a Kitchen Tile Backsplash

If you’re looking for advice on how to remove tile backsplash in your kitchen for any reason – maybe it’s old, maybe it’s outdated, maybe it’s not to your taste – this tutorial is aimed at providing a valuable resource before you begin.
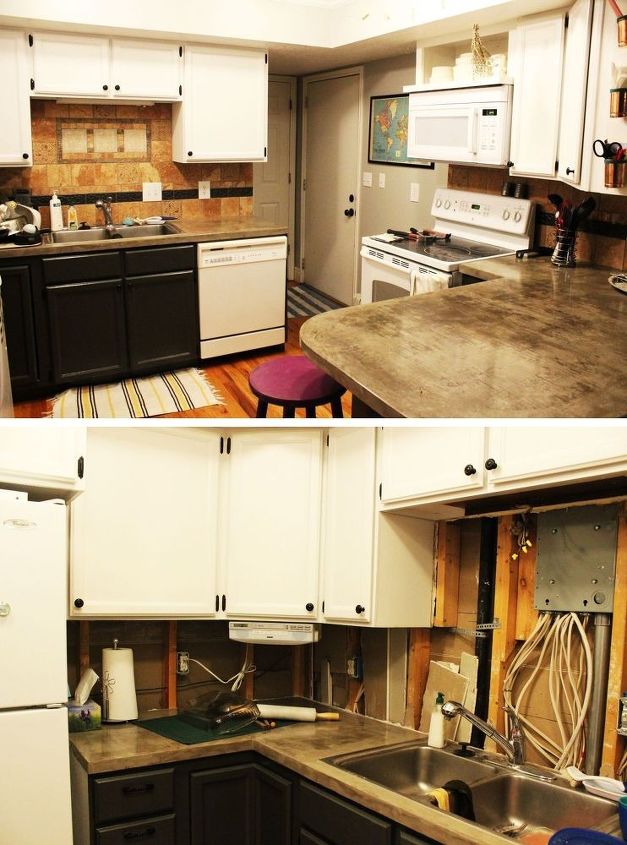
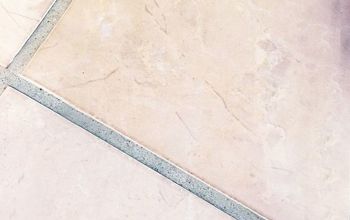
Before and after backsplash removal
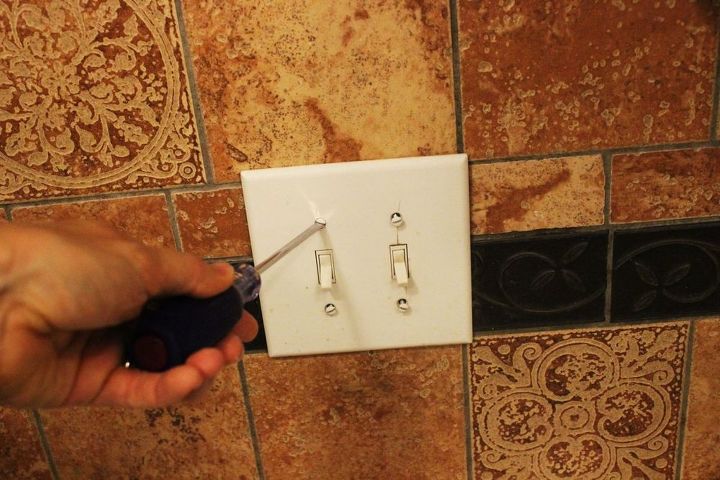
Begin by removing the face plates of all light switches and outlets that are installed on top of the tile backsplash to be removed.
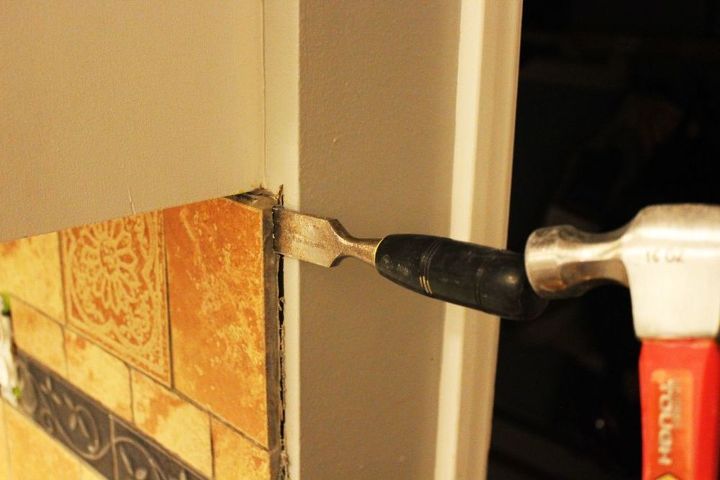
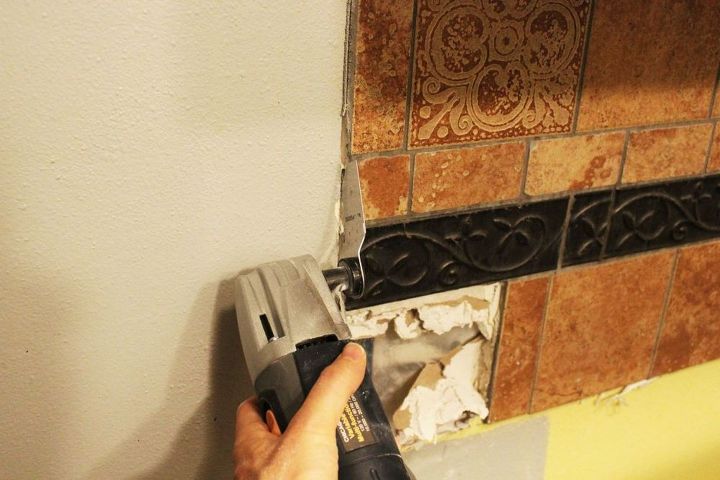
Method 1: Remove tiles individually. Beginning at a point of easy access (e.g., on one side of your backsplash), carefully tap a chisel with a hammer between the back of the tile and the wall.
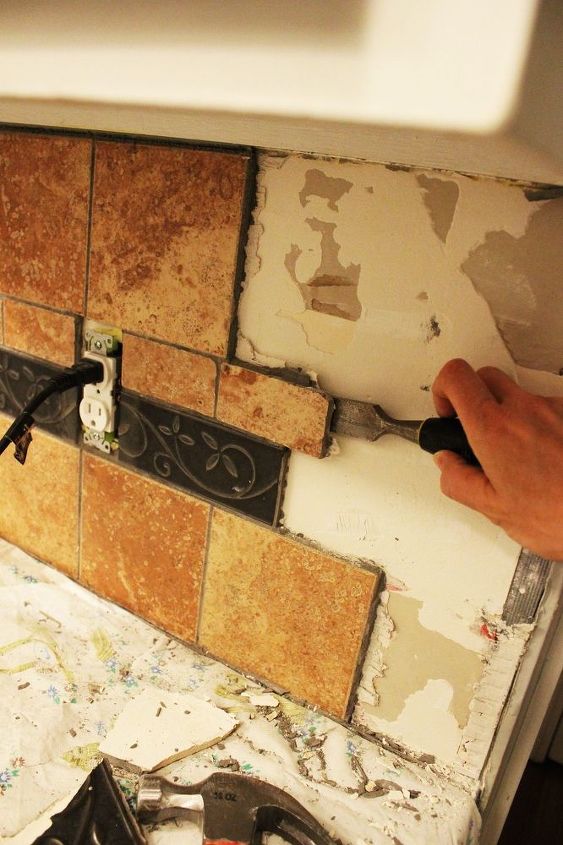
Continue removing the tiles, one at a time, working from top to bottom, until all tile is removed.
Method 2: Remove strategic, large chunks of tile + drywall. (This method will require you to replace the entire section of drywall behind your existing tile backsplash.)
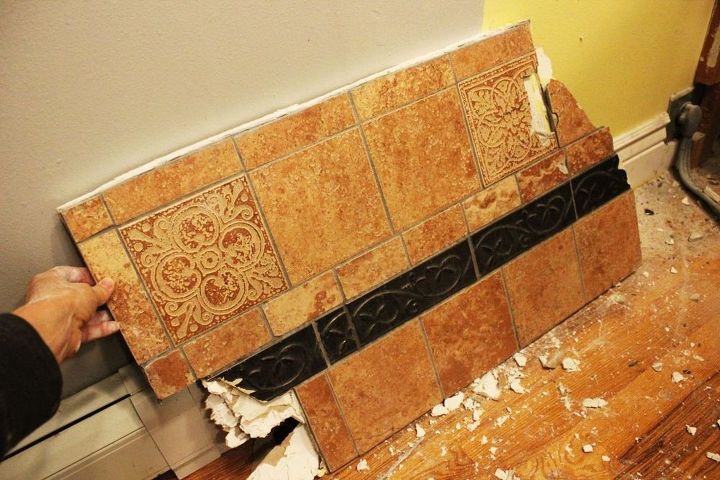
If you have cut the drywall thoroughly, you should get a large chunk of tiles + the accompanying drywall to come off in one fell swoop.
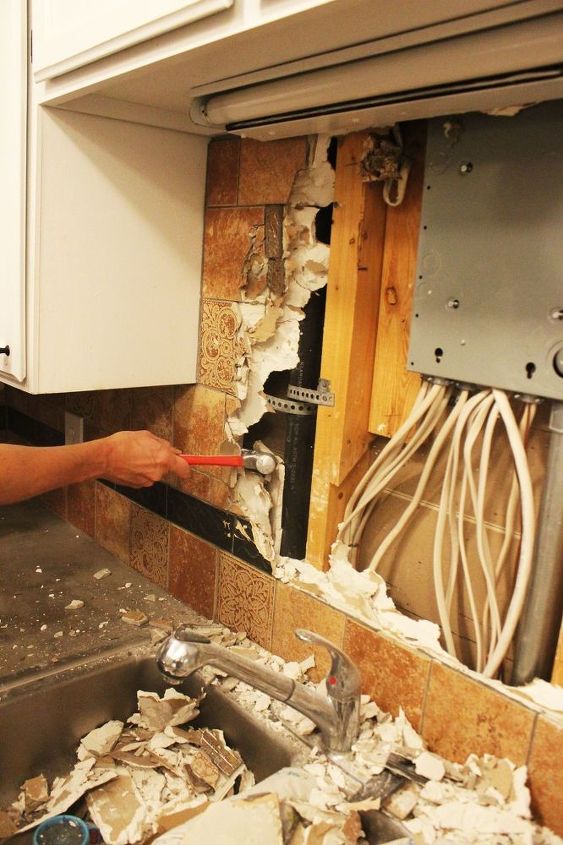
Method 3: Crush tiles with a hammer, remove them and the drywall in bits. This method is messy (plug your sink! And wear gloves and safety glasses!)


Frequently asked questions
Have a question about this project?