


Door to DIY Desk
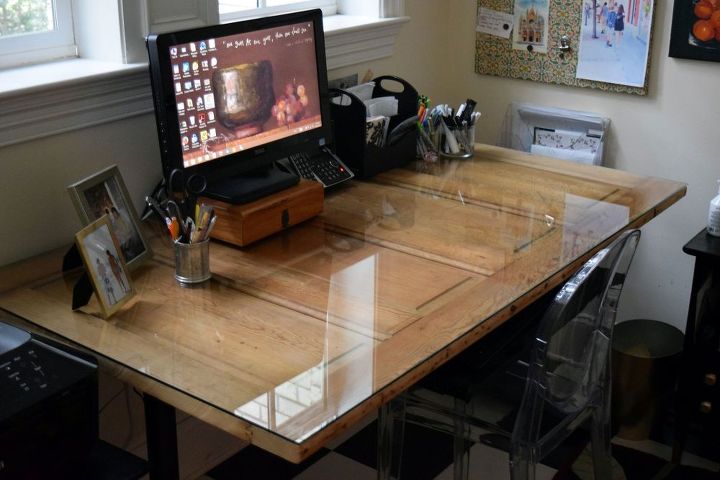
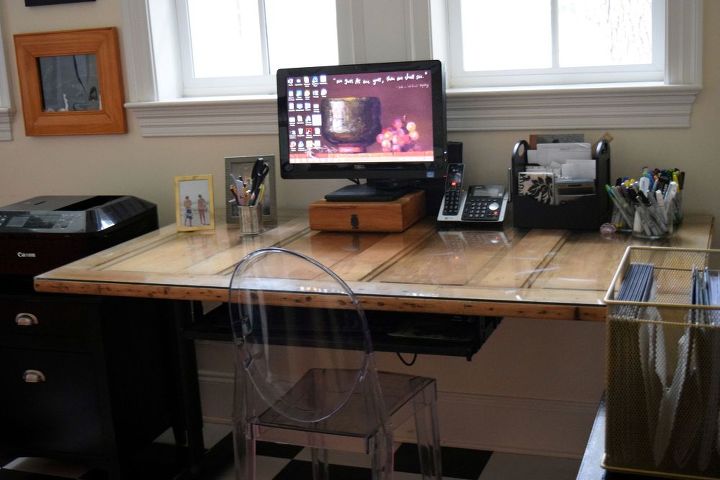
We built this desk using an old door that's been sitting in the attic, an Ikea desk frame and a sliding keyboard kit. The desk frame is height adjustable, making it great for the long-legged.
projects decor
projects decor
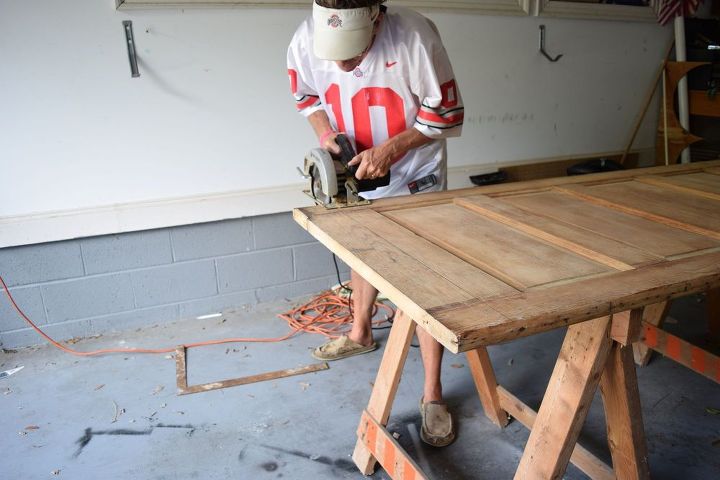
We trimmed the original door from 7' down to 5.5'.
I stumbled upon an adjustable height desk frame at Ikea, the BEKANT Underframe for table top.
I wanted a sliding keyboard tray on the underside of my desk. After doing much research, I decided on the Rockler 12 Keyboard Slide. . In searching for reviews on the product, I came across Yellow Brick Home's experience with it, which confirmed my intent to go ahead and get it. You can't beat the price, $34.99; but more than that, it's incredibly sturdy, you can determine how wide you want your tray and you can paint the wood for the tray any color you like.
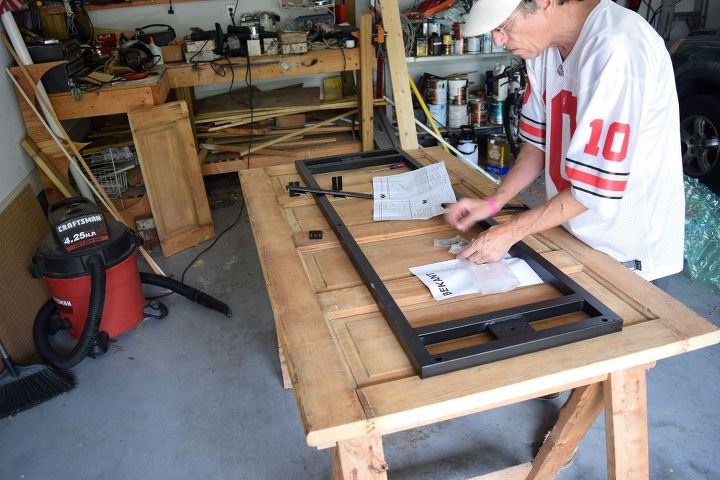
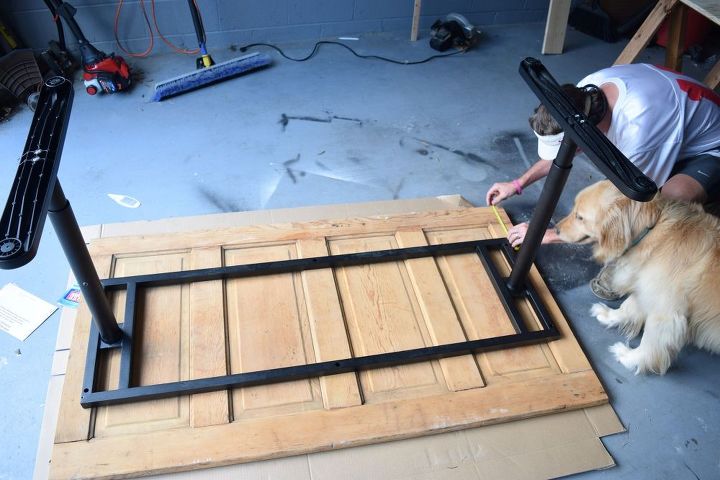
Once we figured out the placement of the frame and the keyboard tray, it was time to attach the BEKANT frame to the bottom of the door. This frame is very sturdy. You can see how you adjust the height of the table...the bottom half of the legs slide out. Terry's marking where the frame goes in this picture. We actually moved the whole shebang inside the house for the rest of the project as the finished desk would not have fit through the doors otherwise.
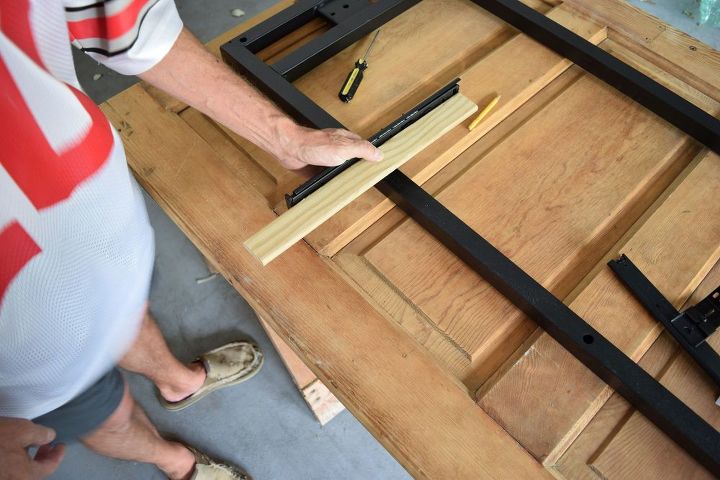
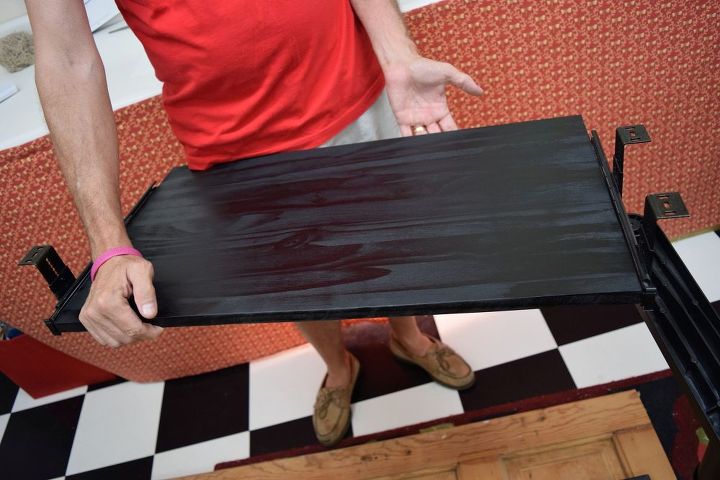
Once it was inside and we had the frame attached, it was time to attach the sliding keyboard tray. I had purchased a piece of pine that was 15" wide so Terry only needed to cut down the length to 27" which is what we decided would be 'optimal' for my keyboard and mouse pad. I spraypainted the whole thing a glossy black. I had initially thought I wanted a real color, but decided to stay neutral-ish and to make the keyboard less prominent.
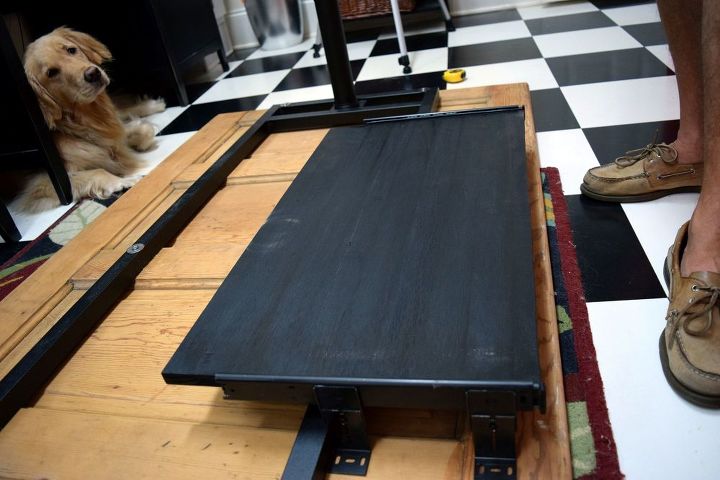
You can see in this picture how the brackets for the keyboard needed to be placed taking into consideration the frame.
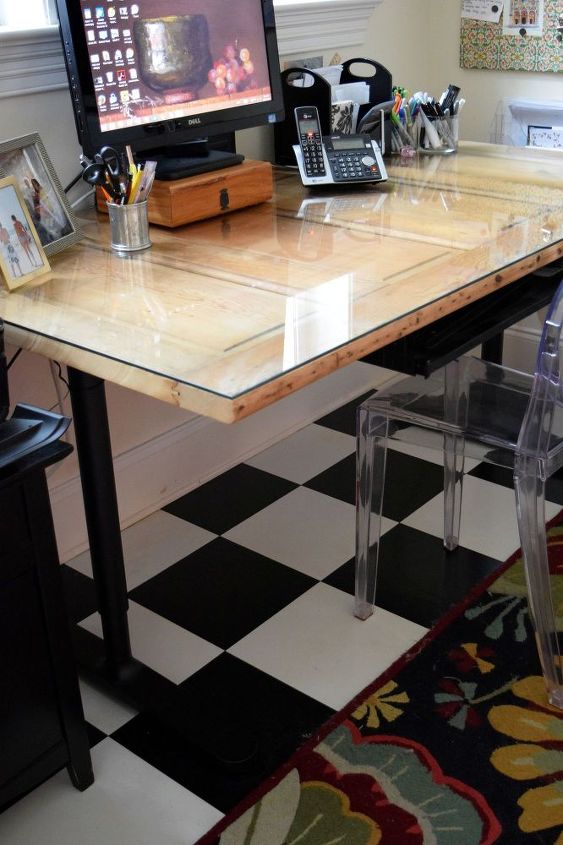
I put 1/4" thick glass on it, adjusted the legs and it's so perfect and sturdy.

Want more details about this and other DIY projects? Check out my blog post!
Comments
Join the conversation
3 of 64 comments
-
Wonderful and cost effective idea!
-
Love this. Did a similar project several years ago, except placed on two small filing cabinets, (1 at each end) for file storage. ( I do not use power tools). Easy & fast.


Frequently asked questions
Have a question about this project?
Won’t the glass break, why not use plexiglass???