


One-hour No-sew Slipcovers for Cushions #1HourProject #LazyGirlDIY
1 Hour
Easy
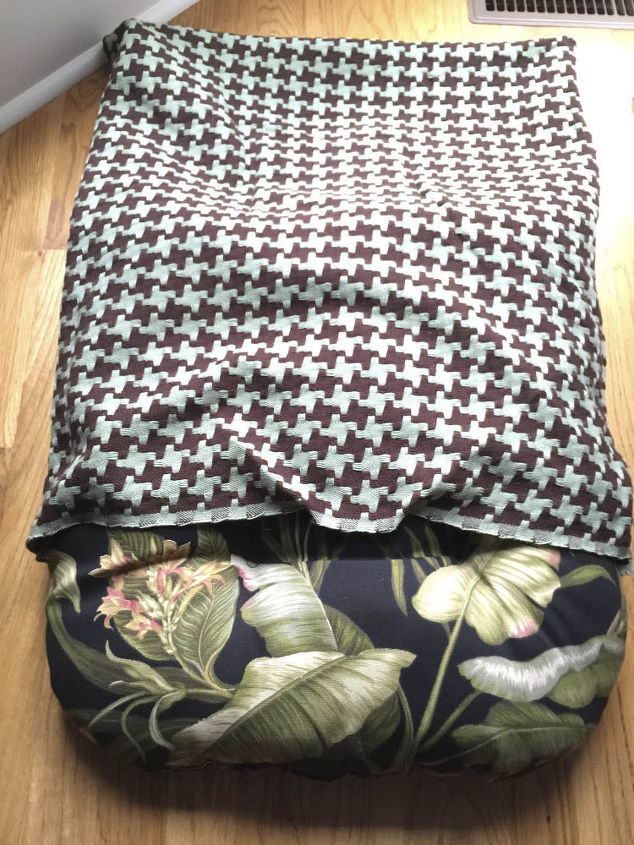
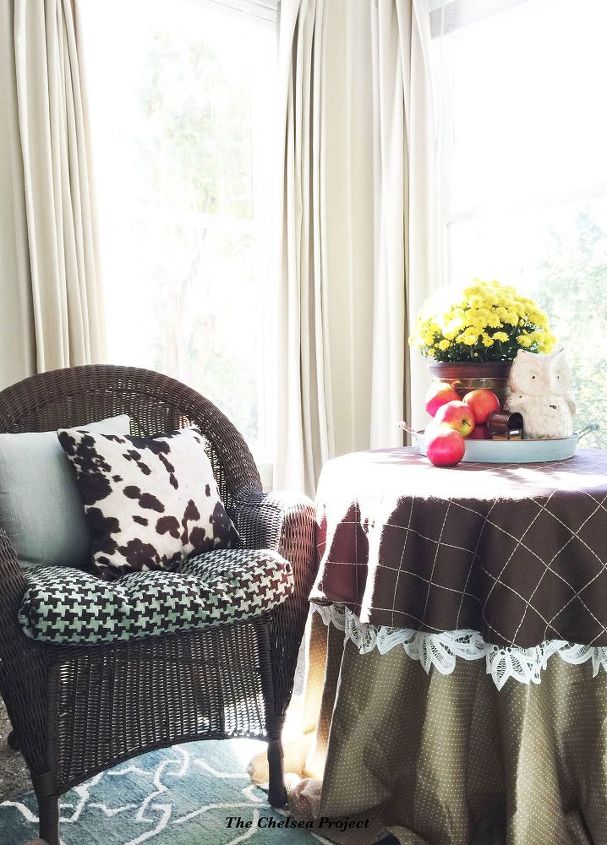
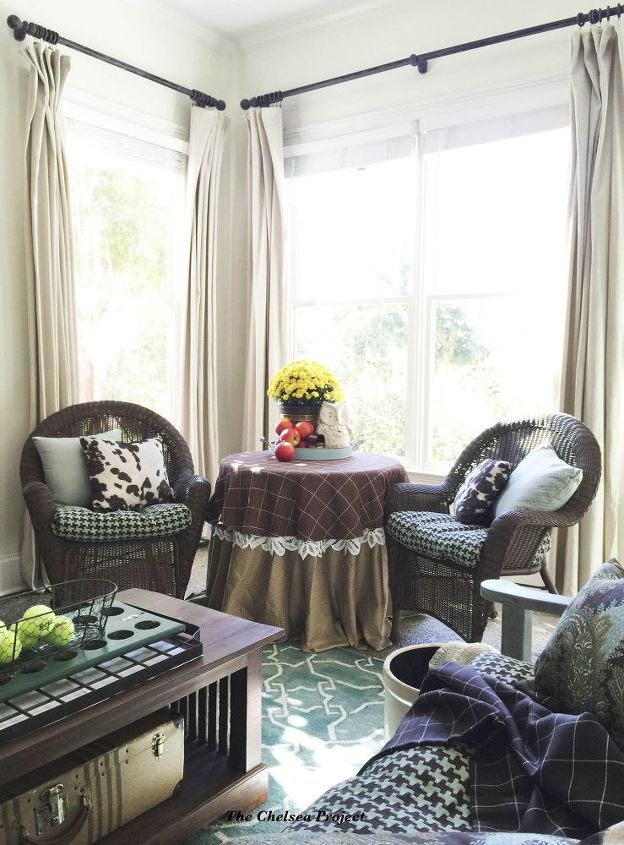
As part of my sunroom makeover, I simply updated the existing furniture by adding slipcovers to some outdated cushions.
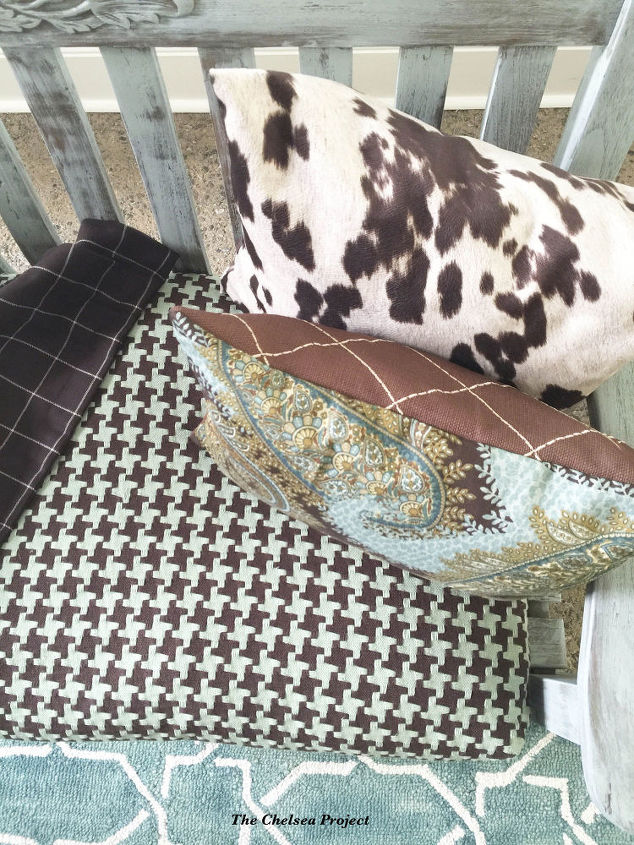
And, if you've ever put a letter in an envelope or a pillow in a pillowcase, you can do it, too.
Here's the breakdown:
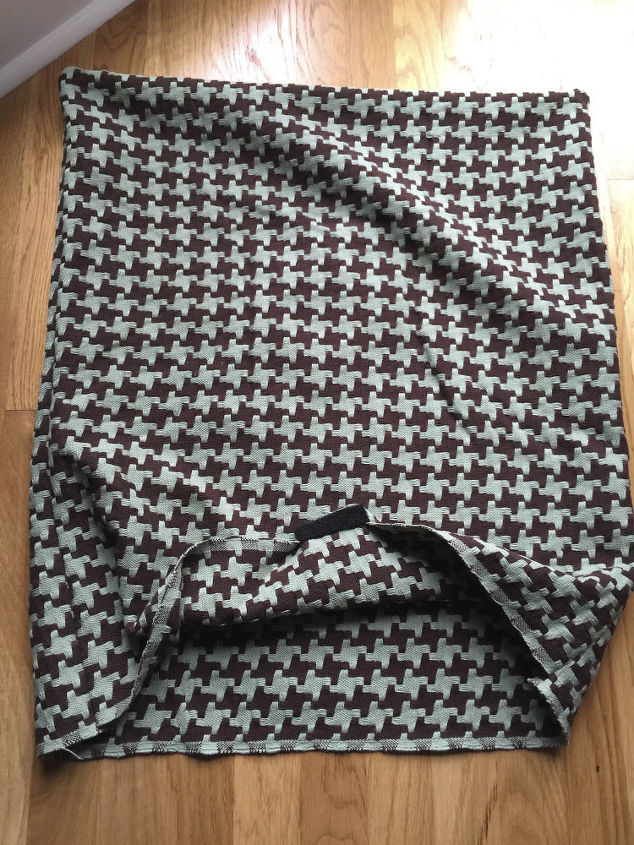
It just looks like a sack. And, so will ours, but with Velcro tabs in the center of the open end. ***Make sure to buy the Velcro with the sticky back."""""
Now, from front to back. I placed my cushion on the fabric so that the fabric wrapped over the front of the cushion. This way, there is no seam. The only seams are on the sides. But, I had to make sure that there was ample fabric to tuck and fold under the cushion at the back. How many inches you want to leave is up to you, but I wrapped the fabric under the cushion so that anyone sitting on the cushion was not placing stress on the Velcro. They would, instead, be pressing the Velcro together.
So, after the side seams are fused together, turn the case inside out and insert the pillow into the case (front first). Then, a series of tucks will begin.
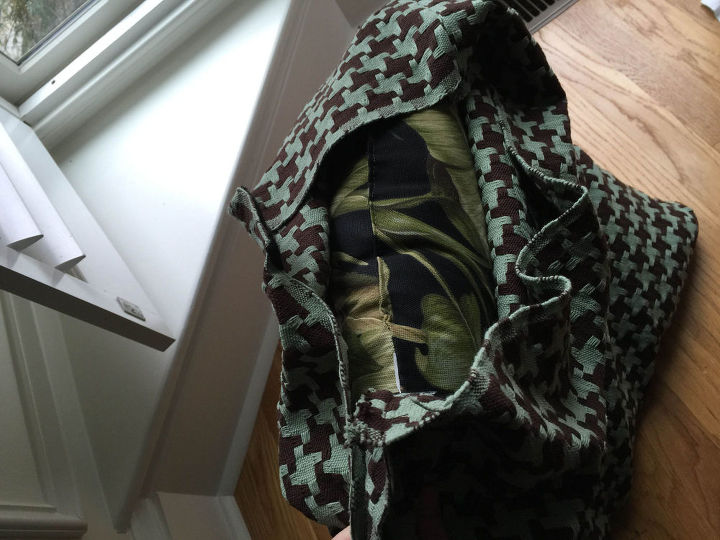
I actually stuffed the pillow down into the case, made the tucks, and then added the Velcro. This way, I knew that the Velcro had the correct placement. I opened up this pillow just to illustrate how the Velcro was placed.
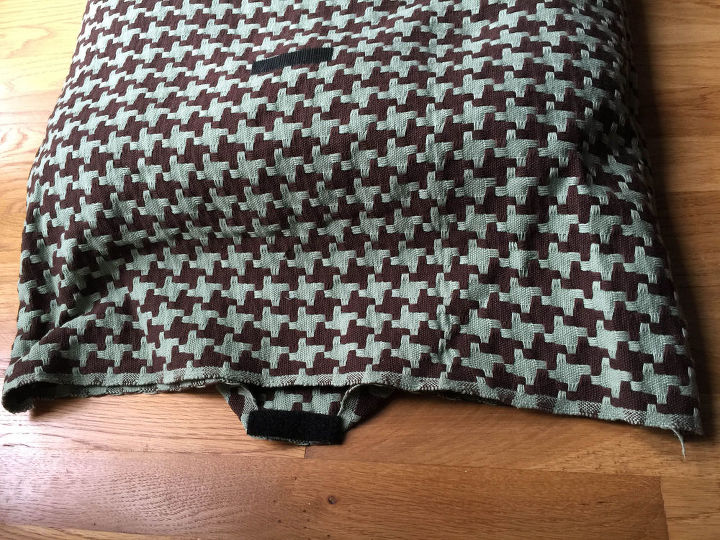
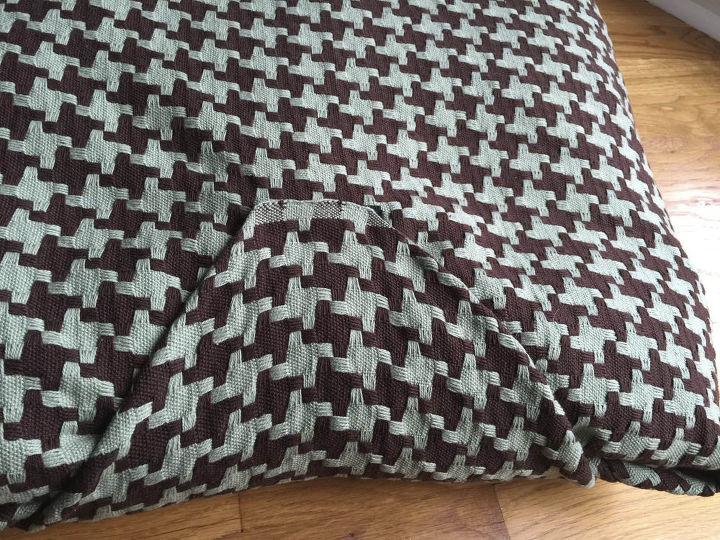
But, let's begin with the first tuck. Fold the fabric down and across the back of the cushion.
Then fold in the sides to make a "V".......the fabric should look like the top of an envelope.
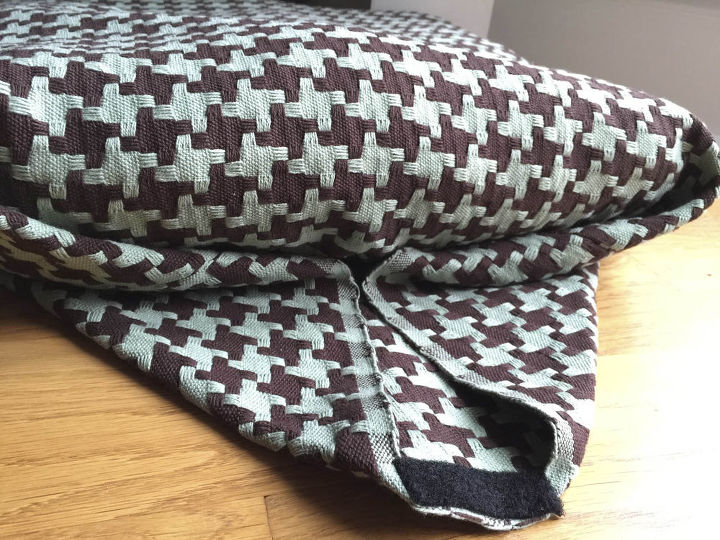
Then, pull the "V" up and across the cushion to check for placement. Add the Velcro and then stick the two pieces together.
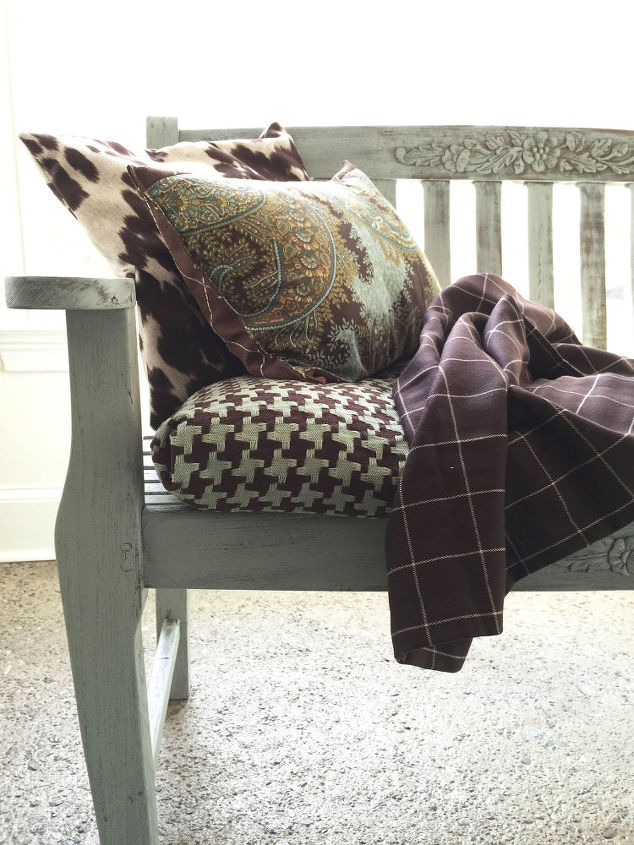
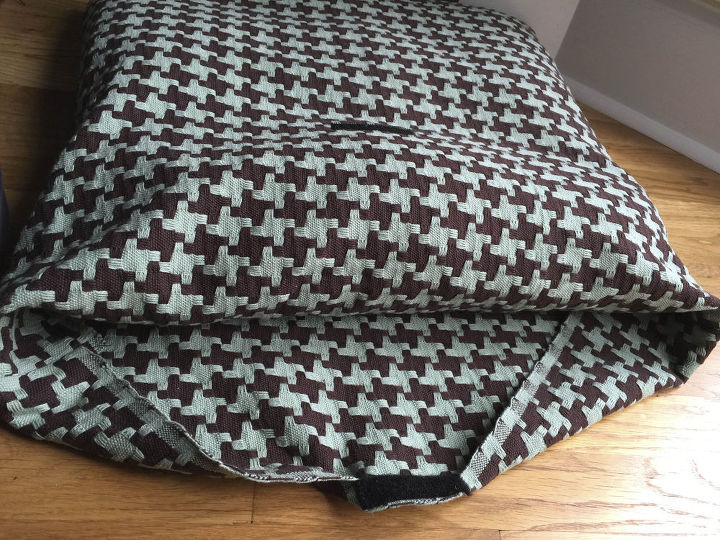
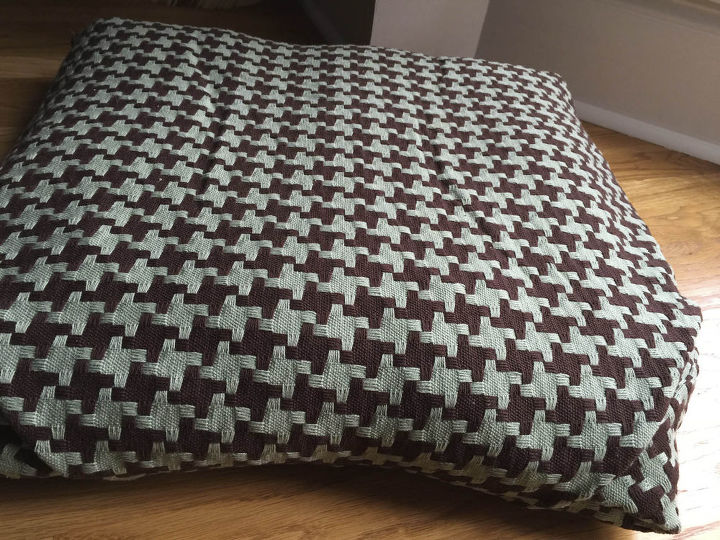
Flip the cushion over and insert the cushion into the chair.
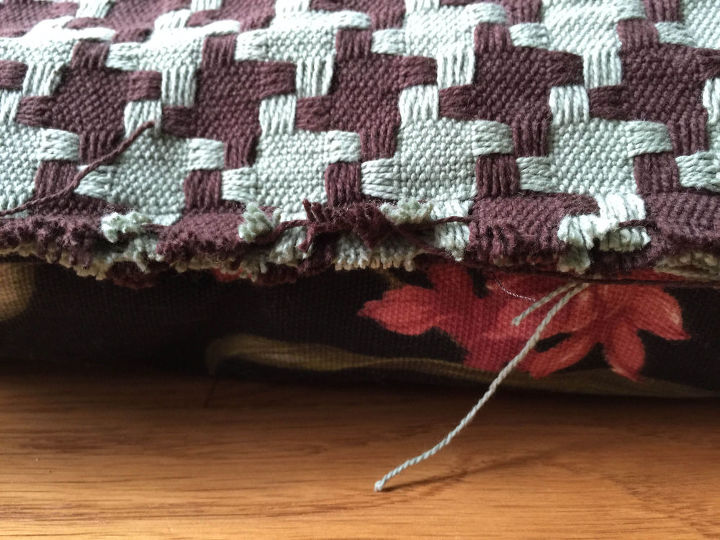
The only caution is to make sure that the iron-on binder and sticky Velcro will adhere to the fabric you choose. I found that it did great for the houndstooth fabric, but would not adhere to the faux cowhide. In this instance, I had to sew the seams together.
And, there you have it. A one-hour slipcover.
Thank you for joining me on this little one-hour project. It is always a joy to share ideas with you.


Want more details about this and other DIY projects? Check out my blog post!
Comments
Join the conversation
4 of 12 comments
-
i love your style. the room looks great!
-
This is great! I have a two large cushioned chair that the fabric just wore right through on. All I have to do now is find a fabric I like!


Frequently asked questions
Have a question about this project?