


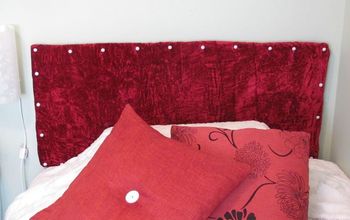
DIY Headboard
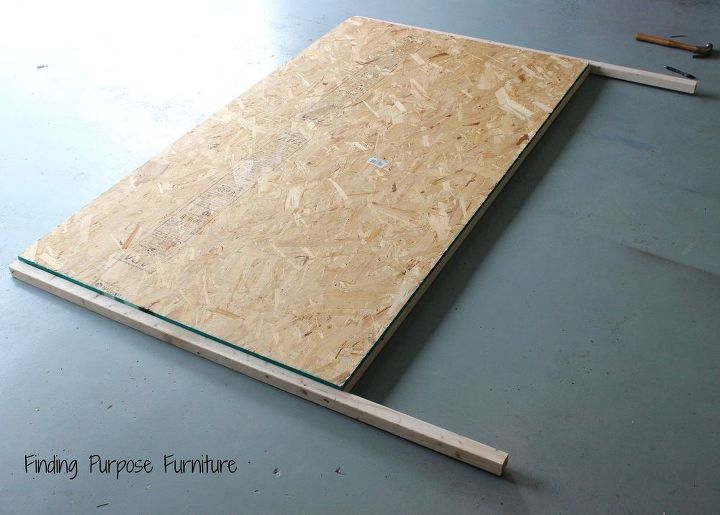
I had read and read and read tutorials and reviews of how to make one of these suckers. I was so excited, but also a bit scared to tackle this one.I initially taped off what I thought I’d want the dimensions of the headboard to be up against our king size bed. Eventually, we adjusted and made it a bit smaller…the dimensions we ended up with were 76 1/2 x 42 inches. This gave us quite a bit below the bed to help brace it in place, which makes it feel very secure, and also allowed us to bolt the new headboard to our existing bed frame.
We built the frame with 2×2’s and plywood. Total cost of the lumber was $15.55…total score there! Then we wanted to see how it would fit/look, so we toted it up to the bedroom. Not going to lie…it was love at first sight.
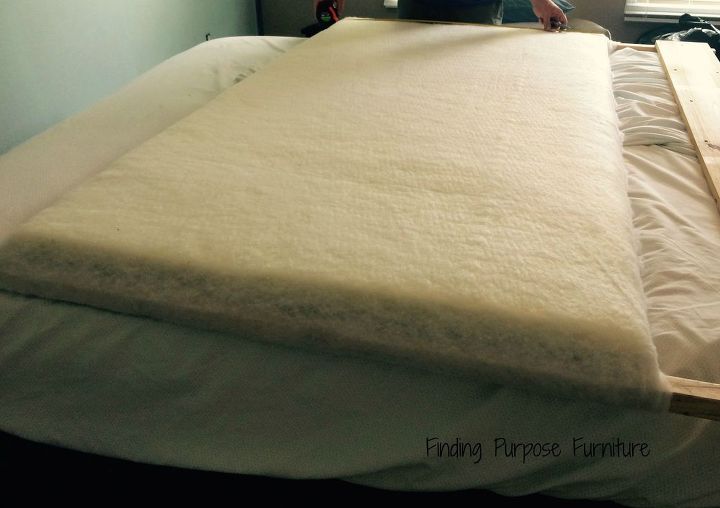
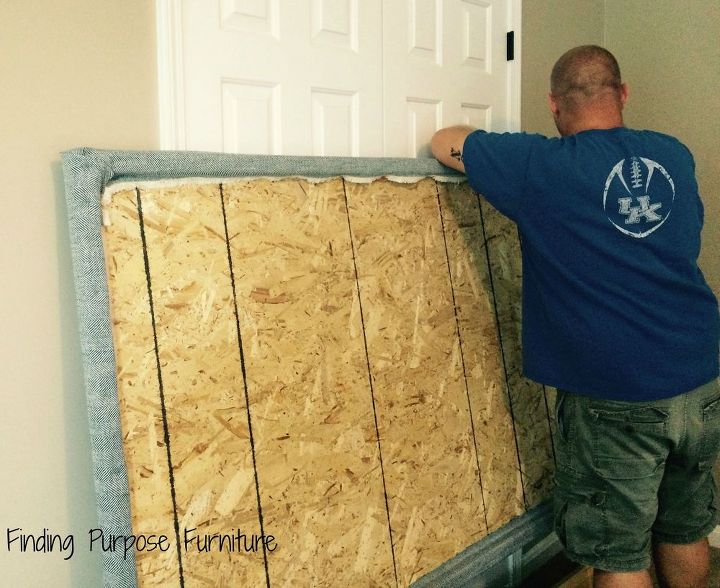
I had purchased an egg crate mattress from JoAnn’s to use for our foam cushion. I looked at lots of different options, and this seemed best for the large size headboard I was making. It took a queen size mattress and I cut it down to size. JoAnn’s does sell foam, but it wasn’t wide enough and would have cost more in the long run. Next, I took a piece of batting (also from JoAnn’s…also 50% off) and wrapped it around the plywood/foam creation. I had 2.5 yards of batting and it was exactly the right amount. We used the staple gun to secure and this really was a 2 person job. I let Brandon staple while I pulled everything tight and made sure it was smooth.
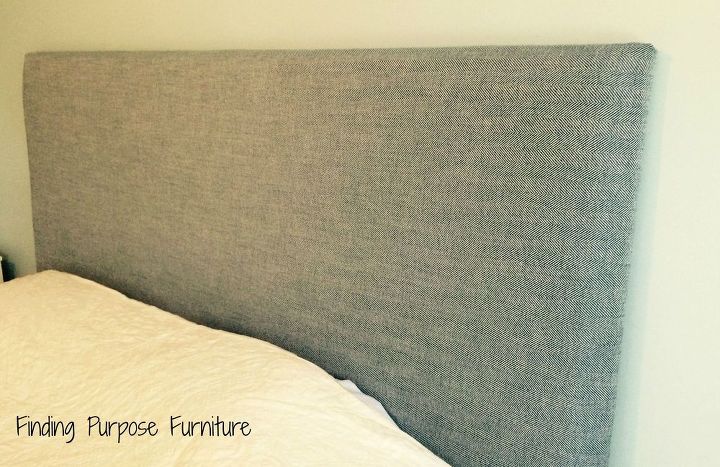
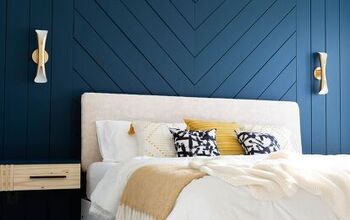
Finally, it was time for the best part- the fabric!!! I fell HARD for this fabric and immediately knew it was the one. I found this at JoAnn’s as well…navy herringbone…could. it. get. any. better?? I think NOT! My initial plan was to do a tufted headboard, but this baby was a game changer. I ended up liking it better without the added tufted buttons.
Love our final product!!!


Want more details about this and other DIY projects? Check out my blog post!
Comments
Join the conversation
3 comments
-
Very nice!
-
You should be proud - you did it and it turned out perfect!


Frequently asked questions
Have a question about this project?