


DIY Puzzle Heart Nursery Art - A #1HourProject
$5
1 Hour
Easy
As soon as we found out we were having a bubbly little baby girl, I knew I wanted her room to be pink and to be "Japan themed" (since we live in Japan after all). I already had so much love for her in my heart I thought what better way to express that than with some adorable "heart art"? I thought of tons of ways to create this and realized that since she was the missing piece in our lives, a jigsaw puzzle would be the perfect medium to use! Check out this and other cool DIYs, crafts and home décor at www.diyjustcuz.com
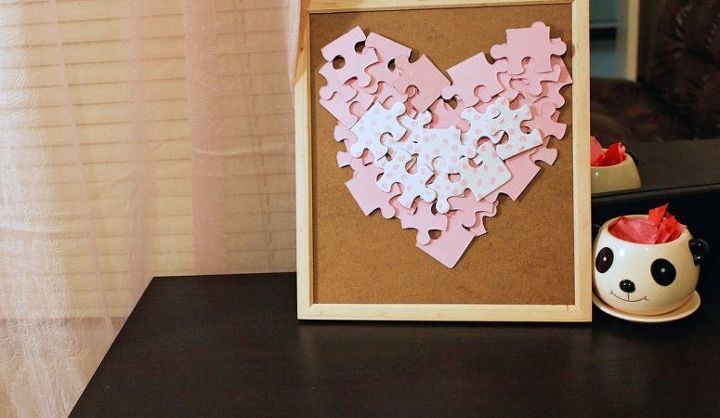
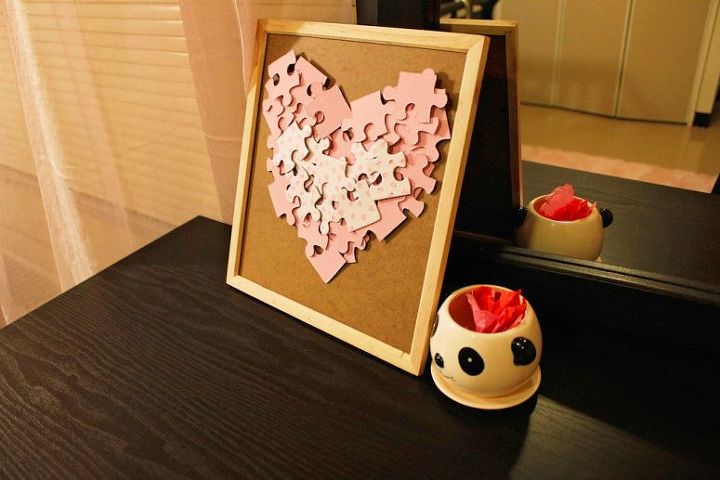
The final product! It went perfectly with her adorable Japanese nursery with the color scheme: pink, black and white.
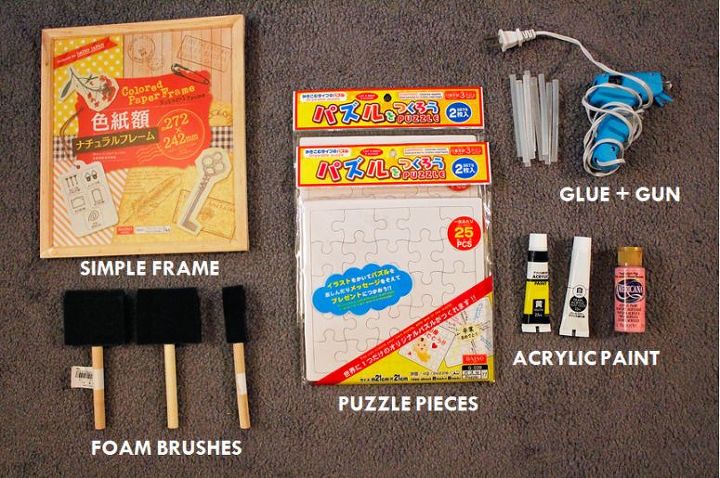
The supplies are fairly easy to come by, the most important being the puzzle pieces! I ended up scoring some blank puzzle pieces at the Japanese dollar store (100 yen store) but you really could use any puzzle...maybe one that is already missing some pieces! Other materials include: frame, foam brushes, paint, & a glue gun.
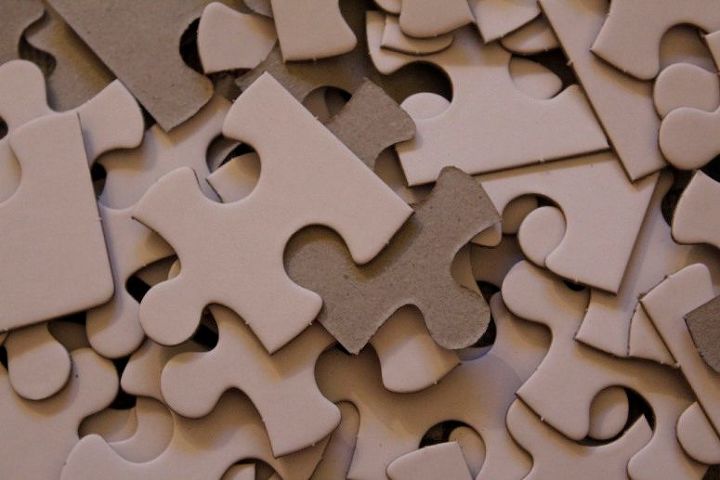
The before - the most important material...puzzle pieces. Look at them, they don't even realize how beautiful they will soon become!
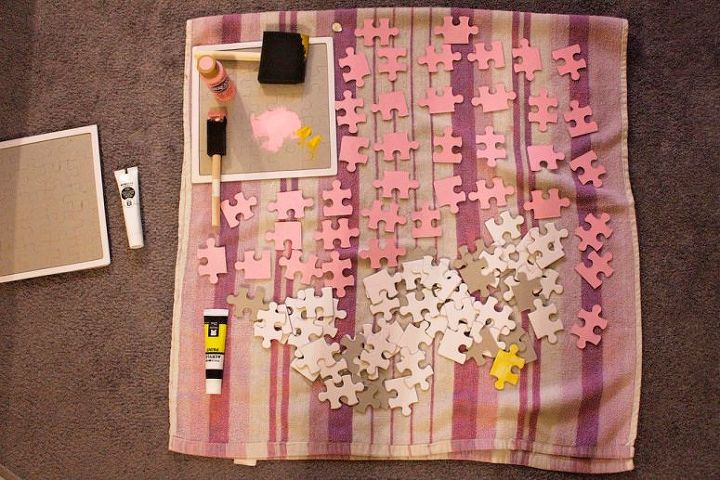
Step 1: Paint the puzzle pieces. This part was the most fun for me because I love to paint, anything involving paint is exciting, it's one of the easiest mediums to craft with and also allows tons of creativity.
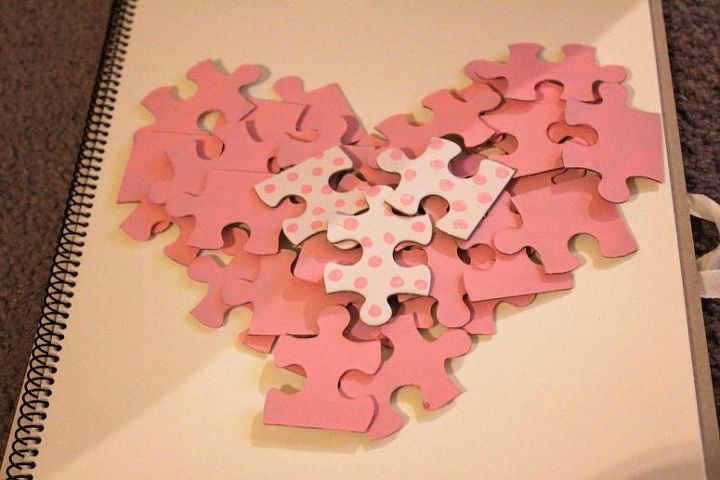
Step 2: Figure out what kind of design you'd like to create with the puzzle pieces. As I mentioned before, I wanted to create a heart but you can really make anything. Isn't it amazing that the pieces don't have to fit together to be "art"?
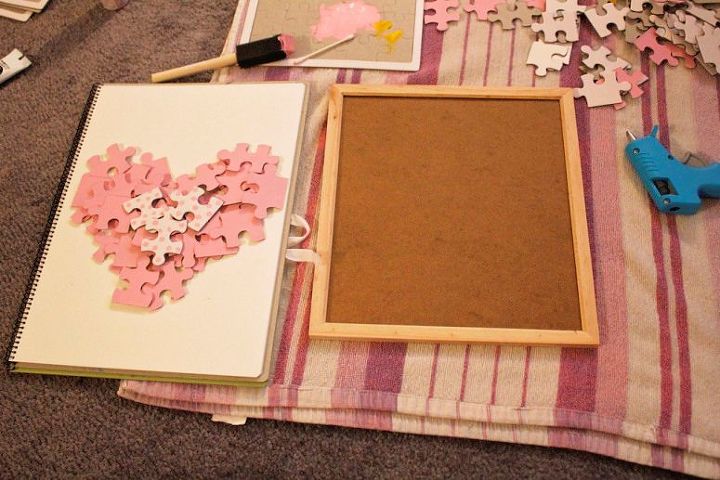
Step 3: Remove the glass or plastic layer from your frame and use the back of it as a backdrop for your jigsaw art. The puzzle pieces will not lay entirely flat so you will not be able to replace the glass when you are done since the image is 3D.
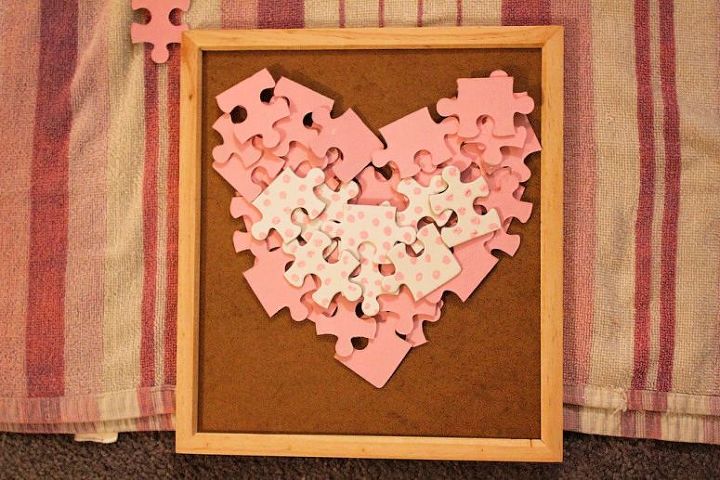
Step 4: Glue the pieces to the frame one by one using the glue gun.
Step 5: Allow the pieces to dry on the board (should be fast because we used hot glue) and then rejoice! You have just created a beautiful piece of artwork in at most one hour and it is perfect for any room in your home. What do you think? What shape will you make your jigsaw pieces into? Don't forget to check out all the here on HomeTalk!

Want more details about this and other DIY projects? Check out my blog post!
Comments
Join the conversation
1 comment
-
This is such a cute idea! I love the puzzle pieces. Super unique!


Frequently asked questions
Have a question about this project?