


Repurposing Dresser Drawers
Recycle, upcycle, repurpose, reuse….whatever you call it, these nightstands do it all. The knobs are new, but the spindle legs, hardwood flooring top and drawer body of the table have all had past lives. Their worlds are about to collide.
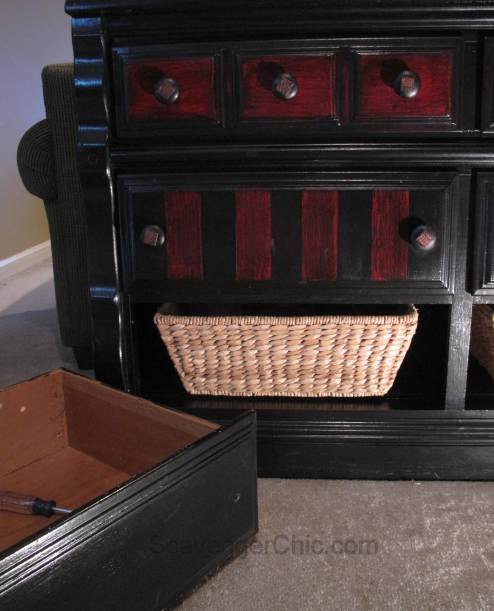
My drawers were leftover from my red and black painted dresser. I’ve kept these drawers around for what seems like forever. There is nothing actually wrong with the drawers but since the dresser is being used as a sofa table, I wanted to use baskets instead of drawers in two of the slots so these 2 drawers just got cast aside. I was happy to see that these drawers had dovetailed corners, which hopefully means they’ll stay together a bit longer than if they had just been nailed and glued.
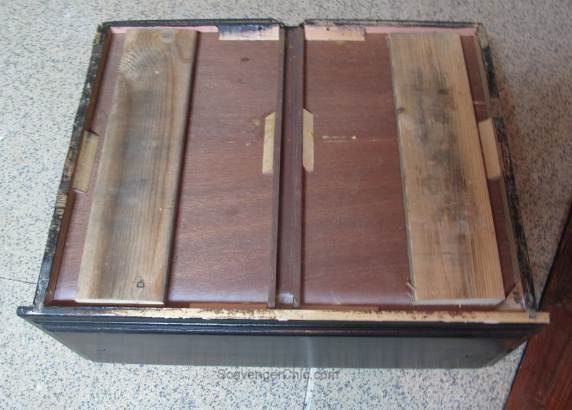
The idea for these side tables was to use the bottom of the drawer as the top of a side table with the attachment of a bit of hardwood flooring. Right now there is nothing to attach the flooring to, except for that thin strip of wood on the sides of the drawer. A couple of pieces of scrap wood (did you guess I used pallet wood?) attached to the bottom of the drawer gives a place for the hardwood flooring to be nailed to.
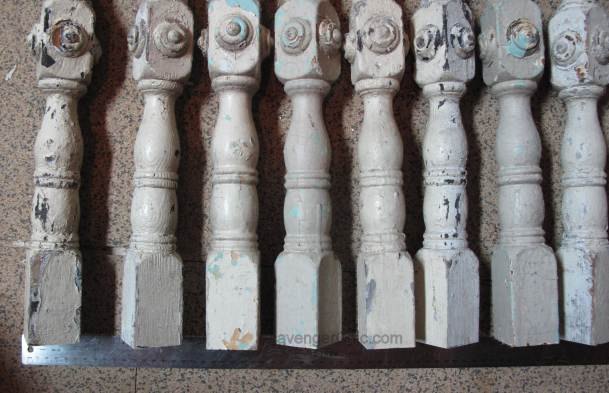
All of the spindles were trimmed to the same length and given a light sanding to get rid of most of the really flaking paint. With spindles this old, definitely would recommend you do your sanding outdoors with a mask. It certainly wouldn’t surprise me if there was lead in the paint.
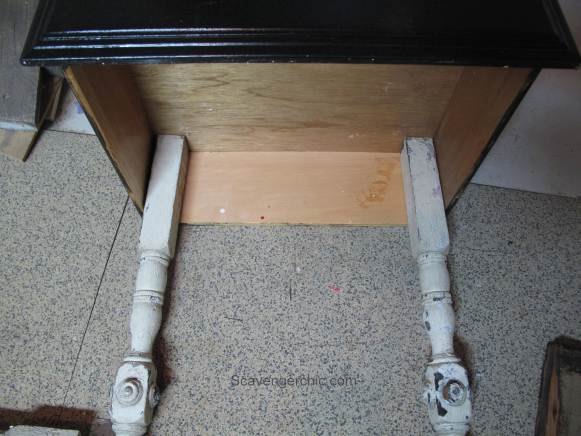
This is how the spindles fit inside the drawer. A screw from the top and a few screws from the sides hold the spindles in place.
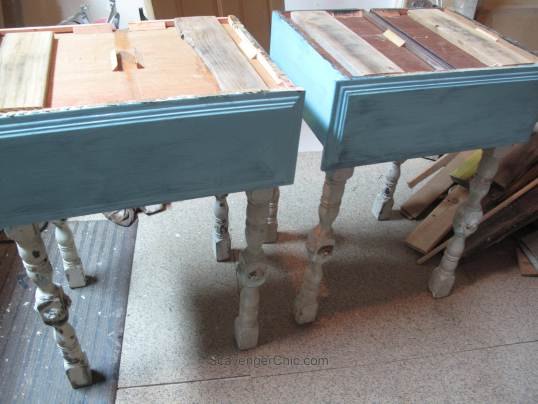
This pretty blue chalk paint covered up the black from the dresser. Some of the spindle legs had a color very similar to this peeking through one of their many layers.
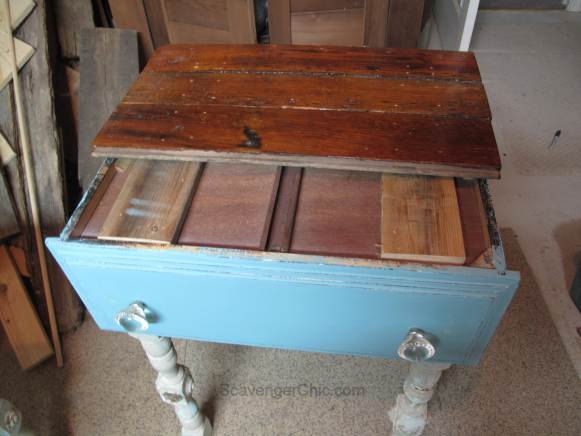
The top was finished with some salvaged tongue and groove hardwood flooring.
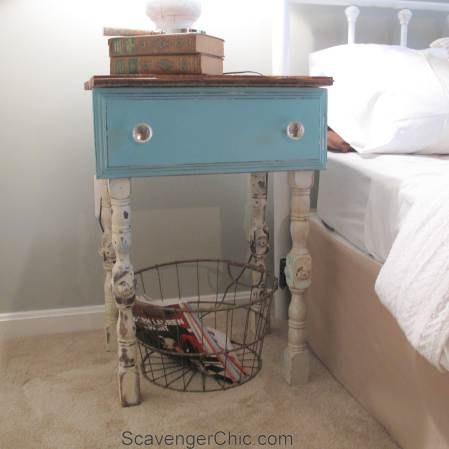
The tables are perfect as nightstands in the guest bedroom. Because these are non working drawers, a wire basket is perfect for holding magazines or anything else you or your guests would like to throw in there. If you would like to see more pictures of the step by step process make sure you click on the link below. Have a wonderful week. Stay inspired.

Want more details about this and other DIY projects? Check out my blog post!
Comments
Join the conversation
2 of 5 comments
-
Love it!!
-
I love it! I might add another drawer underneath for extra storage!


Frequently asked questions
Have a question about this project?