


DIY Rustic Sign Using Transfer Gel

by
Terry Foster
$13.00
Easy
The other day I posted about helping my friend Manja out with her booth at the Home Renovation show. During our time together we discussed many things and she started me on a new addiction ... Fusion transfer gel!!!
I have been wanting to try image transfers for a while now and after speaking with Manja about the "How To's" she made me realise just how easy and fun it was!
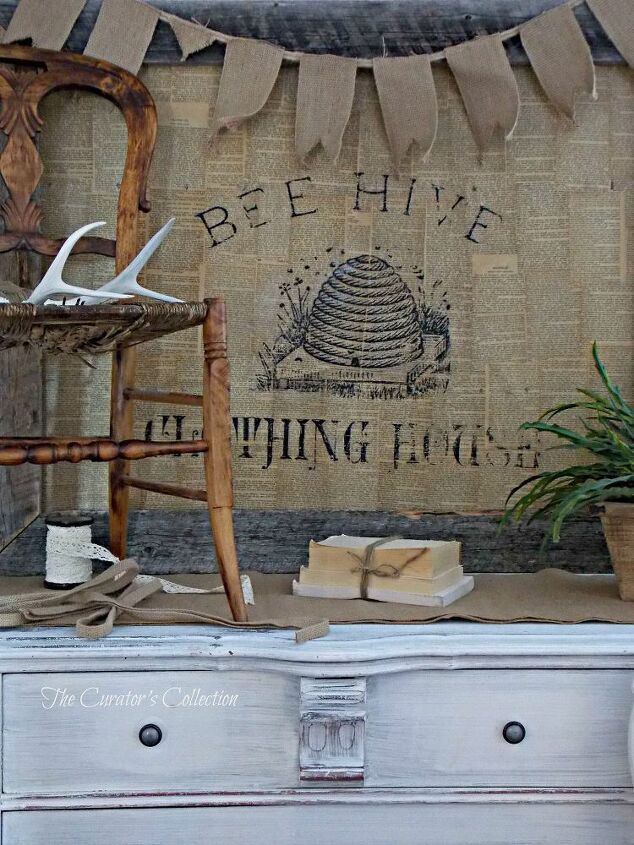
Needless to say it inspired a project and well.... this is the product ....
I have been wanting to try image transfers for a while now and after speaking with Manja about the "How To's" she made me realise just how easy and fun it was!
Needless to say it inspired a project and well.... this is the product ....
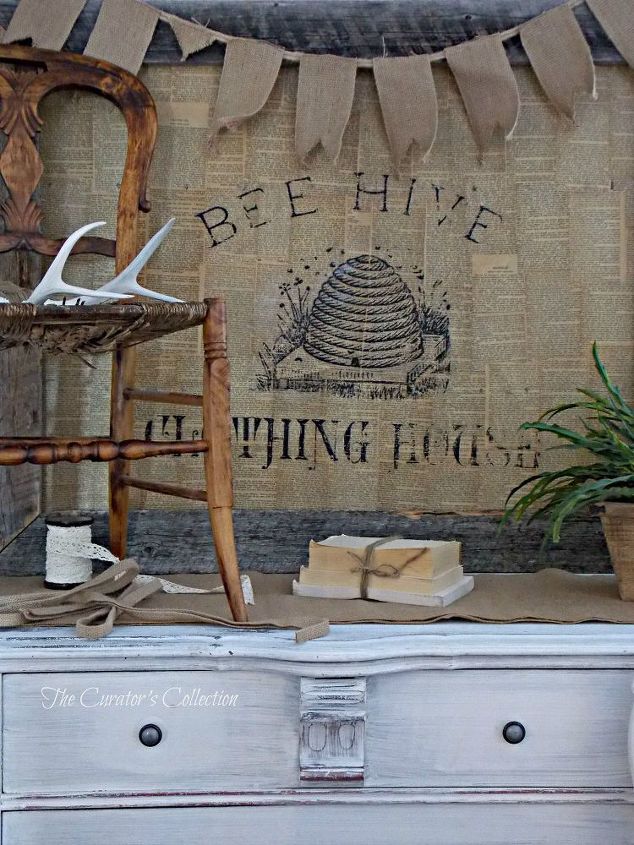
Some of you may remember the French cabinet I made over for a custom order where the lady didn't quite love the backboard I covered with antique book pages. ( Click here to see that post )
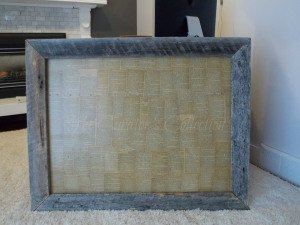
I liked it but it looked too plain and really rather pointless. I considered making it into a message board of sorts but it was soooooo large that I didn't feel that was a fitting purpose for it.
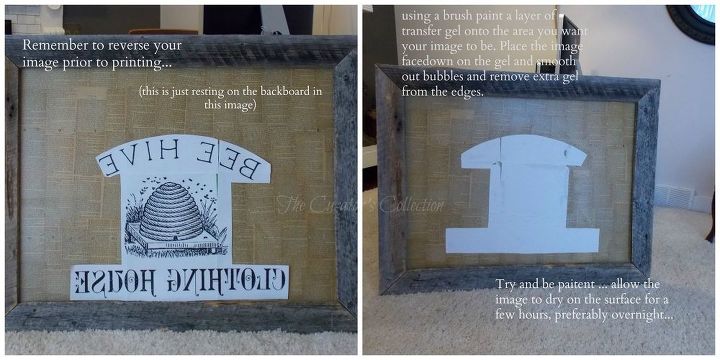
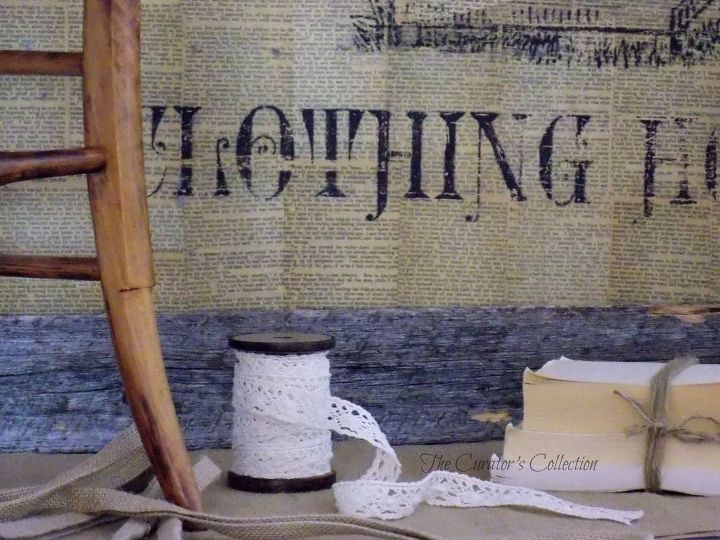
Once I had it all trimmed and pieced together, I laid it on the surface to see where I wanted to place it. Once I had the position just right I then covered the surface with a light coating of transfer gel using a paintbrush to apply it evenly. Then I laid the image face down on the gel. Using an old membership card, I smoothed the image out squishing out excess transfer gel to the edges of the image. I was able to scoop up the excess gel with the card and return it to the gel container ... no waste! :)
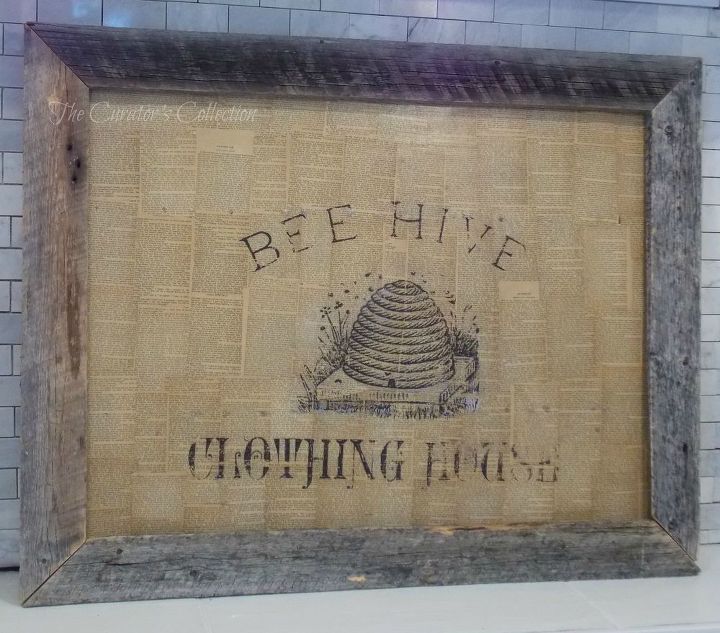
There it was! It worked! I may have accidentally rubbed too much in some places and some of it rubbed off with my cloth. It was fine with me though because I was going for a worn, aged look with my sign. I intentionally rubbed some more off in a few other places as well.
Smiles!
Want more details about this and other DIY projects? Check out my blog post!
Comments
Join the conversation
3 of 4 comments
-
Just awesome, Terry!! Way to turn lemons into lemonade!! Wish we could craft together -- I've tried Golden's Transfer medium so many times, and am never happy with it. :( Have not seen Fusion products in our area, but I guess now's not the time to be shopping for myself! haha
-
I love this! What a great project, I love the rustic look!!


Frequently asked questions
Have a question about this project?