


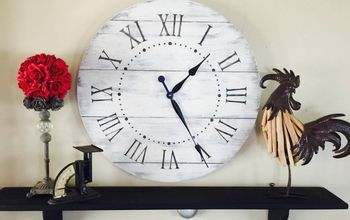
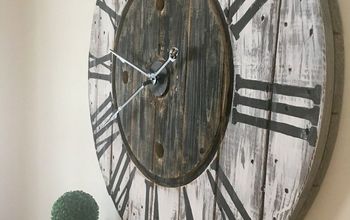
DIY Clock From a Wooden Spool
UPDATE****** I AM AWARE THAT THE 9 IS INCORRECT, I'LL BE FIXING IT AND POSTING NEW PICS VERY SOON. THANK YOU ALL FOR LETTING ME KNOW!!******
As you know I am part of a monthly challenge group,and this month's Theme was WEATHERED. Pretty much my absolute favorite finish on everything. If it looks like it's been sitting outside for 100 years and no one has touched it SIGN ME UP! I kind of cheated a little bit this month. Instead of using an actual piece of furniture I decided to make my piece. It was super easy! If you'd like to see the other projects from the group just go here
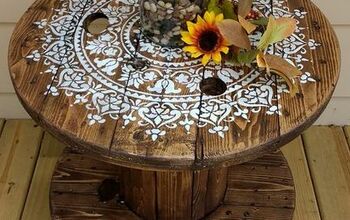
First thing was first. My Brother in-law works at a rock quarry and they had some of these wood spools lying around. SCORE he just brought them home for me.
As you know I am part of a monthly challenge group,and this month's Theme was WEATHERED. Pretty much my absolute favorite finish on everything. If it looks like it's been sitting outside for 100 years and no one has touched it SIGN ME UP! I kind of cheated a little bit this month. Instead of using an actual piece of furniture I decided to make my piece. It was super easy! If you'd like to see the other projects from the group just go here
First thing was first. My Brother in-law works at a rock quarry and they had some of these wood spools lying around. SCORE he just brought them home for me.
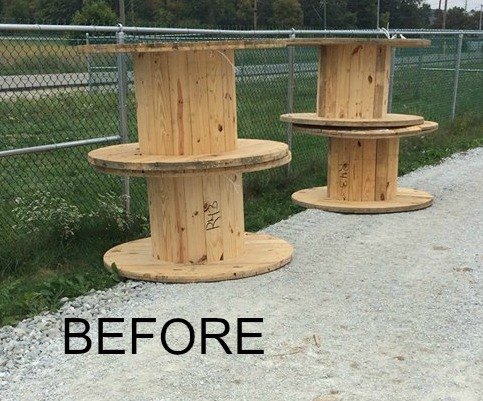
So after you locate your spool and get it home you have to disassemble it and clean the dirt off.
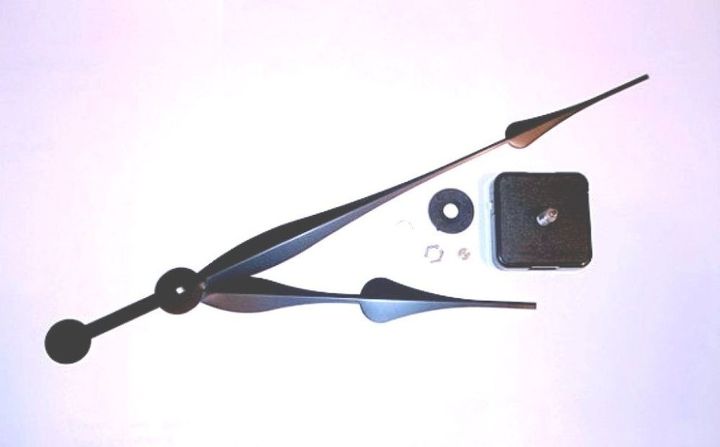
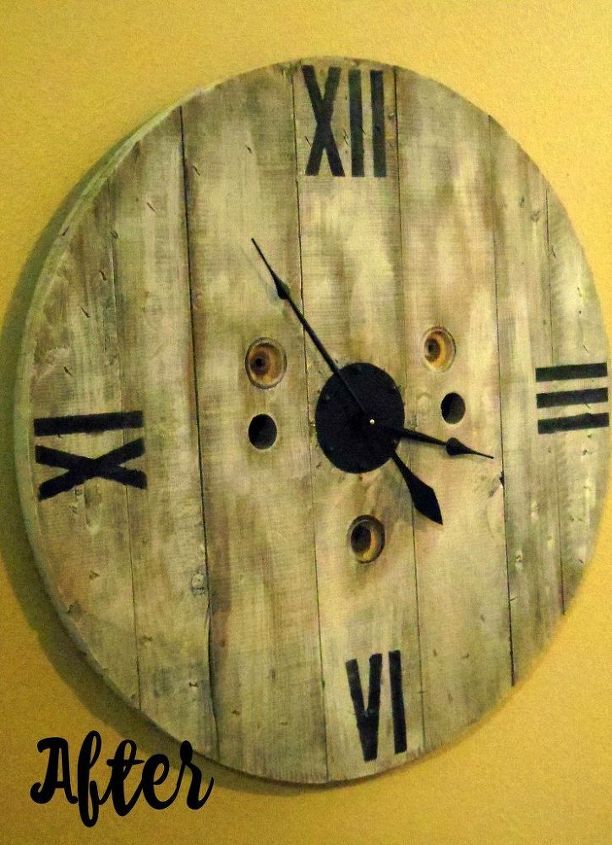
Then It's time to attach your clock motor and hands to the sheet metal. You just drill a hole the size of the piece that holds the hands in the middle of your sheet metal. I think it's a 3/8 drill bit.
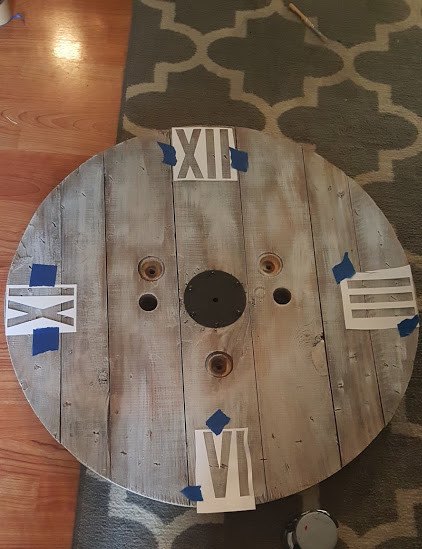
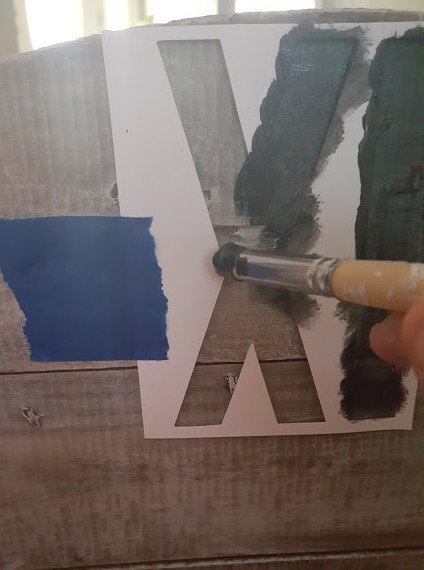
After you add your hands time to paint your numbers on. I just used a font I liked and Typed a bunch of I,V,and X's for roman numerals. Then cut them out with an exacto knife and painted them on with black laytex paint.
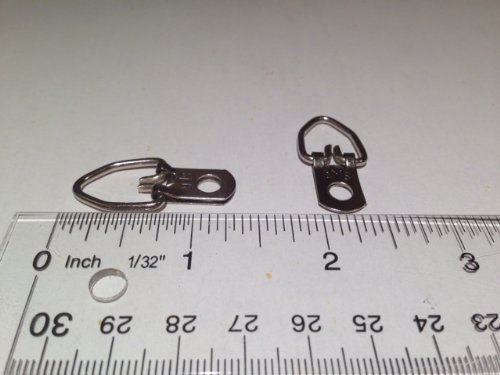

When everything was attached and Painted i then added a hanger to the back i used 2 D-Hooks and plastic coated wiring rated for 250 lbs.
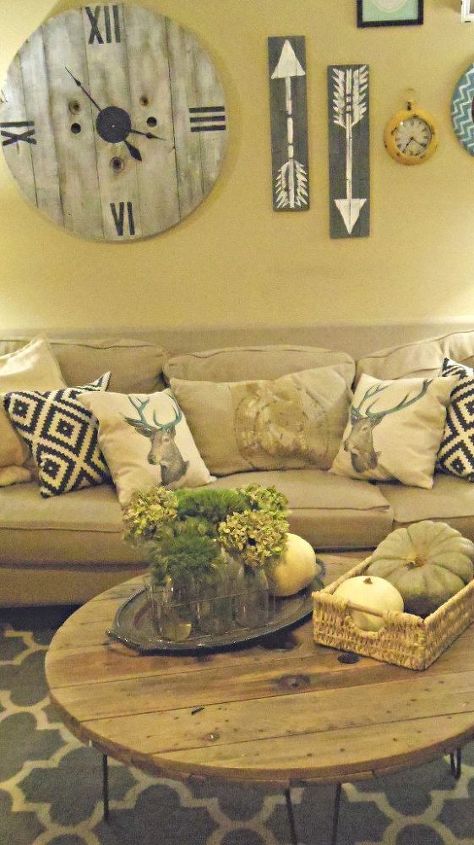
I just love it! it ties my coffee table in nicely, and really finishes out My gallery wall. For more details and a full list of everything I used, just follow the link below over to my blog.

Want more details about this and other DIY projects? Check out my blog post!
Comments
Join the conversation
2 of 122 comments
-
Very Nice! ...I think numbers 3 and 9 are not suppose to be turned sideways, they should be straight up.
-
LOVE THAT CLOCK !! Love the whole wall, and the table !


Frequently asked questions
Have a question about this project?