


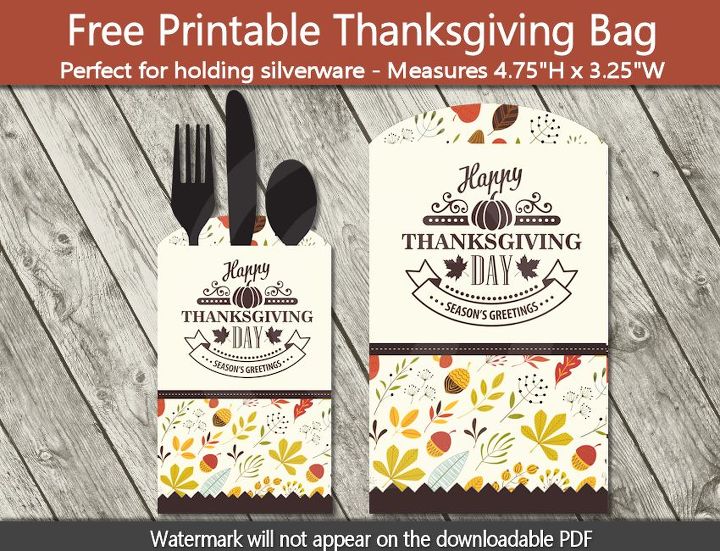
Printable Thanksgiving Utensil Holders
My original inspiration behind making these was to create something for people working on Thanksgiving day to pack in their lunches so they could have a little something special to hold their utensils. These hold regular silverware as well as the "to go" silverware packs we all get when ordering out for those on the go.
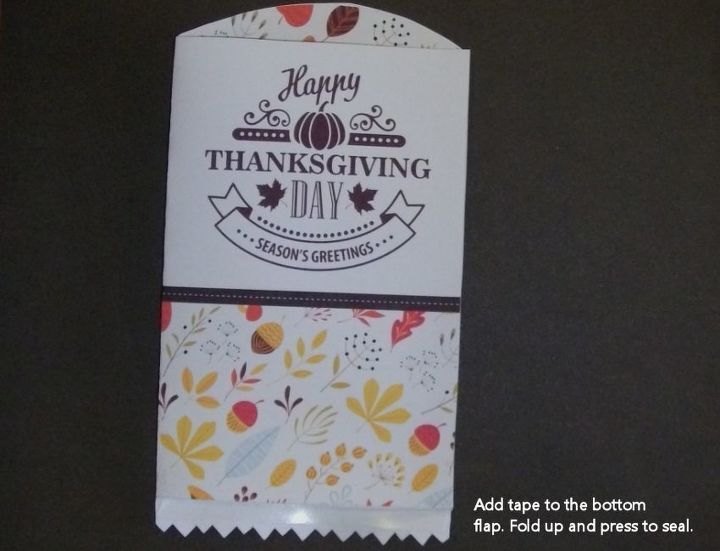
These are very easy to cut out and tape. Easy enough that the kids might want to join in on the crafting and make these while you are busy in the kitchen preparing the big feast.
I know I enjoyed making stuff like this when I was young, but then I grew up watching Captain Kangaroo and he was always making the neatest stuff! It was amazing what he could do with a little paper, scissors, and tape.
Thanksgiving Typography Clipart by Vik_Y licensed through EnvatoMarket
Digital Papers used to create these printables are Copyright © PinkRainbowDesigns Personal Use Only.
Materials You Will Need:
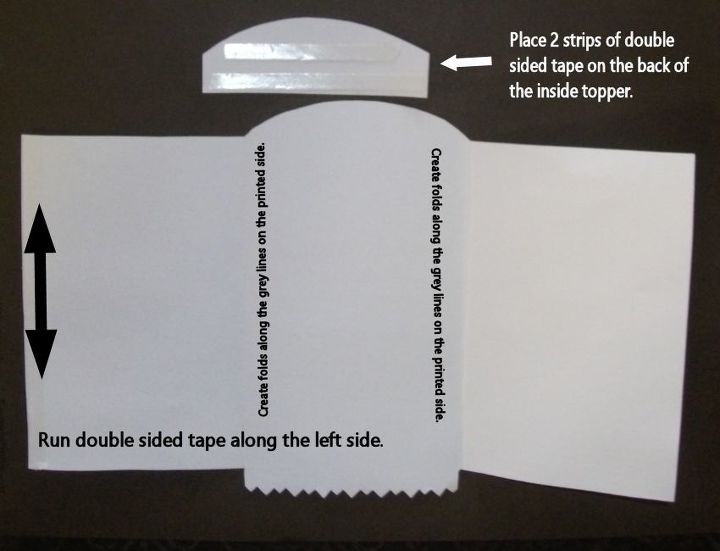
Step Three:
Step Five:
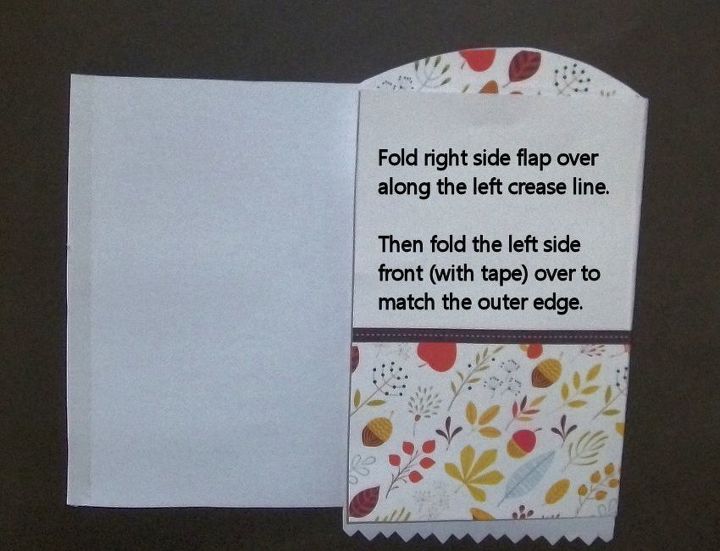
Step Six:
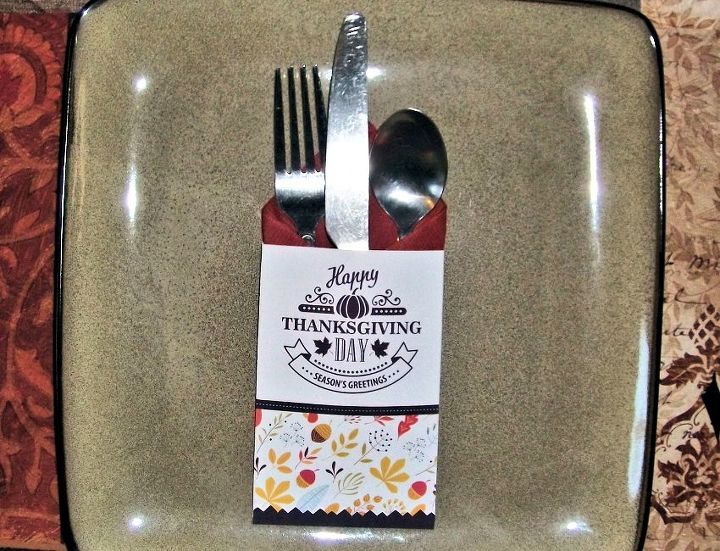
Your silverware pocket is complete now and ready for you to place a folded napkin and silverware into it.

Want more details about this and other DIY projects? Check out my blog post!


Frequently asked questions
Have a question about this project?