


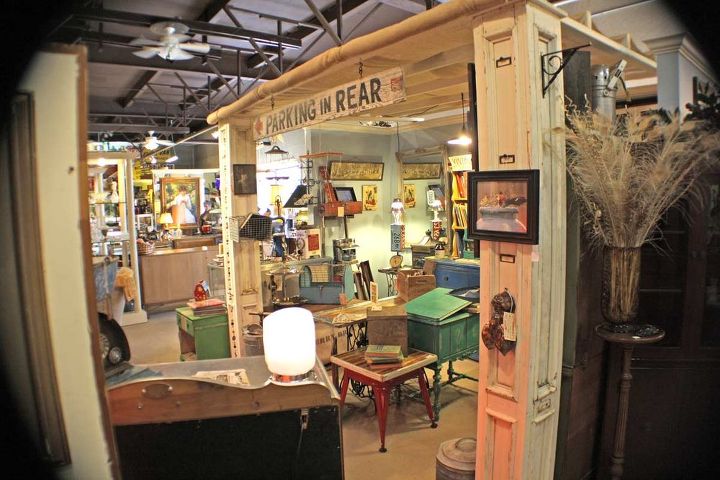
Antique Booth Overhaul
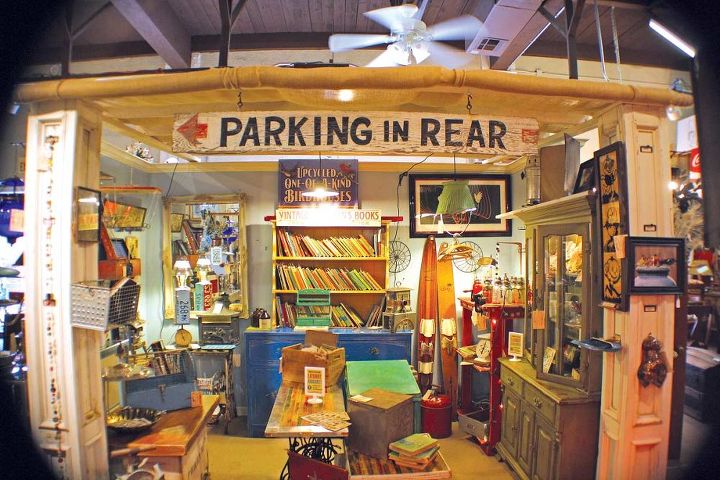
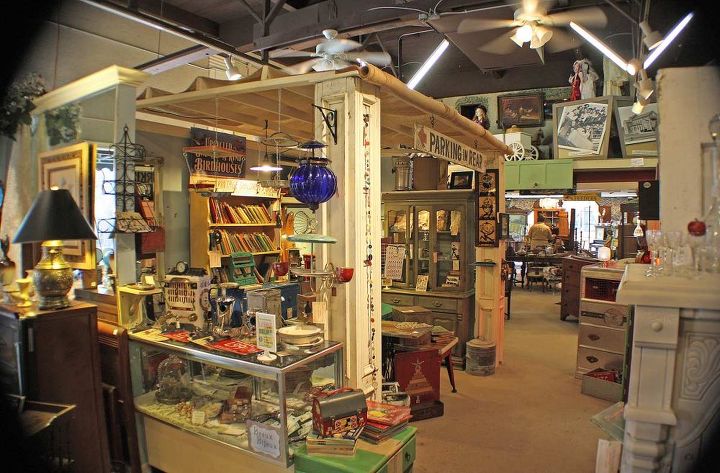
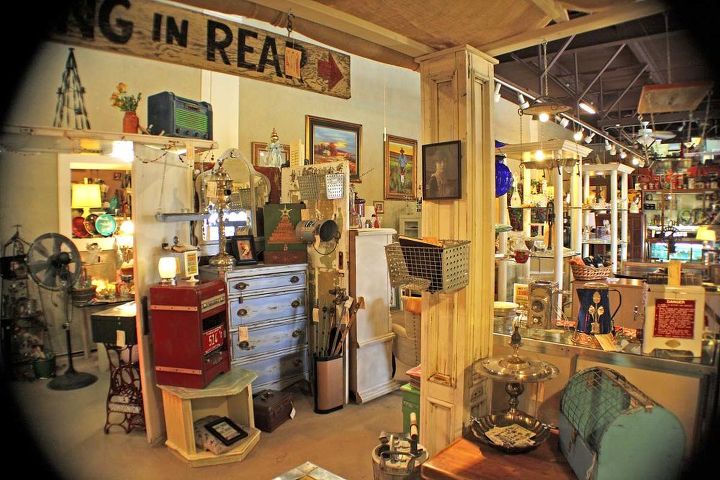
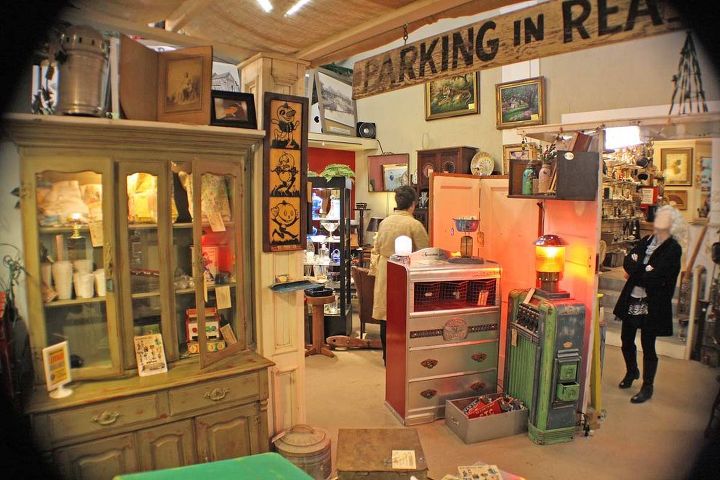
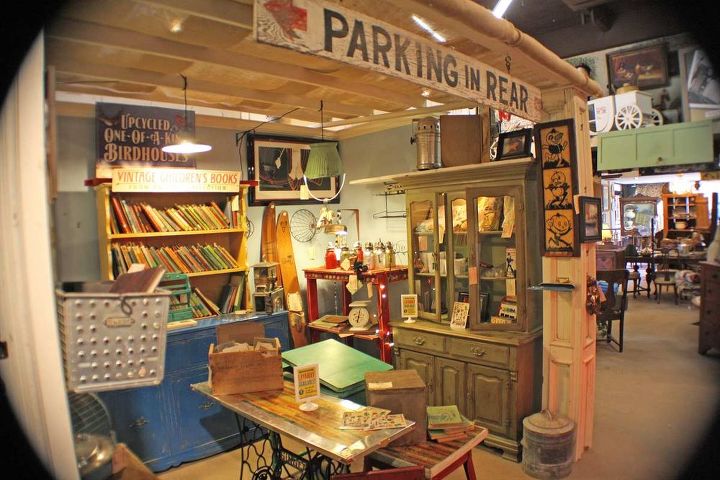
When I complete a creation it goes directly to Timeline Antiques & Collectibles Mall in Shreveport. I previously had two booths and wanted to combine the booths and grab a few extra square feet at the same time. For a few months I was brainstorming trying to think about how to keep folks in my booth longer and to also give them some eye candy. The trigger was running across two old square, wooden columns. The ideas poured in after that. A structure! A canopy! Burlap!
With some help from friends, Brian & Randy, I was able to get this structure put together with the help of ladders. (I need to learn how to use stilts!) After cutting the columns to the same height, all it needs was some 2x4s, hingers, screws and burlap. The columns have been fun mounting different items in different ways all the time. The 2x4 roof grid also allows me to hang my repurposed lights or whatever else needs some exposure up above.
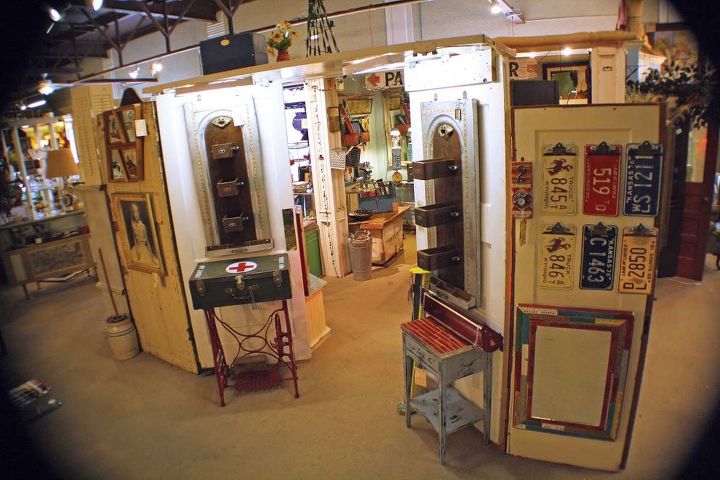
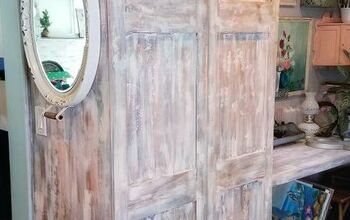
Phase 2 was making a boundary on the other end of my booth. Enter doors! It didn't take long to come up with about 7 doors. I hinged two at each corner and then brought a third door on each side in at an angle for an entrance. The seventh door worked great as an entrance cover. Which also gives me an instant self on top of that door.
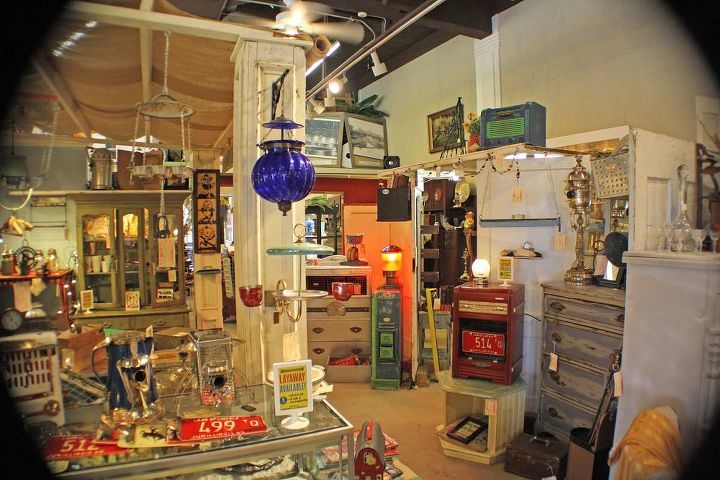
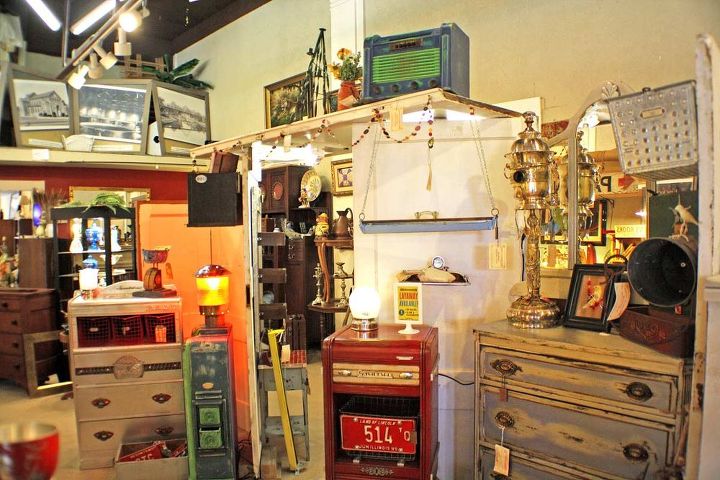
The booth space has been great and has really given me layout options I didn't have before. And the customer enthusiasm has been all the reward.
With some help from friends, Brian & Randy, I was able to get this structure put together with the help of ladders. (I need to learn how to use stilts!) After cutting the columns to the same height, all it needs was some 2x4s, hingers, screws and burlap. The columns have been fun mounting different items in different ways all the time. The 2x4 roof grid also allows me to hang my repurposed lights or whatever else needs some exposure up above.
Phase 2 was making a boundary on the other end of my booth. Enter doors! It didn't take long to come up with about 7 doors. I hinged two at each corner and then brought a third door on each side in at an angle for an entrance. The seventh door worked great as an entrance cover. Which also gives me an instant self on top of that door.
The booth space has been great and has really given me layout options I didn't have before. And the customer enthusiasm has been all the reward.
GadgetSponge.com Antique Booth
GadgetSponge.com Antique Booth
GadgetSponge.com Antique Booth
GadgetSponge.com Antique Booth
GadgetSponge.com Antique Booth
GadgetSponge.com Antique Booth
GadgetSponge.com Antique Booth
GadgetSponge.com Antique Booth
GadgetSponge.com Antique Booth

Want more details about this and other DIY projects? Check out my blog post!
Comments
Join the conversation
2 of 5 comments
-
Permanent booth Miriam. The store is opened Mon-Sat. 10am - 5pm. Hope you can make it by there!
-
I would love to someday :) Bucket list!


Frequently asked questions
Have a question about this project?