


Cereal Box Craft Project
I think I'm a crafting roll. Last week I transformed tin cans into pretty white containers. And now this week I have a cereal box craft project for you.
This isn't a new craft but it is decorated differently. Different colors and fabric give it a completely different vibe.
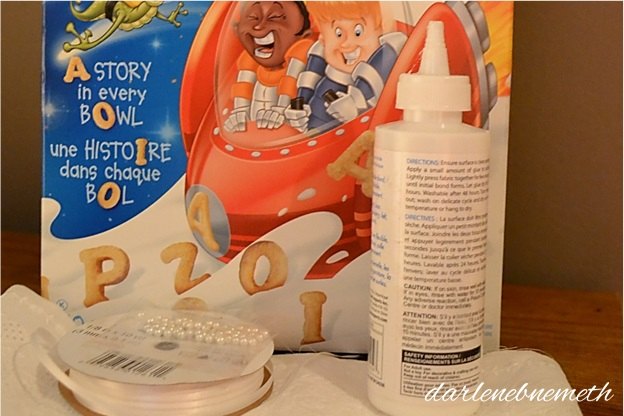
Okay so I started with a discarded cereal box, glue, white felt, white material, white ribbon and white beads.
This isn't a new craft but it is decorated differently. Different colors and fabric give it a completely different vibe.
Okay so I started with a discarded cereal box, glue, white felt, white material, white ribbon and white beads.
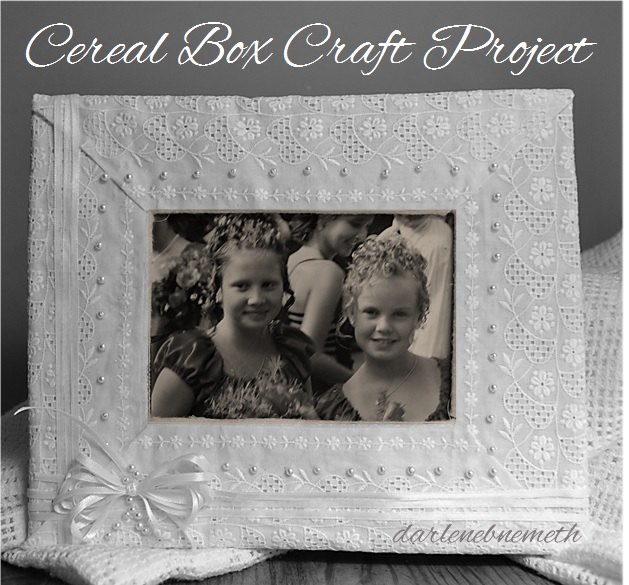
As you can see the above picture is the before. And the picture right below is the after
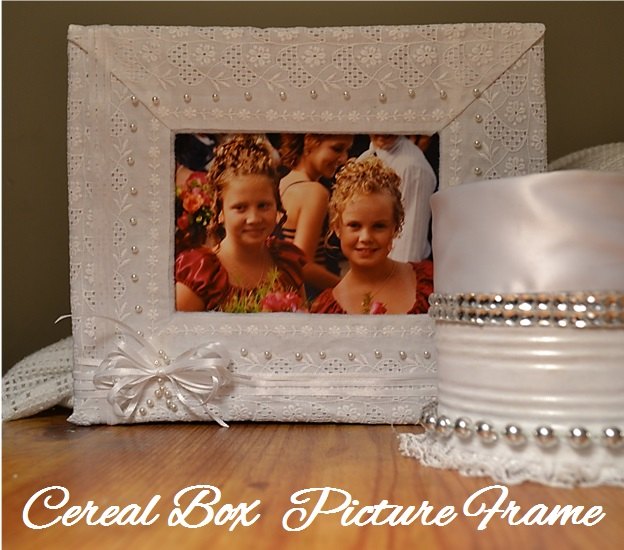
This is me fooling around with the photo color and appearance.
This is the cereal box craft project in the non-adjusted color scheme.
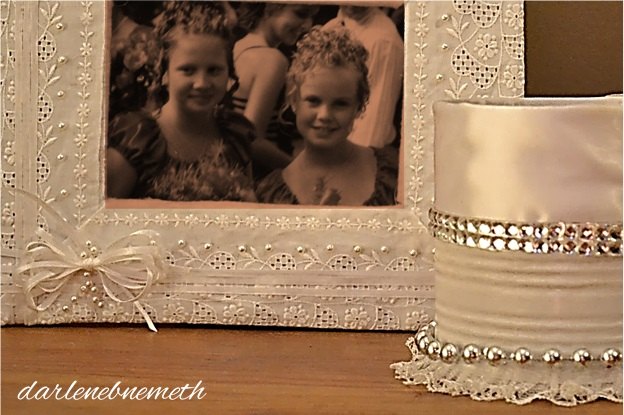
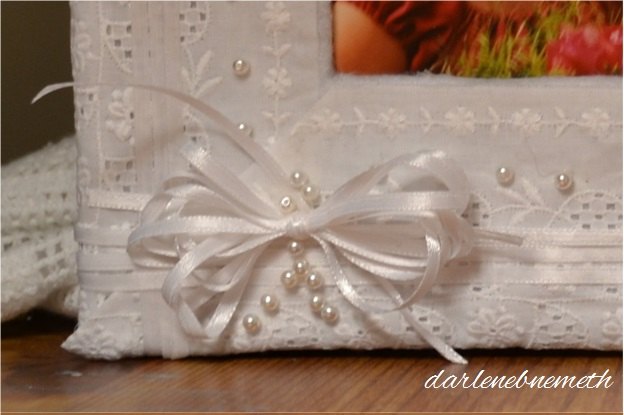
Here is a closer look at the cute little bow and beads which are both glued on with fabric glue. The glue dried clear not yellow which is a good thing.
Supplies
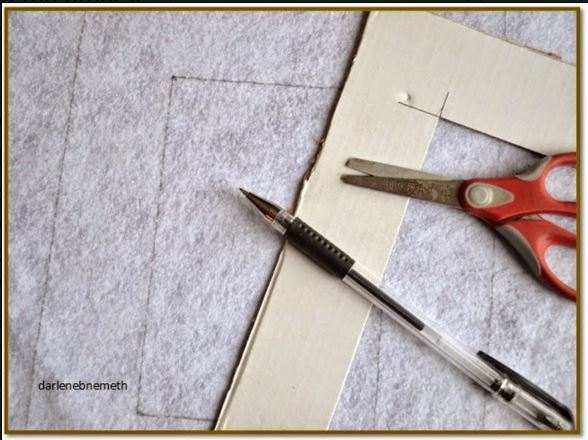
I guess you need to find a picture that you would like to frame because it will determine the finished size of your frame.

Draw the frame opening. It should be at least 1/4" smaller than your photo.
Using your straight edge and knife, cut the frame opening.

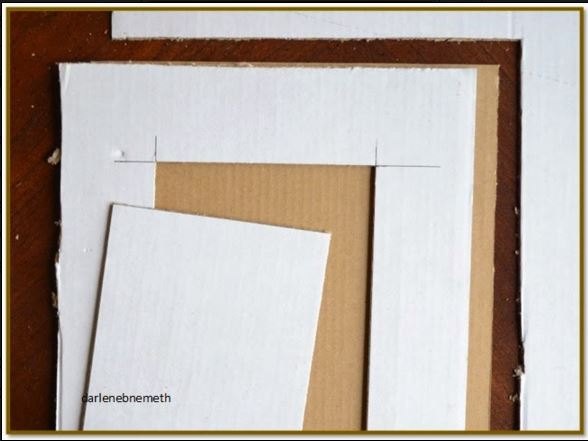
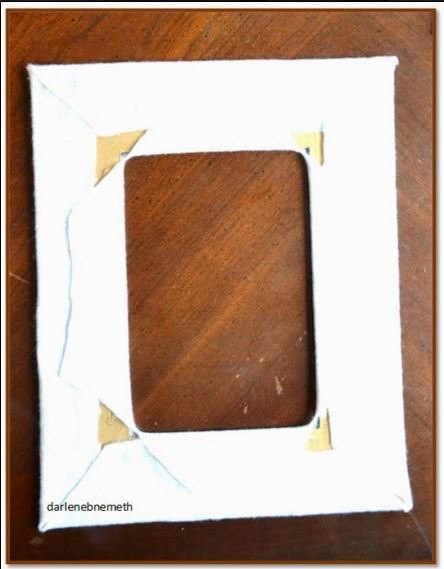
Trace your cardboard frames onto your chosen fabric. In my case it is white felt.
Cut out a second piece of fabric using the first as a guideline. Just remember only one piece needs the inner opening.
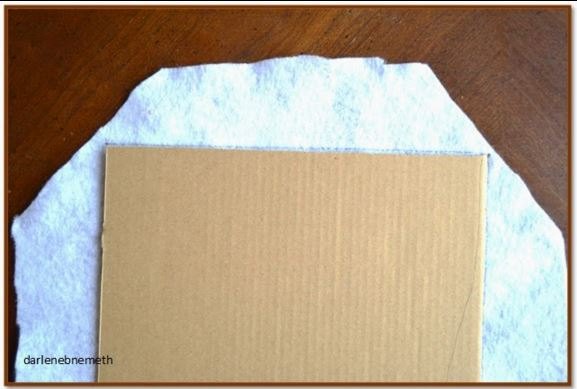
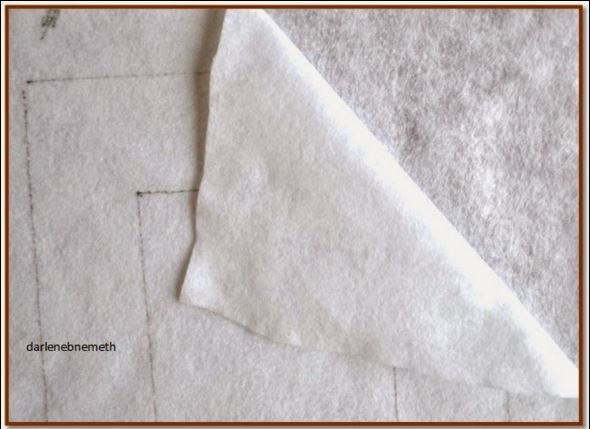
Start with the back panel. Lay the cardboard onto the fabric.
Place a bead of hot glue along the top edge of the cardboard.

Now it's time to decorate.
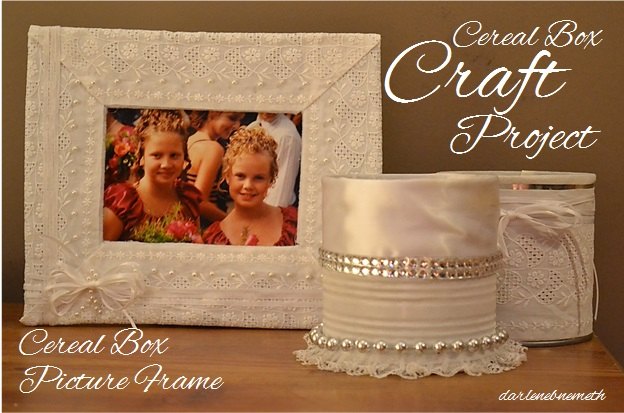
What do you think? Easy enough?

Want more details about this and other DIY projects? Check out my blog post!


Frequently asked questions
Have a question about this project?