


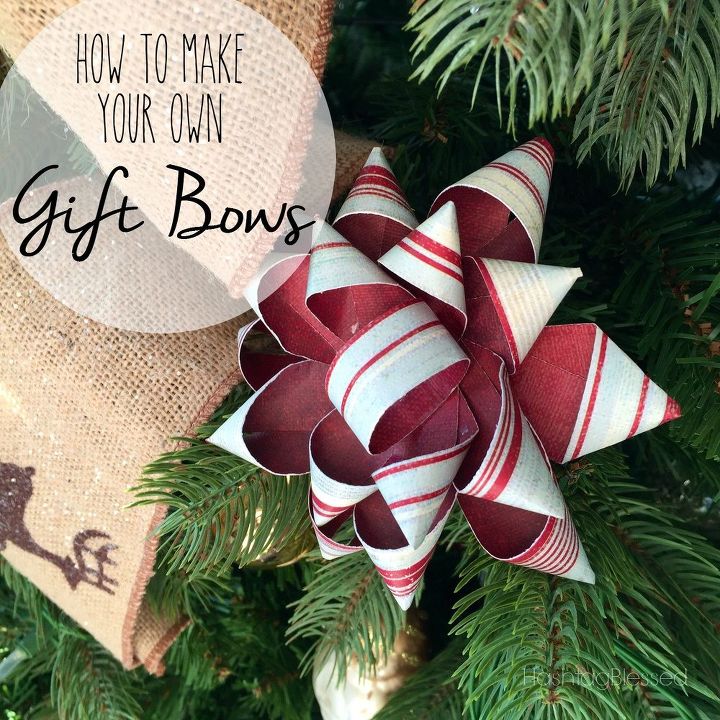
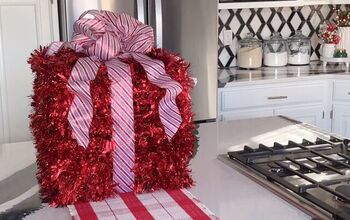
How to Make Your Own Gift Bows!
Are you a bow kind of person when it comes to gift wrapping? Bet you didn't realize you could make your own!
http://hashtagblessedblog.com/2015/11/making-your-own-gift-bows/
http://hashtagblessedblog.com/2015/11/making-your-own-gift-bows/
You'll need:
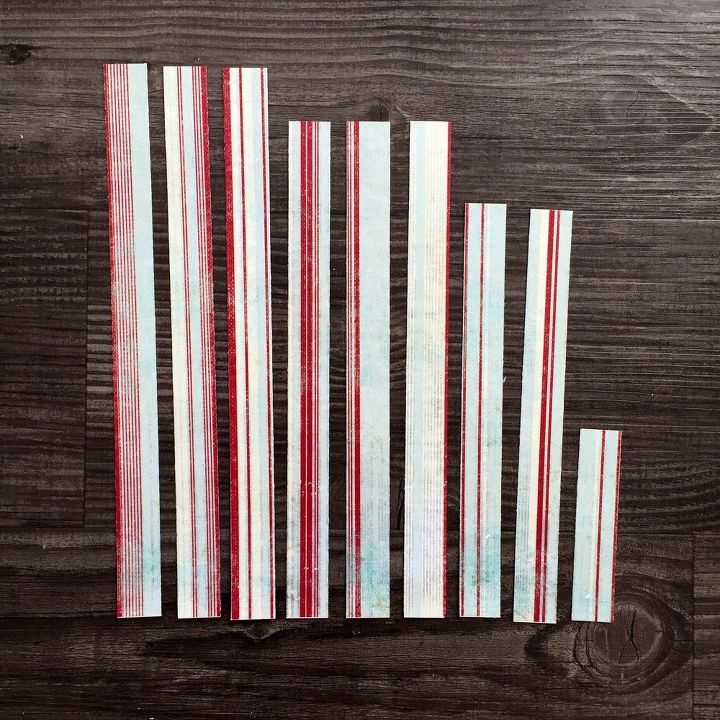
Begin by folding all but your smallest strip in half and then laying them back out flat. You just want a guide to show the middle of your strip. This next part can be tricky and may take you a couple of tries. Take the end of your strip and bring it down and in towards the center. Keep the same sides facing up; it should give you a funnel type shape that looks like this:
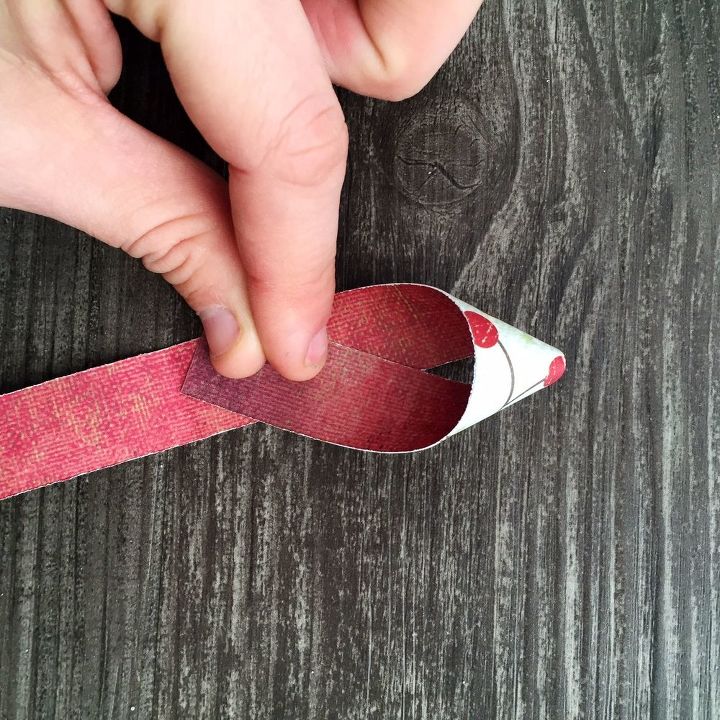
Secure it down either with a dot of hot glue or with your double-sided tape. Repeat on the opposite end and then with the remaining strips. The only strip you won't do this to is your smallest one.
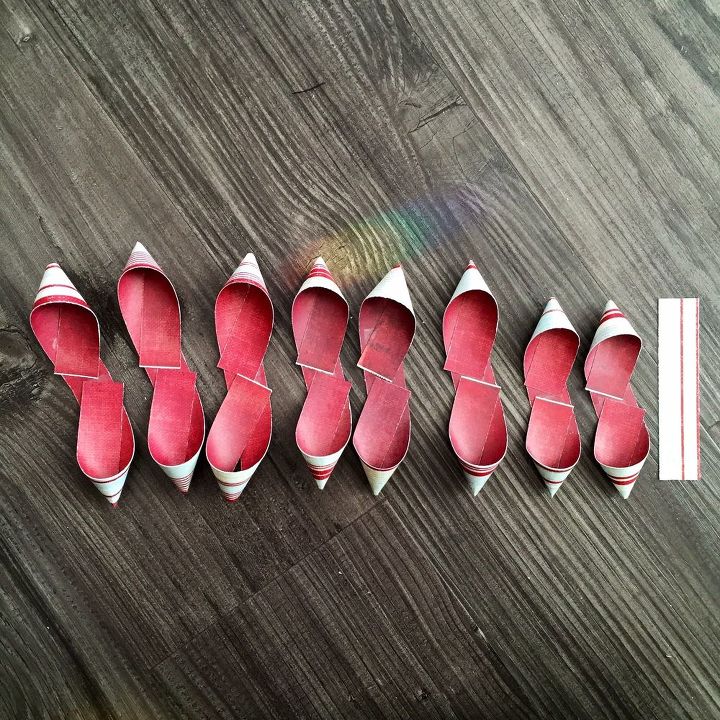
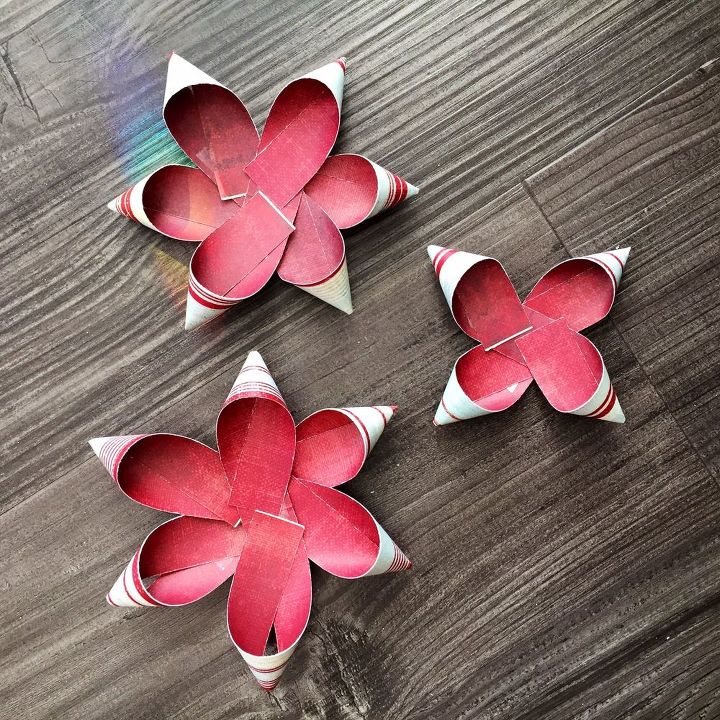
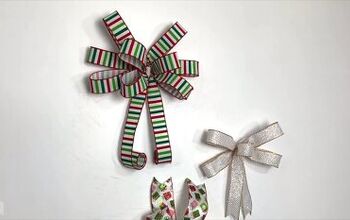
Now take you 3 largest and arrange them one on top of the other so that they are equally spaced and look almost like a flower. Repeat with your next size and then just cross your smallest two.
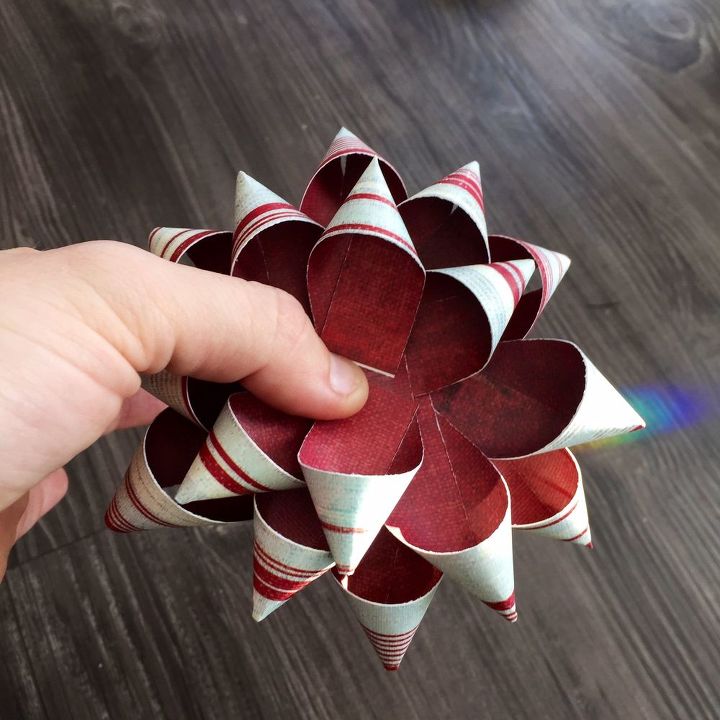
Set your smallest flower shape into your large flower shape making sure that your points don't overlap but fill the 'in between' space. Place your crossed piece in the center of the middle piece and once placed where you want staple the center to keep it all together.
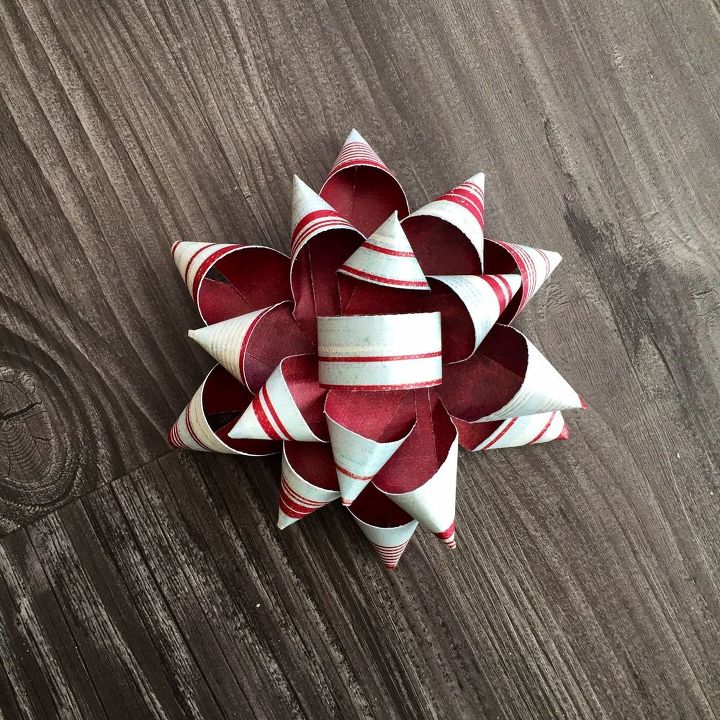
Now take the smallest length that you did not fold or funnel and loop it to make a ring. Again using a dot of hot glue or your double-sided tape adhere it to the middle of the bow and voila!

Want more details about this and other DIY projects? Check out my blog post!
Comments
Join the conversation
2 of 68 comments
-
Looks pretty! How about folding strips of gift wrap lengthwise to make the strips for a bow coordinating with the wrap? I'd cut them 3X as wide as I wanted the finished strip to be, then fold lengthwise in thirds, maybe over a yardstick to keep them straight.
-
WHAT???? THIS IS so cool, gonna try this soon.


Frequently asked questions
Have a question about this project?
Can you use matching/coordinating wrapping paper?