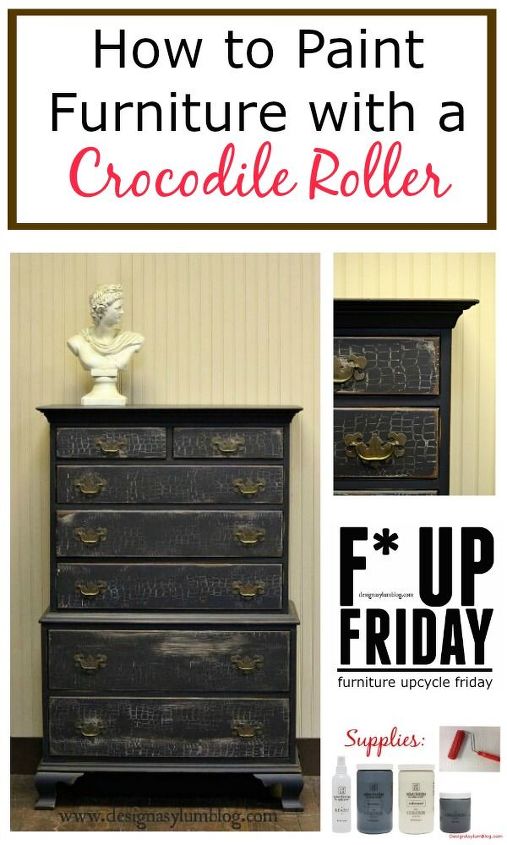
How to Paint Furniture With a Crocodile Roller

It's time for another fabulous F* Up Friday
Furniture Upcycle Friday!
This week I experimented with a new roller technique
and I can't wait to tell you about it!
I am not sure how I first ran across Jennifer's Facebook page.


Artistic Painting Studio


Then I wandered over to her website.


Prepare to be blown away with all the cool stuff.


There's stencils and rollers and flakes and foils!


Oh my gosh I don't even know what to do with all of this stuff!! Luckily Jennifer has youtube videos and teaches classes all over the country.


I just missed one in Atlanta. Grr.


So of course I had to order something to try!! I started with the rollers.


I ordered the crocodile pattern and the leopard pattern.


Here's my furniture upcycle using the crocodile roller.


I gathered my supplies...


http://www.velvetfinishes.com


http://artisticpaintingstudio.com/
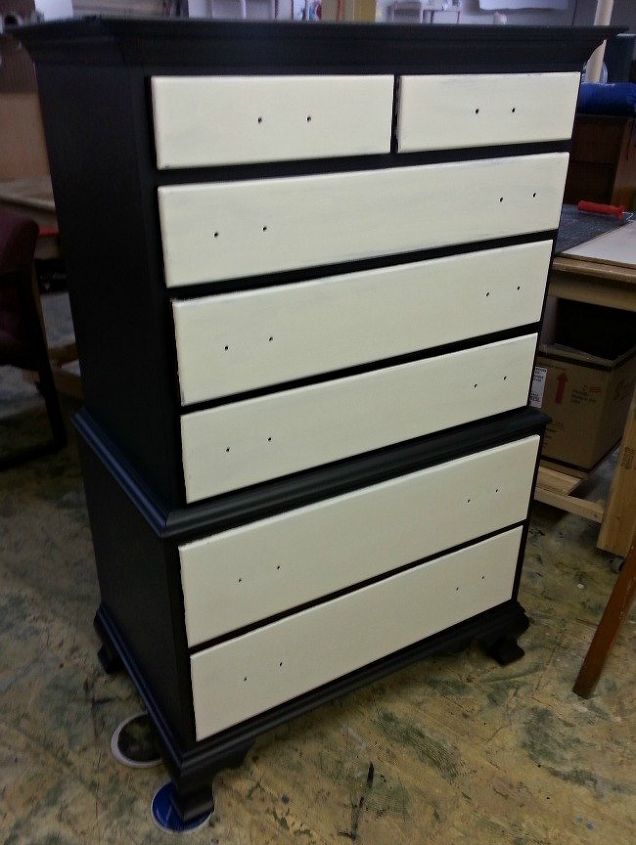
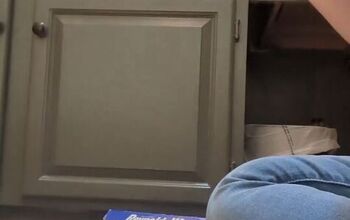
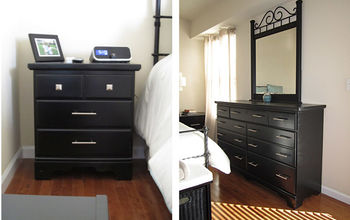
I started with this cool dresser...
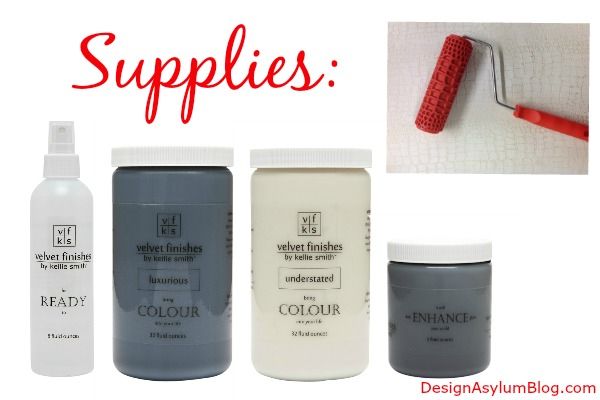
First we used the Ready to degloss and clean the piece. Then we painted the outer shell with Velvet Finishes Luxurious and painted the drawers with Understated.


http://www.velvetfinishes.com/shop.html
After the drawers were dry we painted over the Understated with the Luxurious.


http://www.velvetfinishes.com/shop.html
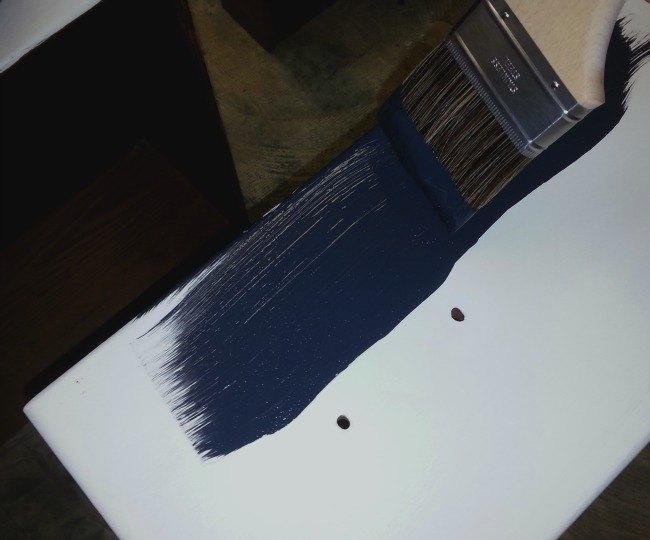
While the paint was wet, we ran the roller through the paint.


This is a little tricky. I practiced on a board before I started on the furniture, although it's no big deal to smooth the paint back out if you aren't happy with how the pattern was applied.


The pressure is the key.


If you press too hard then then roller will slide.


If you do not press hard enough, the pattern will not fully penetrate the paint.


It will take a try or two to get the technique.


You are using the roller to pull the paint off and that is how the pattern is made.
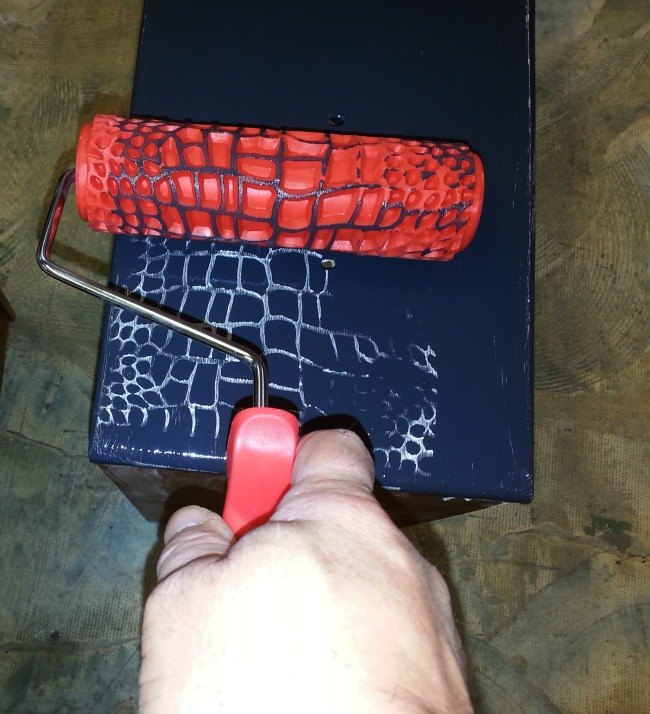
You can see in the photo above that we didn't get the pattern completely perfect.


It's OK!! I have more layers to go.


Next I sanded. I sanded the drawer edges first, going heavier at the corners. I did a light sanding where the hardware is mounted. Then, I sanded a few spots where the pattern was not so exact.


I wanted the piece to show the pattern on the drawers but I didn't want it to be perfectly perfect. I wanted it to have that feeling when you pull off wallpaper in an old home. You reveal patches of another layer from long ago.


I used the Ryobi Cat Sander for distressing, my favorite!
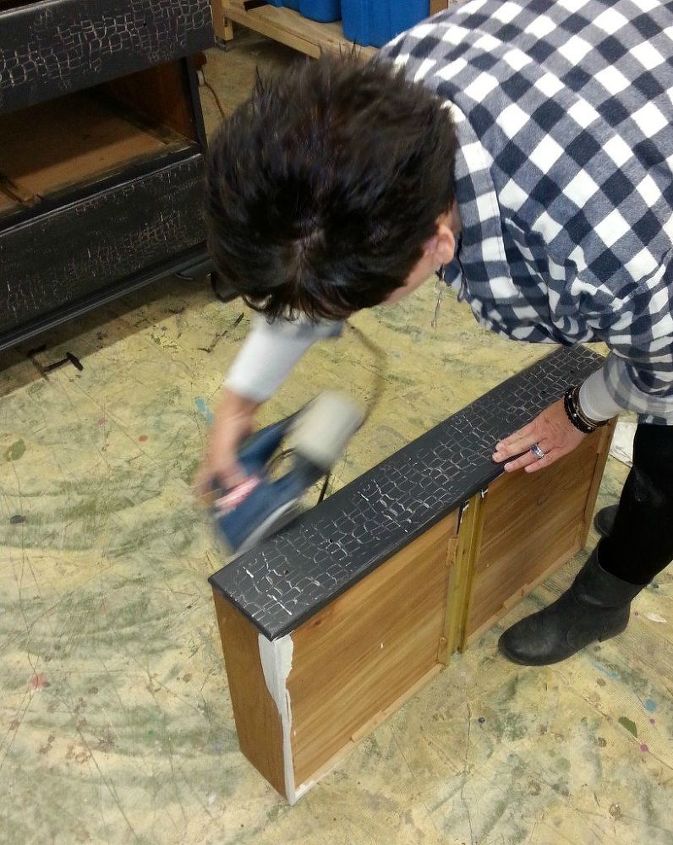
The last step of the upcycle was the glazing.


I used the Velvet Finishes Enhance Dark Glaze.


When a piece is sanded to reveal the actual wood, the glaze tones that starkness down, as well as any contrast in paint color, and nicely provides a look of age and formality.


I love the way the glaze adds depth and dimension and is sooooo easy to use.
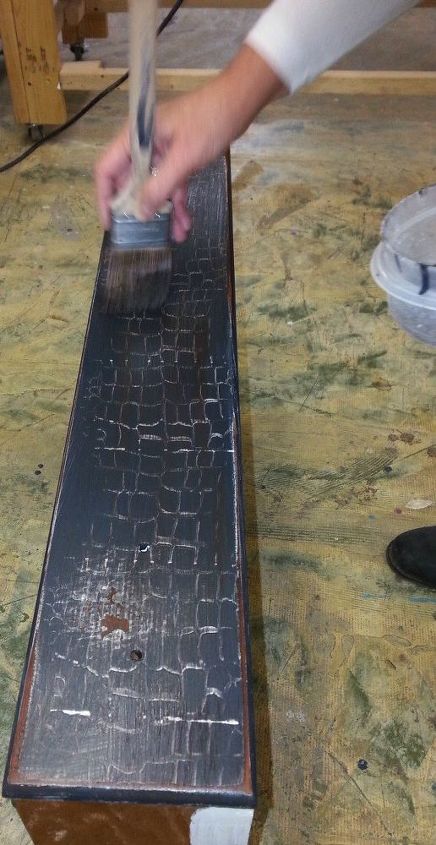
I applied the glaze like it was paint, and didn't pull off any excess like I normally do. I left the glaze almost solid. Since it is slightly transparent, the paint colors showed through.


You can watch a you tube video on how to use the VF Enhance Glaze here.


https://www.youtube.com/watch?v=CDmpYsyKyno


I put the original hardware back on and called it a day!


What do you think?
Kellie from Design Asylum Blog
Want more details about this and other DIY projects? Check out my blog post!
Go
Frequently asked questions
Have a question about this project?
Comments
Join the conversation
 2 comments
Next