


For the Love of Chalkcloth - DIY Magnetic Chalkboard

by
Stacy Davis
I think the most common way that people DIY chalkboards is with chalkpaint. This tutorial uses chalkcloth and it is very easy to work with. My next tutorial will be another option.

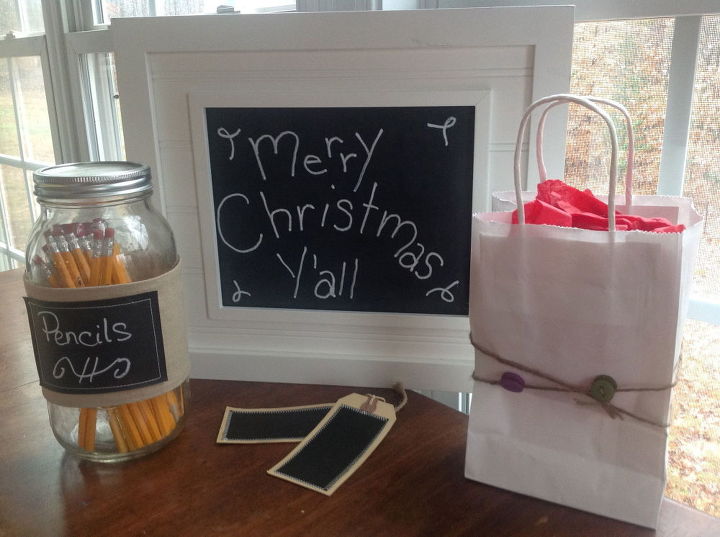
Here is a gift assortment of chalkcloth items...
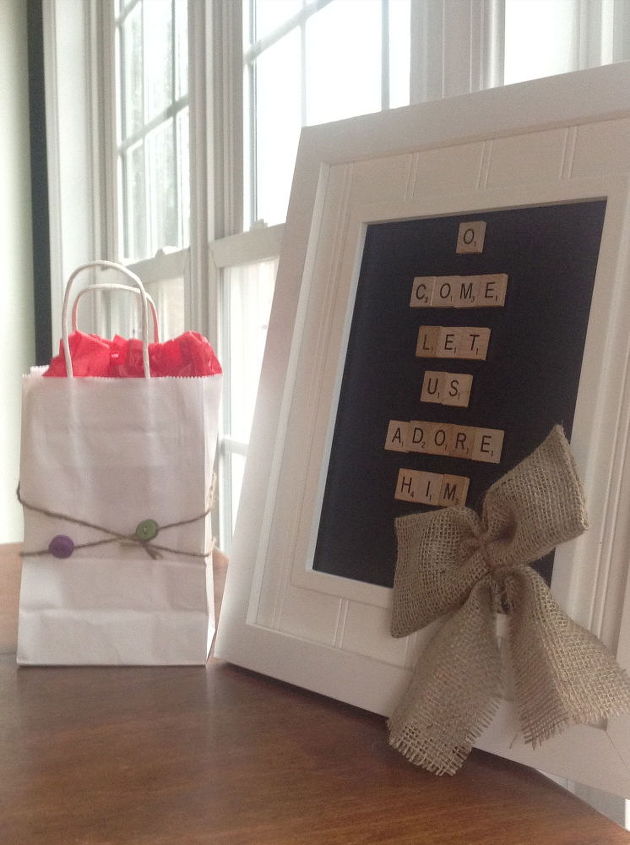
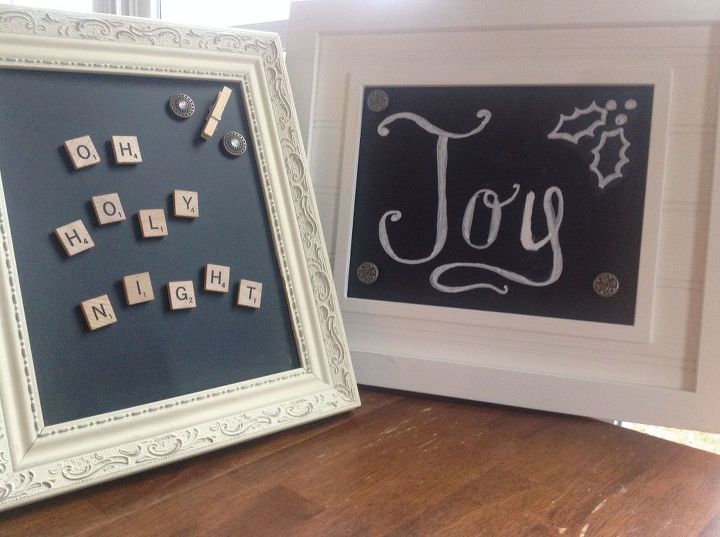
I love that it isn't just a chalkboard but I can put magnets on it, too. Here are Scrabble tile magnets that I make at home.
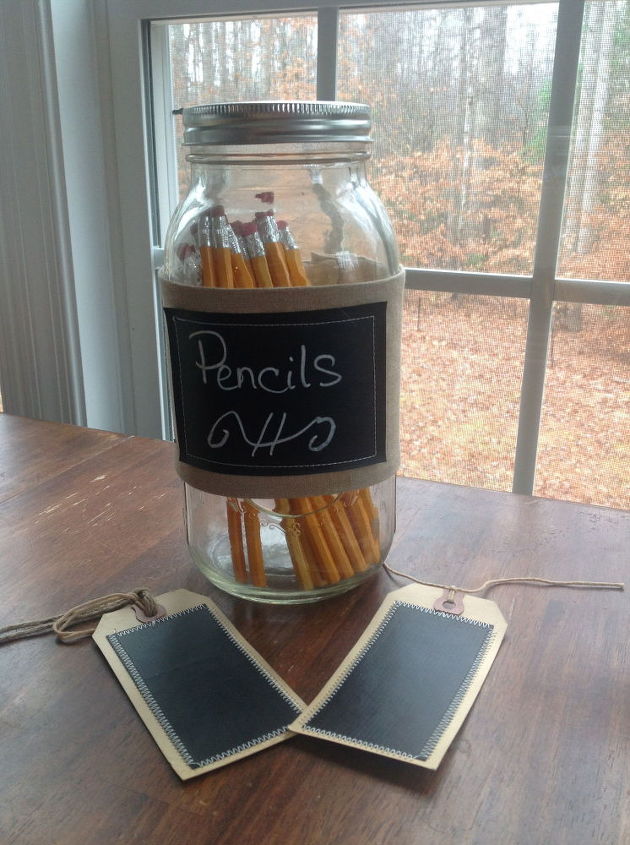
I buy my chalkcloth by the yard from one of the online fabric stores. I have a couple of favorite online stores that I use depending on sales and shipping. A yard of this fabric will go a long way. In addition to chalkboards, I cut small rectangles and sew them onto burlap covers for mason jars and I sew them onto tags to make price tags for craft shows. It allows you to easily change the price of your item during the day. I love the look of chalkcloth. It just has a vintage look to me.
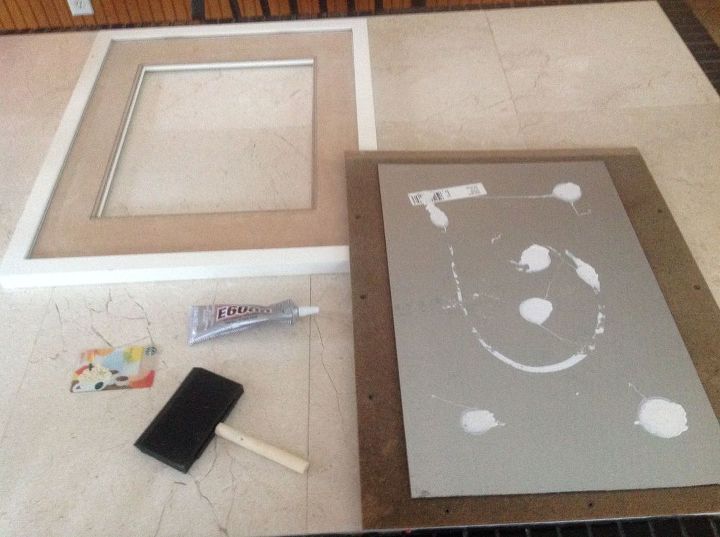
I pick up frames anywhere that I can. This white frame is from Michaels. But, I get a lot of frames at garage sales. I toss the glass and begin this process when I make a chalkboard.
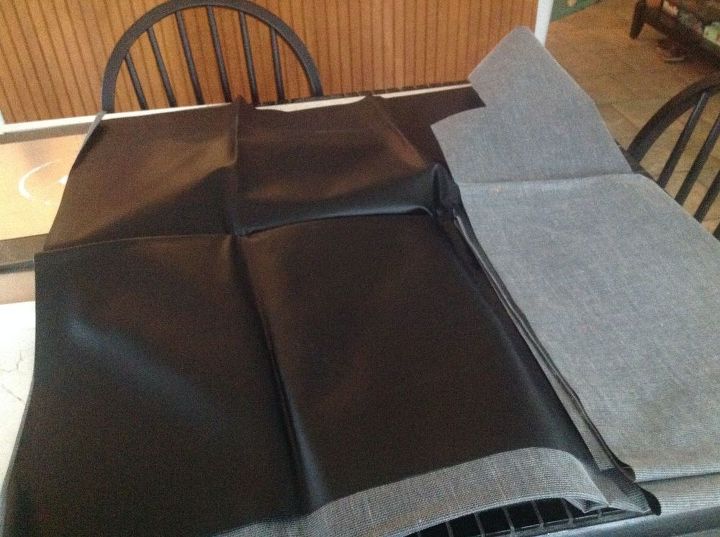
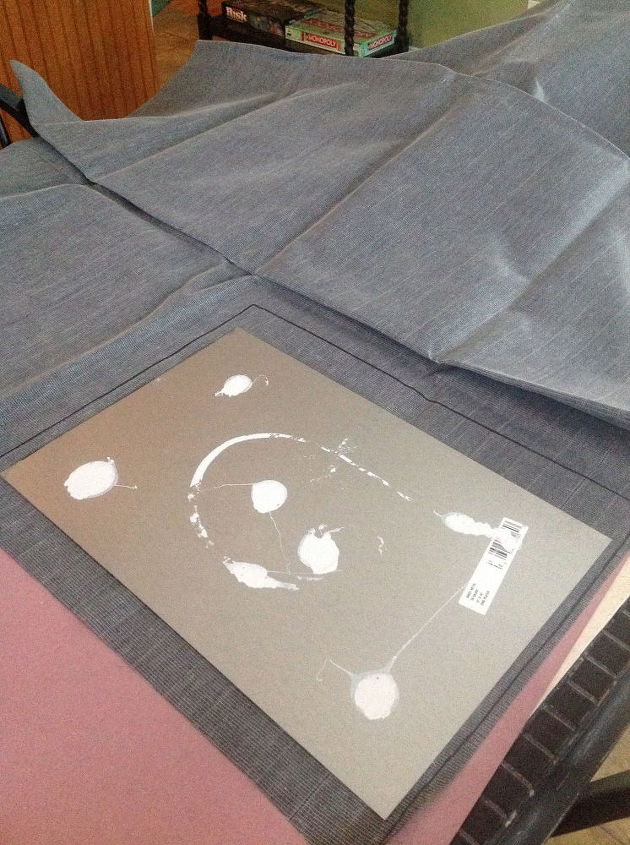
This is what my chalkcloth looks like. It arrived to me folded and it is really hard to get rid of those creases now. When you buy chalkcloth, I would recommend putting it on a cardboard roll for storage. Some fabric stores ship on rolls and some don't.

I also use the picture frame backing to trace the shape onto my chalkcloth and cut that out using all purpose scissors.
I like to make my chalkcloth larger than the metal because I like to wrap it around and cover those sharp edges.
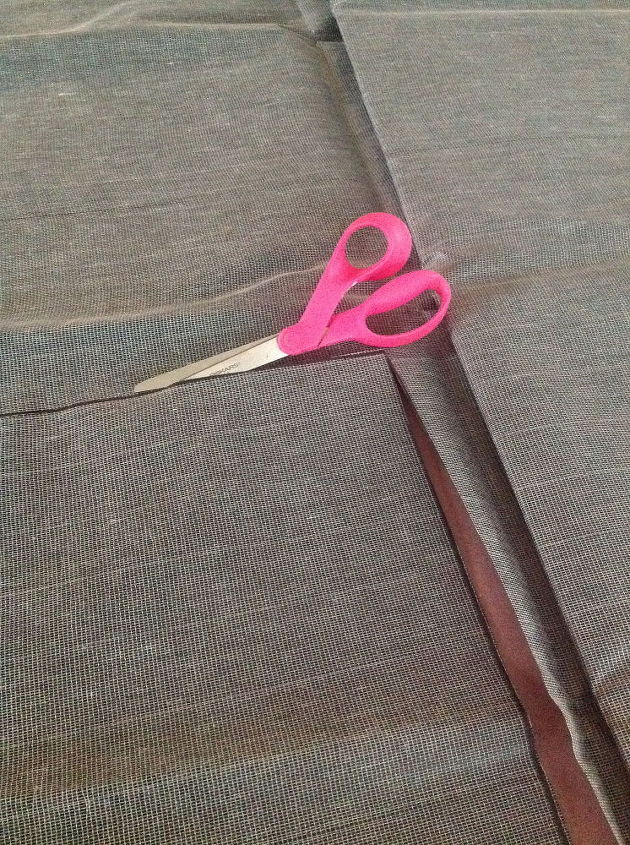
Chalkcloth is easy to cut.
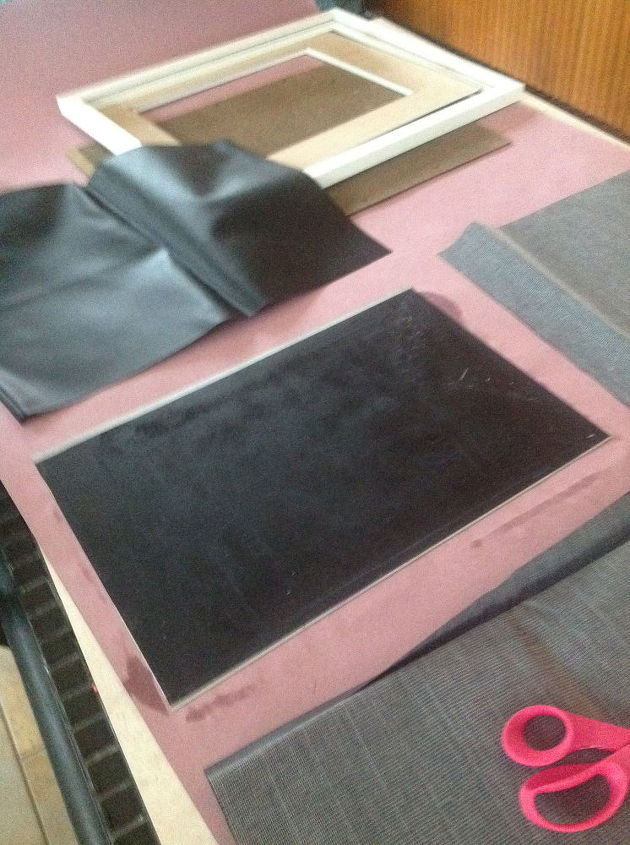
This is the front side of my galvanized metal. It was an old painted chalkboard that had just lost its charm. So, I cut it up and repurposed it into some new chalkboards. This is where I apply the spray adhesive.
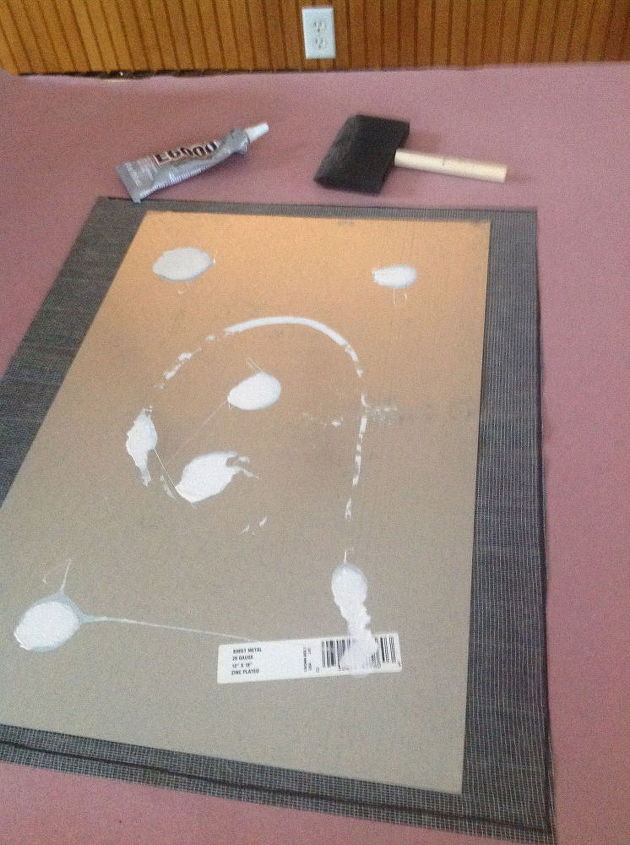
I place my chalkcloth, wrongside up and place the metal on top, spray adhesive side down. I have used both E6000 glue and spray adhesive when making my chalkboards in the past. I am recommending the spray adhesive because it gives a much smoother appearance beneath the chalkcloth. **I was surprised to find that at first the E6000 texture was apparent under the chalkcloth after drying all day. I ended up setting it aside flat on its back for 4 or 5 days before I looked at it again. It must have taken that long dry completely because you can no longer see a texture below the cloth. It is smooth and flat.** So either way works pretty well but if you like your project done quickly, go with the spray adhesive.
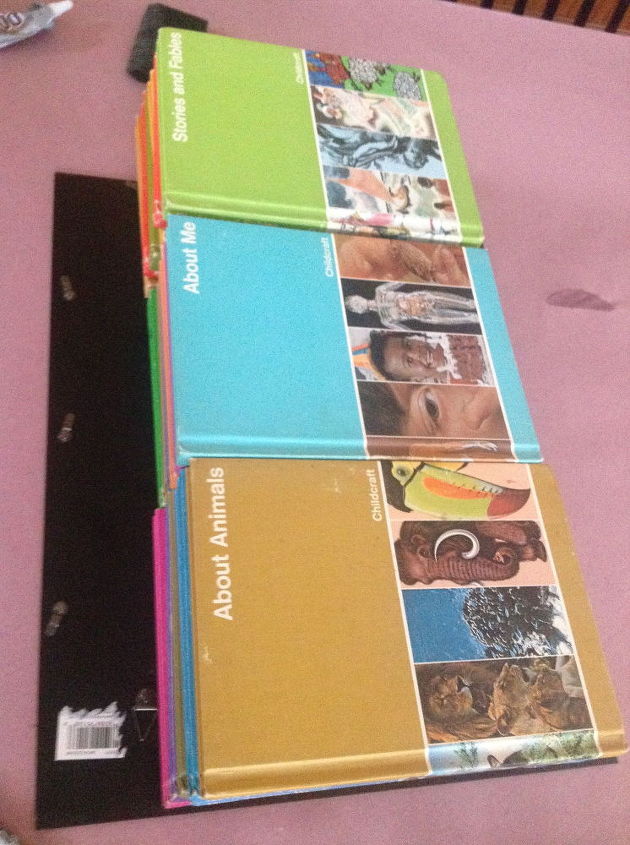
I like to stack books on it to let it dry. These are some Childcrafts that were nearby. I let it dry completely laying flat before putting it in the frame.
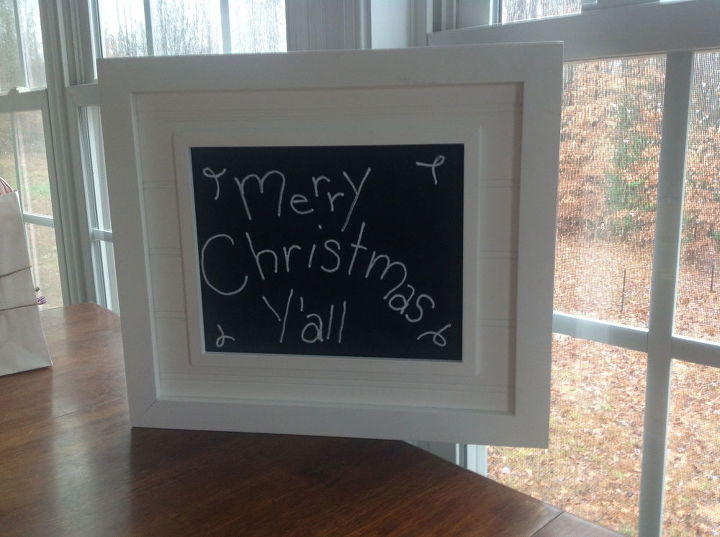
This is how it looks with a chalk marker. I find it works best to use Chlorox wipes when cleaning chalk marker off of chalkcloth.
Merry Christmas!
Here is a sneak peak at the next chalkboard... it started out as a $2 garage sale picture frame.
Comments
Join the conversation
4 comments
-
My goodness - you are one busy and creative person! Thank you for the wonderful tutorials!
-
Aw so cute! The scrabble letters! *swoon!*


Frequently asked questions
Have a question about this project?