


Modern and Rustic Christmas Mantel #HomeforChristmas

by
Donna Powell
I am so excited to be part of the blog hop for HomeTalk.com and CountryLiving.com. This has given me the motivation to finally decorate my huge and dark rustic fireplace and mantel for the holidays.
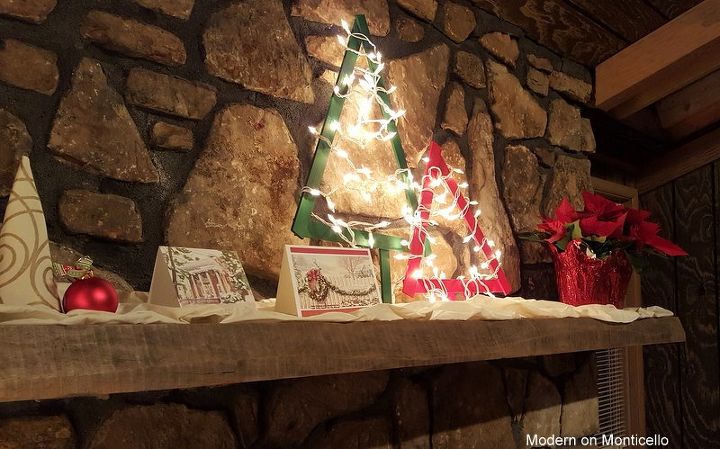
The AFTER photo
I have lived in my current home for eight years, and not once have I wanted to decorate the mantel for Christmas. Our home is a 1979 mid-century inspired home except for one room that was built more as a man cave/den with dark black paneling and this HUGE fireplace that I have to get a ladder to even see the top of the mantel to clean - which honestly didn't happen much. I always felt that this fireplace belonged more in a cabin than a mid-century modern home.
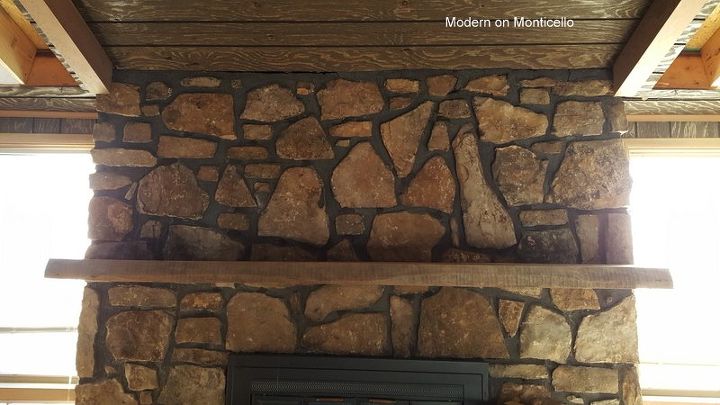
The BEFORE photo
This fireplace and mantel needed some color, lights, and something modern and whimsical to make it a star for the holidays.
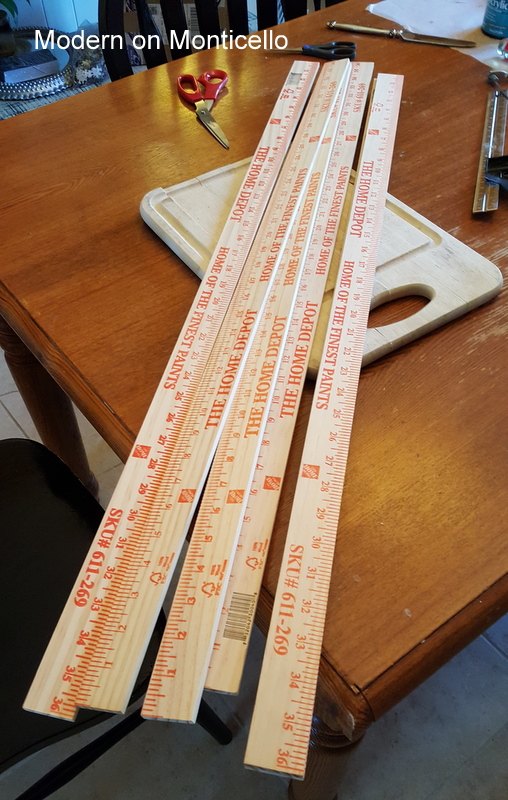
The mantel display all started with a stack of yard sticks from Home Depot. I wanted to create two modern style lighted Christmas Trees for the focal point of the display, and these yard sticks were just the thing I needed. They were also a bargain at only 98 cents each. The whole project only cost me about $12 to make including the paint and lights.
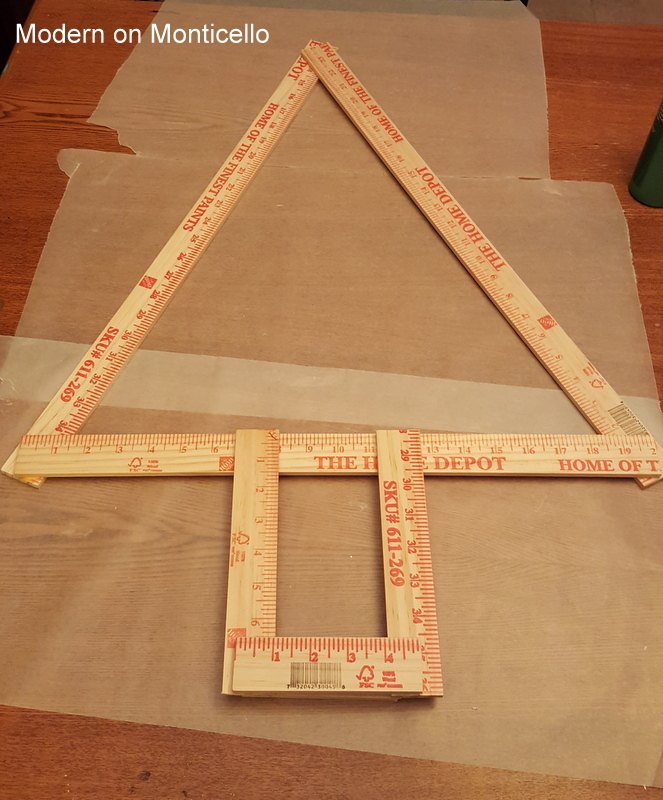
First, I measured the space above the mantel to the ceiling line to see who much space I had to work with. Then I grabbed a t-square and a hand saw and started to work. For the larger tree, I decided to make the two side pieces at 24 inches and cut two of the yard sticks down to that size. I used Elmer's Wood Glue to attach the two pieces at the top to form a triangle. I then measured the distance at the bottom and cut another yard stick to fit. The trunk of the tree is created with two 8 inch pieces and a third smaller one to fit.

The second smaller tree was made with two 16 inch pieces, and the trunk pieces were cut at 4 inches each. I allowed about four hours for all of the glue to dry before painting them.
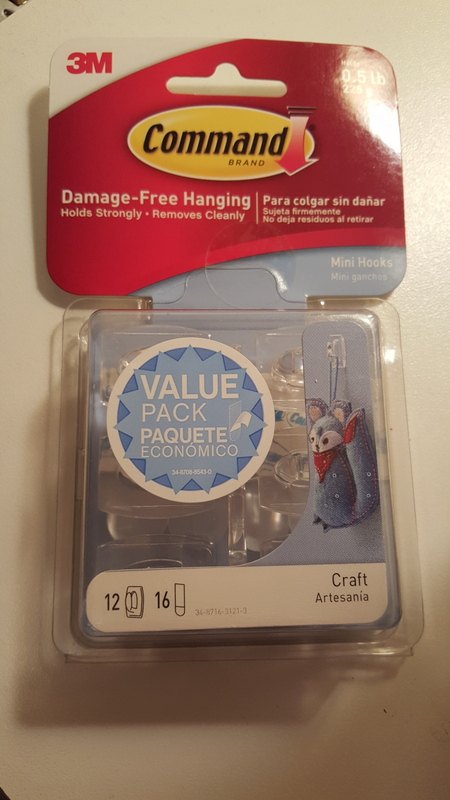
These worked perfectly! And I can easily remove the lights or change them out to colored lights in the future.
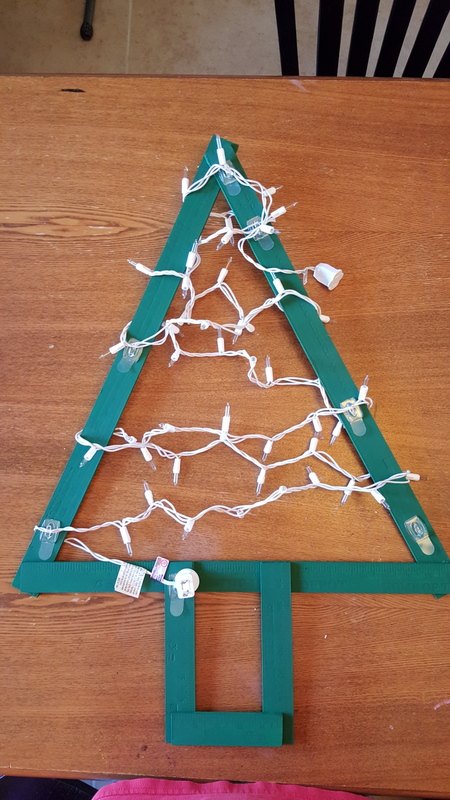
I wrapped the larger green tree with the lights going across the whole tree.
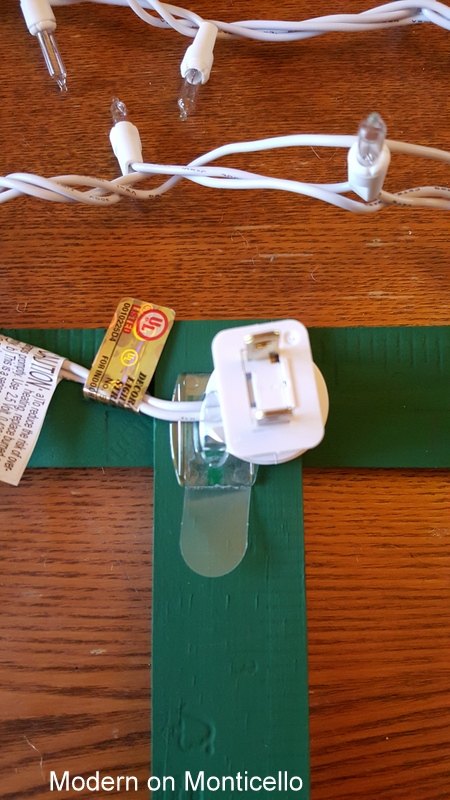
The Mini Hooks made it so easy to hold the plugs in place and to hide them behind the wood yard sticks.
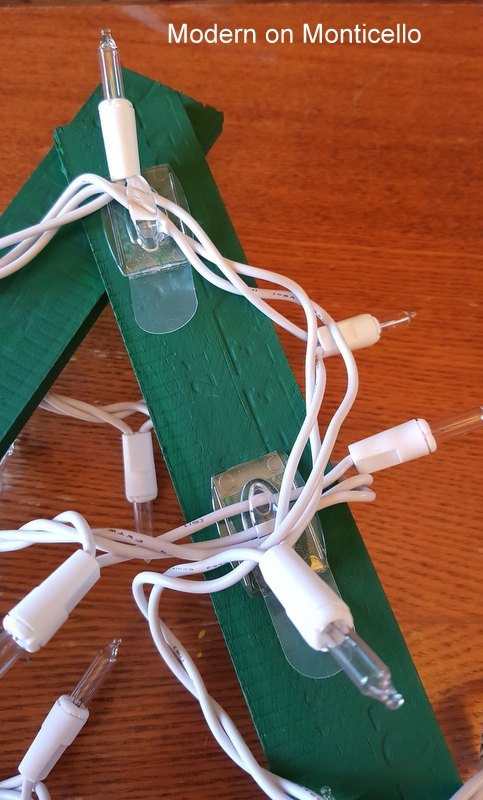
And also to hold the strands of lights in the right place. I made sure to string the lights on the two trees opposite of each other so that the plugs and cords met up just right in the middle so they could plug in to the same extension cord.
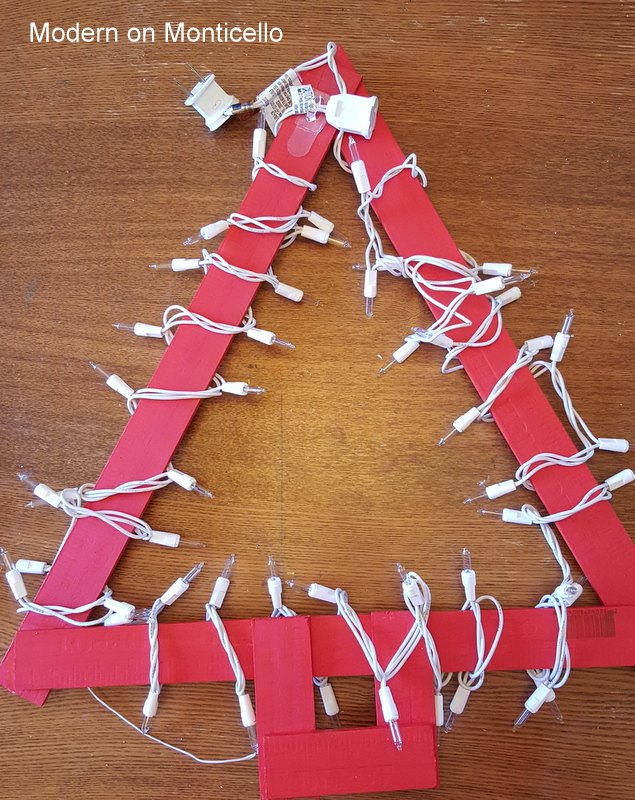
The smaller red tree I wrapped the lights around the perimeter of the tree so it would look different from the larger tree in the display.
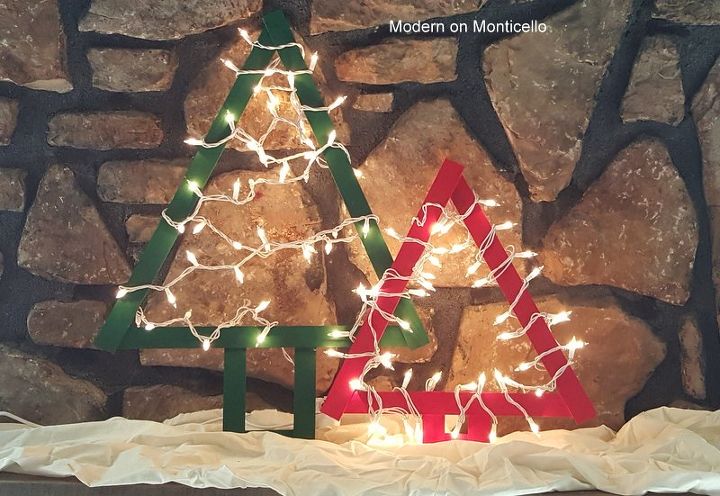
This is how they look together all lit up and festive. However, they are only the focal point of the whole mantel display.
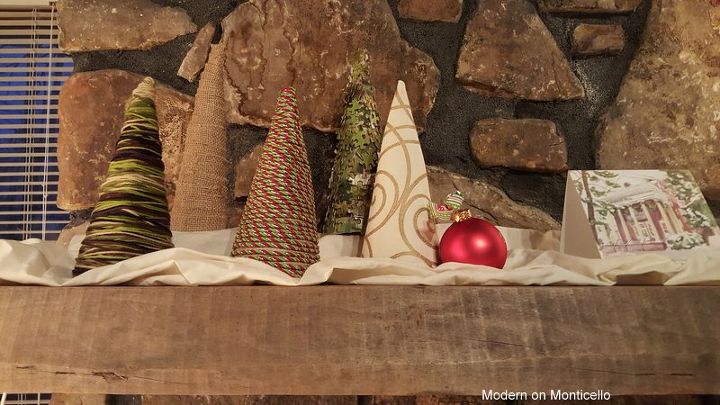
I added some modern cone shaped trees I made last week from cereal boxes - along with a single red ornament. The color theme for the mantel display is red, white and green with maybe a few brown burlap and gold trim thrown in the mix.
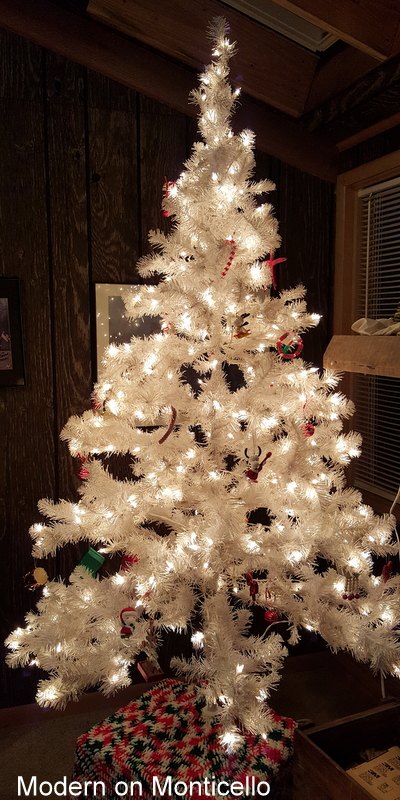
I continued the same color theme next to the mantel by adding my favorite white Christmas tree with mostly red and green ornaments. A bonus was that we also had a treasured hand-made crocheted Christmas skirt in red, white, and green that my husband's grandmother made for us years ago. We lost her last Christmas and I'm sure she would be happy to know we still cherish and use the tree skirt.
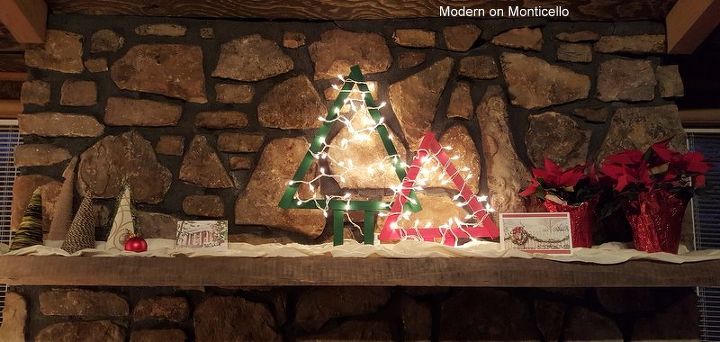
Adding more red and green was easy by including two poinsettias and some Christmas cards on the mantel.
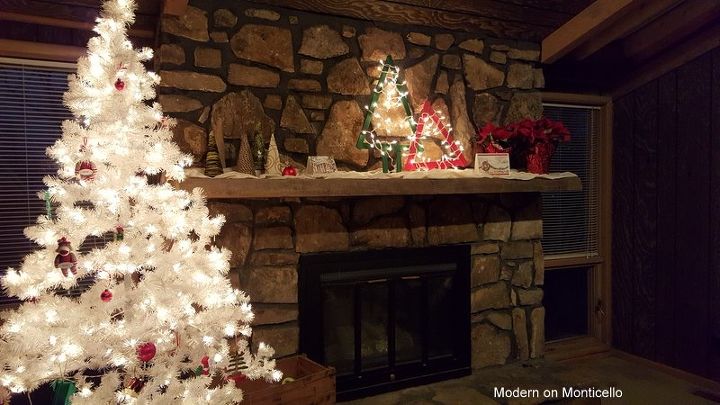
Now my dark and rustic fireplace and mantel have some light, and colors to cheer it up for the holidays. In fact, this display just makes the whole dark room so much more inviting. By creating a more modern display for the mantel, I not only enhance the true architecture of our home but allow it to embrace and soften the rustic stone and wood fireplace mantel.
Want more details about this and other DIY projects? Check out my blog post!
Comments
Join the conversation
2 of 8 comments
-
I absolutely looooooovveee this!
-
Very pretty!


Frequently asked questions
Have a question about this project?