


A Beachside Kitchen Backsplash

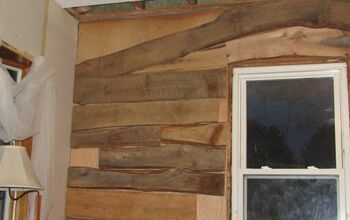
About a year ago I started reserching reasonable, beachy, rustic backsplashes to go with our rubber tree butcher block counter top and espresso color cabinets. What I found was $300+ in the tile arena and about the same in metal (and that was just the backsplash!). While lumbering (lol) around in the lumber section of Lowes, I came up with this idea for shiplap..... since we are only 12 miles from the Gulf of Mexico! I put handy hubby to work after pleading my case for the backsplash and declaring that I would be the non whinning gofer during the job. 2x10s in Pine were purchased and cut at various lengths so that no board end was in a straight vertical line with the one above or below it. Each was nailed directly into the drywall and studding. It took some time, but we weren't in a hurry. We did not use furring strips behind the shiplap. If there was a loose spot we just nailed into the board above or below it. A pneumatic brad nailer sure helped to make this job easier. Once all the boards were up we measured Pine 1/4 round to seal the cracks between the countertop and the shiplap, and the ceiling and the shiplap. We live in a classic 1960s ranch that has seen a few hurricanes and nothing is level or even! Total cost was $75 which covered 24 linear feet by 3.5 ft or more (around areas taller than regular backsplash areas) AND the kitchen entry doorway. This does not include the nails for the nailer....but I don't think they were very expensive. So.....what cha think ? I L O V E, love, love it ! And, I still have money to spend on another upcoming project..... Outdoor shower Screened porch Pondside tiki hut Floating dock..... Woo hoo....it's going to be a good year !
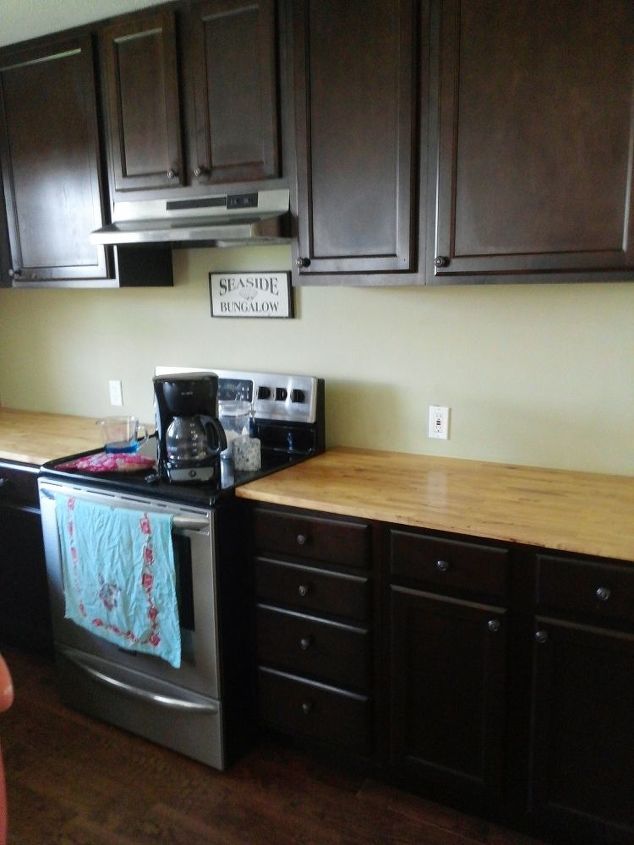
BEFORE.
Behind range area. Bland.
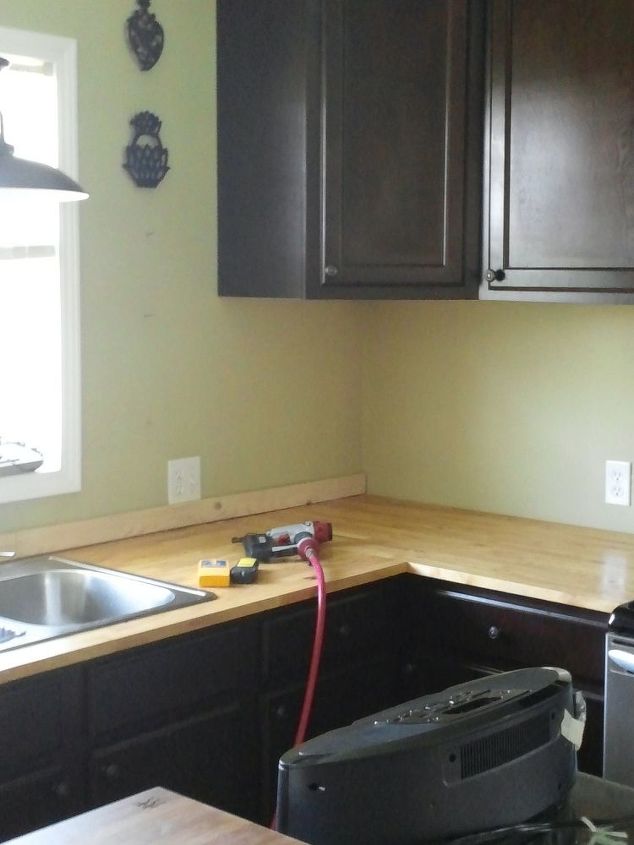
BEFORE
Corner area bland.
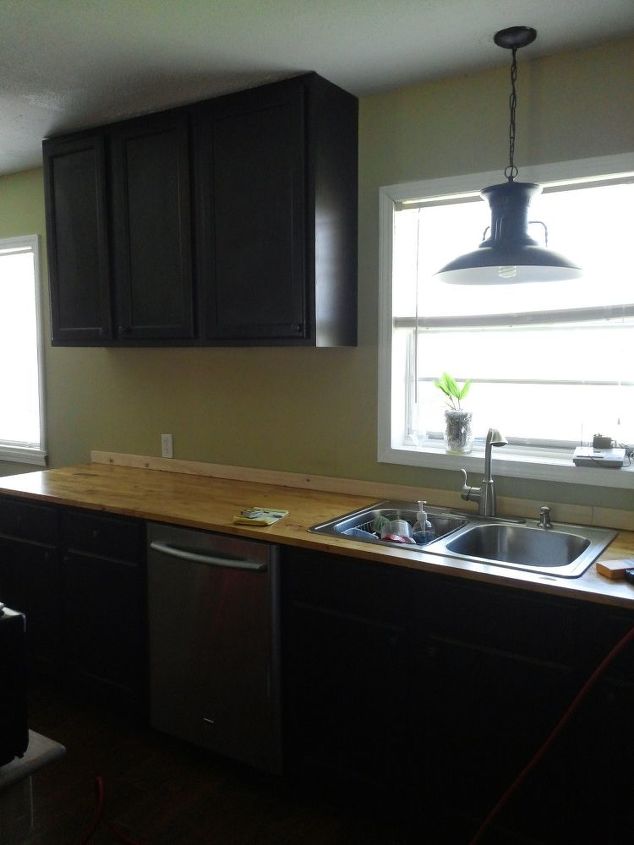
BEFORE
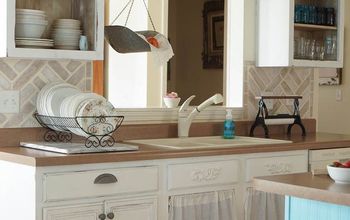
Sink area....bland
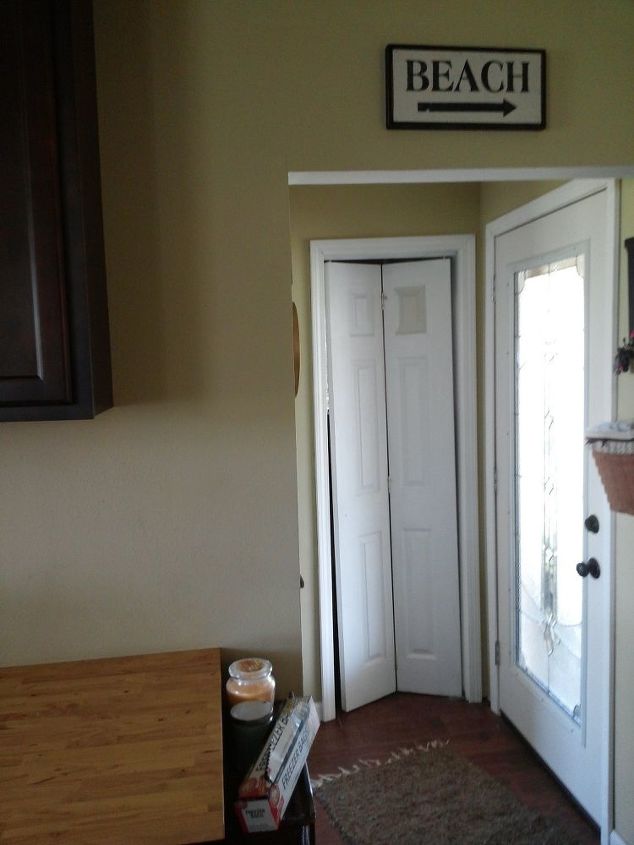
BEFORE
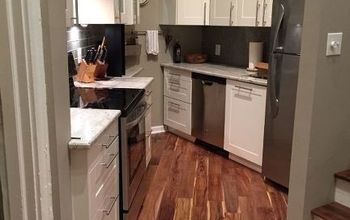
Kitchen entry....bland.
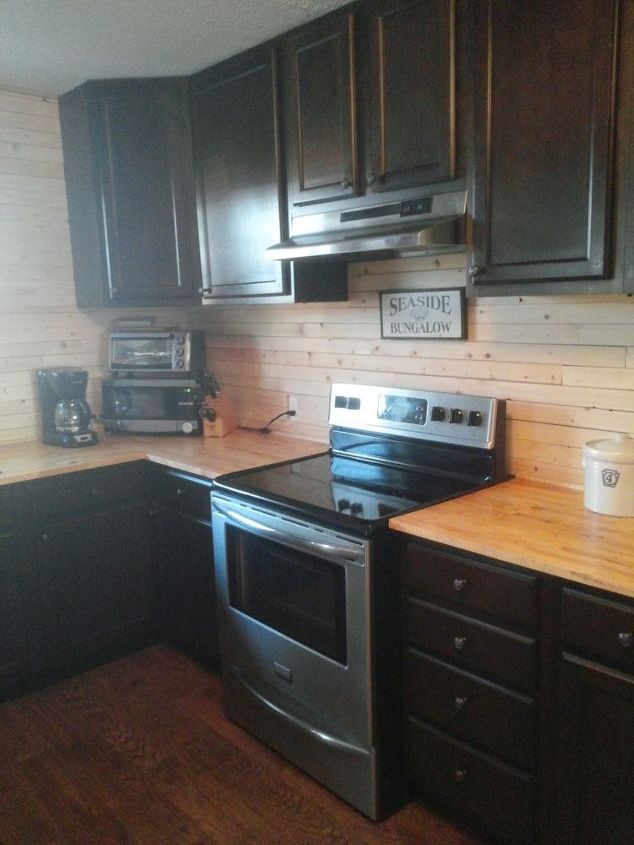
AFTER
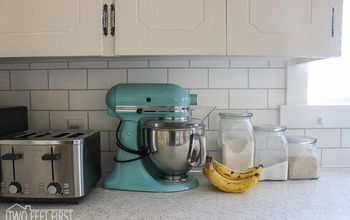
Range area.
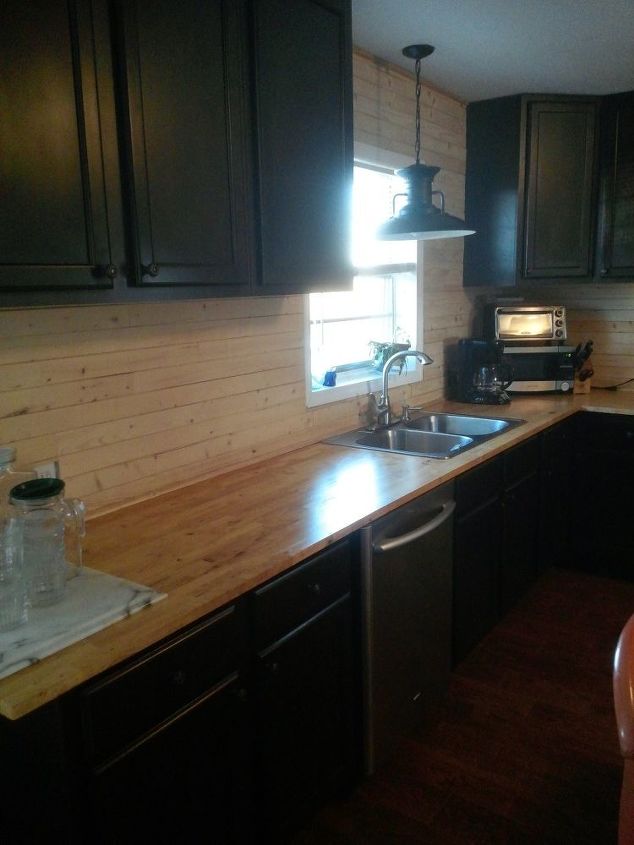
AFTER
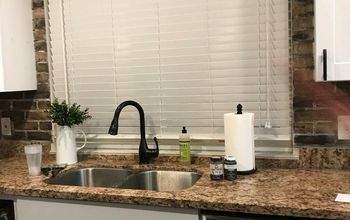
Sink run.
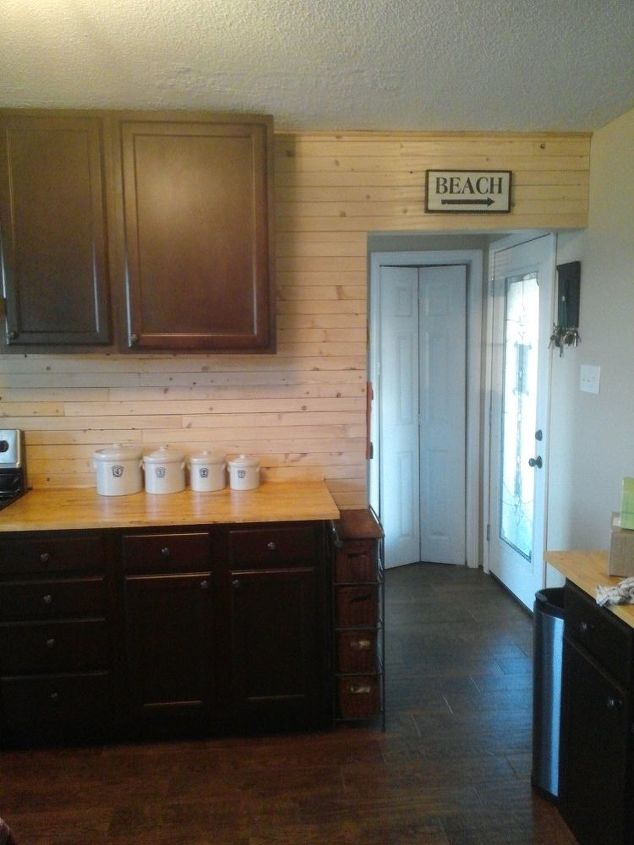
AFTER
Kitchen entry doorway.
Comments
Join the conversation
-
I have been thinking of doing this in my kitchen. I just installed granite countertops. My granite is a combination of black, white/creme, rusty brown small spots and some shiny things, kind of like mica. Because it is so busy, tiling it was out of the question unless I used a plain tile. Now that I have seen your pictures I'm going to give it a try but stay with a light application of a lighter color. Maybe, one of the colors in the countertops. Wish me luck!
-
Hello. I love the look of the kitchen. The only thing that confuses me is that you used 2x10 boards. The photo looks more like 1x3s. Did you rip the boards down the center to make them smaller?


Frequently asked questions
Have a question about this project?
Looks great! Did you waterproof it any way?
I love it! I think you did a great job! Did you ever give s total cost for this project?
What thickness boards did you purchase. 3/4" o 1/2"