


Easy DIY Button and Bead Elephant Nursery Wall Art
As you all know I just love making my own wall art to decorate my house. So naturally I would want to create some for my family and friends too! When one of my super sweet coworkers announced the she was expecting her first baby (it's a boy!) I knew immediately what I wanted to give to her: a framed button elephant.
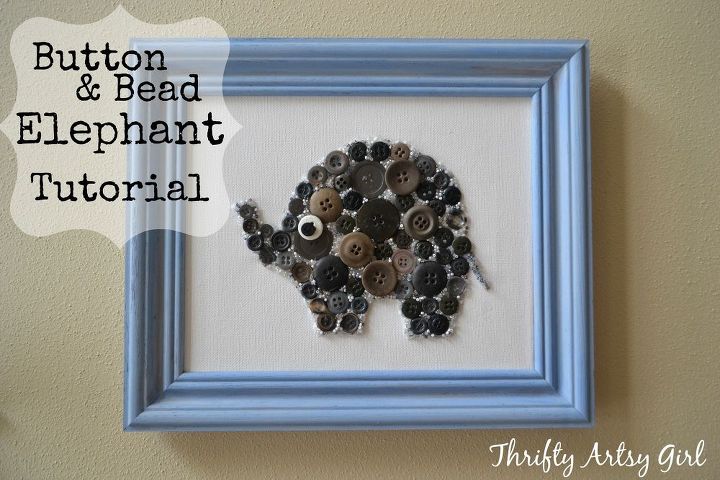
I asked my friend for paint samples from her baby's room so that I could match my wall art to the space. She was doing a grey-blue and grey scheme in the room. Just perfect for a grey elephant. I gathered products I already had and purchased the rest of my supplies off of eBay. I am not a button hoarder (as of yet ;) so I bought a small lot of grey buttons of varying sizes and I also picked up some grey toned beads (to fill in the gaps) for $3 all together. Here's the break down of supplies I used:
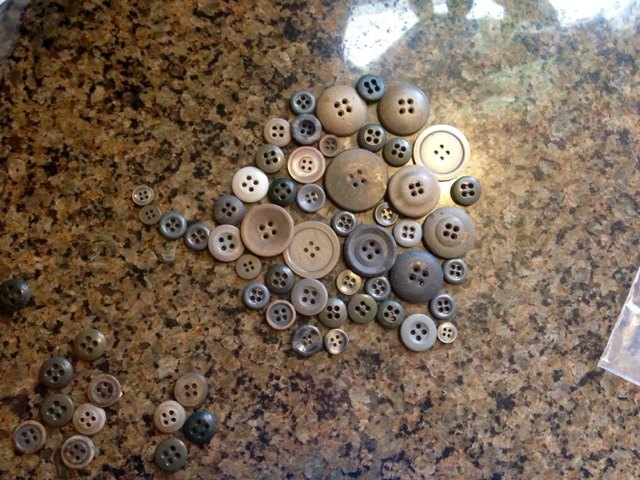
By then I had received my buttons in the mail (if you don't want to purchase buttons on eBay they have packets of buttons at Walmart and craft stores in all the colors of the rainbow). I laid them out on the counter just to see how easy it would be to make an elephant shape out of buttons. It was not difficult at all. Here's a cell phone shot of my first attempt.
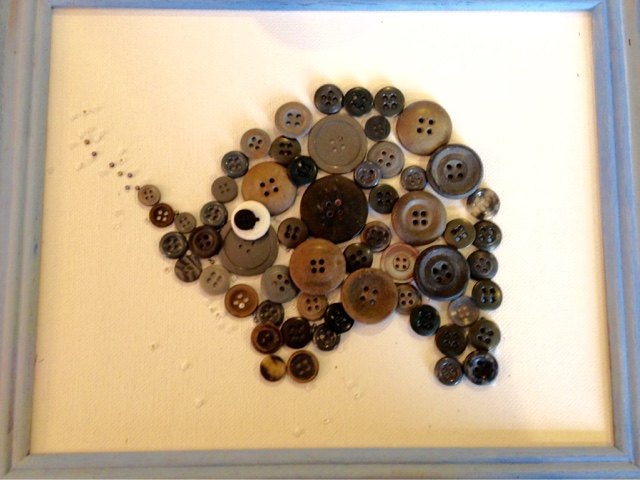
I then laid them all out on my canvas. I used my better half, Cory's opinion on how the elephant was turning out because I thought I might be biased and I wanted the finished product to leave no doubt in anyone's mind that it was indeed an elephant. At first I wanted to use a black button for the eyeball. Cory put the kabash on that idea. He said he couldn't tell what it was. So I painted one of the buttons white and placed a black button on top for the pupil.
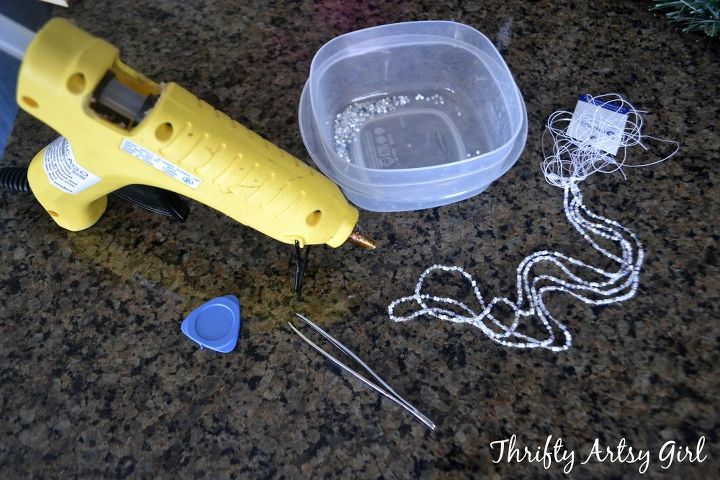
After I had all the buttons right where I wanted them I simply picked them up one by one and put a dab of hot glue on the back and placed them right back where they were. After all the buttons were glued I got out my beads.
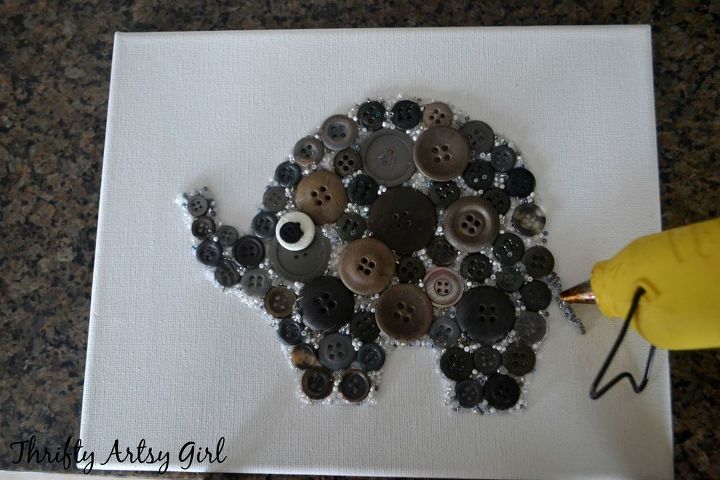
I made the tail completely out of beads. I put down a layer of glue and then shook on some beads. I did have to use the tweezers to place the darker beads so the tail would show up.
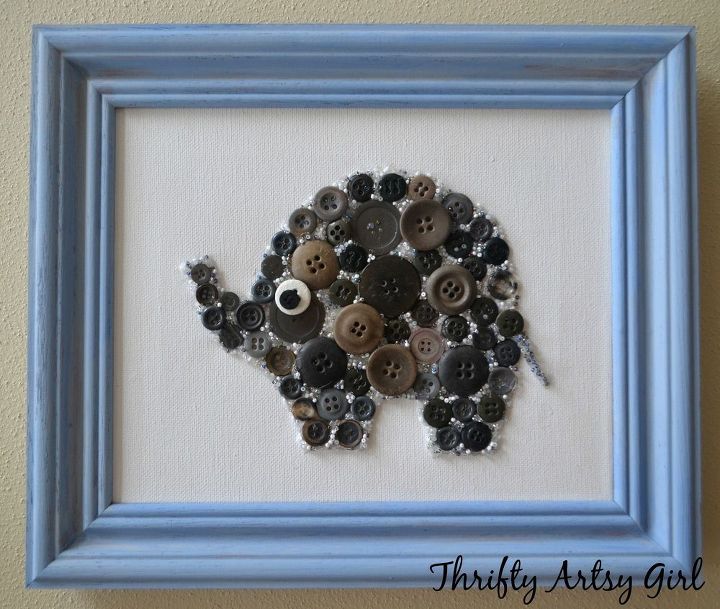
Here's a pic of the finished project. I love how my button and bead elephant turned out and it cost about $5 to make! It was a very simple project, although very tedious so make sure you have a couple hours set aside to do it.

Want more details about this and other DIY projects? Check out my blog post!
Comments
Join the conversation
2 of 8 comments
-
That is beautiful, I love it!! Well done!👍👏👏
-
I love it....for me!


Frequently asked questions
Have a question about this project?