


Upcycle Old Clarinet Case to Nail Polish Organizer

by
Jo
2 Days
Medium
I LOVE creating and re-purposing! For Christmas my daughter said that she needed a way to organize her bottles of polish & manicure tools that would replace the plastic tool box she was currently using. With a small house and two toddlers she wanted something that wouldn't have to sit on a counter. My mission was to create a wall mounted organizer. This is what I came up with. I regret not taking photos of the process but I'll do my best to explain with each photo. This is my first time sharing and I'm looking forward to your comments or questions.
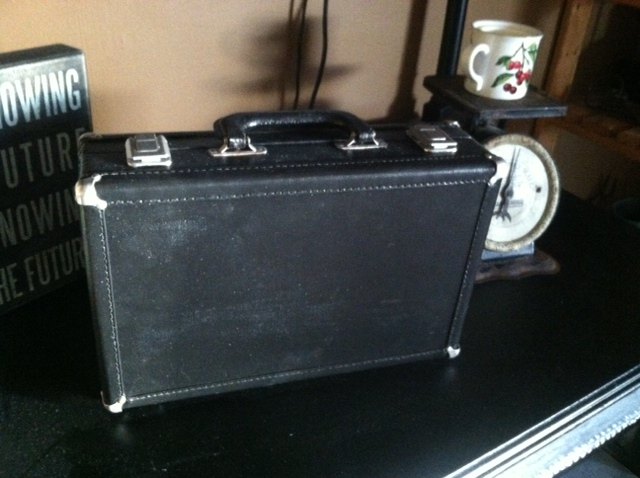
I found this old clarinet case in my basement and decided that heavy duty velcro would easily hold it to the wall. It wouldn't take up much wall space and could fit almost any place she'd like to mount it. And so the project begins!! I gutted the inside and was excited to find that the case was made out of wood! I started by cleaning up the black leather and then giving it a coat of black matte spray paint. I taped the metal corner pieces and latches before spraying. Then I lightly sanded the metal parts and hand painted them with silver craft paint and a small brush.

I was hoping to create that padded upholstery look, but time was getting away from me so I did the best I could. I took loose stuffing from an old decorative pillow and used fabric glue to attach it to the front of the case. Then I glued a piece of faux leather material (edges only) over the stuffing. I have a store house of embellishments, but the silver button-like ones looked best.
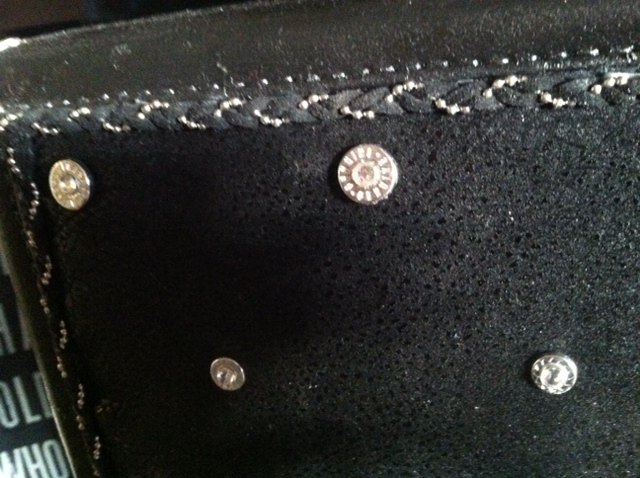
To add a little more 'bling', i glued small rhinestones to the center of each button. To finish the raw edges of the fabric, I picked out this 'ribbon' at Walmart and glued it all around to finish it off.
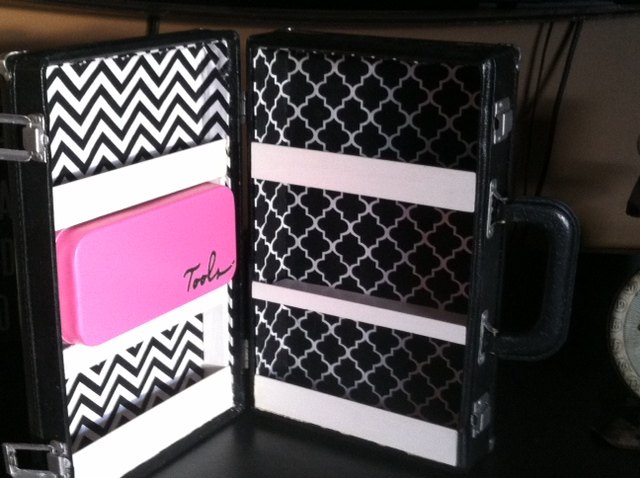
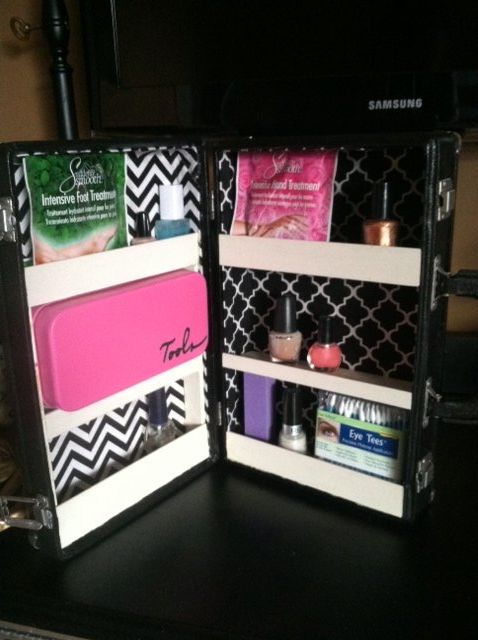
The inside needed to be pretty so I picked out two fabrics that I found at Walmart in those little bundles for quilting. I measured and cut the fabric, then used a 1-inch wide artist brush to apply a thicker coat of fabric glue, one side at a time. That gave me time time to position the material and fold the corners like you would if you were wrapping a gift. A little extra glue was needed to keep the corners in place.
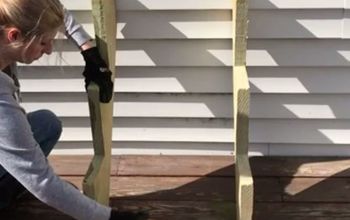
The shelves were created from the slats of a faux-wooden 2-inch blind that I saved when I replaced my windows last year. Measuring and cutting the slats was the most difficult part of this project because they needed to fit snug and I also had to make sure that the box would close after the pieces were all glued into place. The fronts of the shelves would keep the polish from falling out.
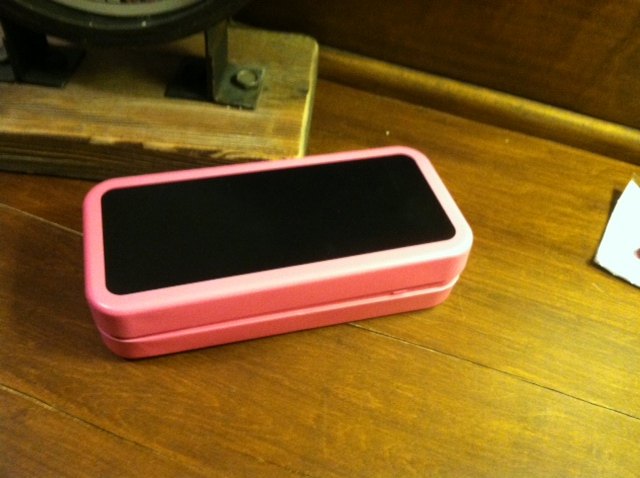
Some years ago I found these little boxes at Joann Fabrics. They were Valentine tins that had candy and chalk in them, clearanced at .25 cents each. They were a little small, but with an extra piece of slat glued to either side of the door, it fit nice & snug. I used Gorilla glue to make sure it wouldn't wriggle out.

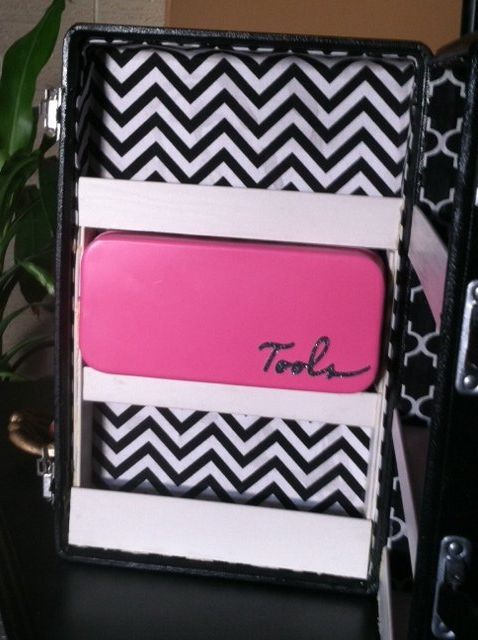
I used my Cricut machine to cut the word "tools" from glittery black paper, attached it with glue and sealed the entire cover with Mod Podge to keep the paper from peeling.
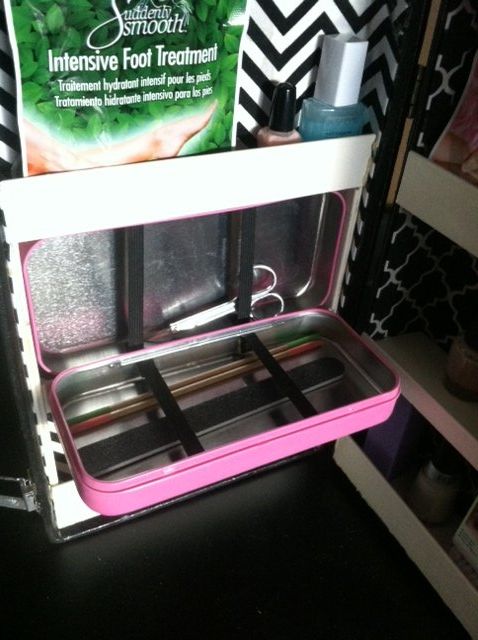
Using Gorilla glue again, I cut and attached 4 pieces of black 1/2 inch elastic to the tin to help keep the tools in place. I slightly stretched the elastic, glued and held it in place with clamps for about 3 hours.
I had never done anything like this before, and had to learn as I went (the beauty of creating). One thing I learned is NOT to use Gorilla glue on the slats. I found out that it expands and doesn't dry clear. At one point I had to leave for a few hours and the glue expanded and hardened. It was very time consuming to have to 'chisel' the hard orange colored glue off the pretty white slats. I found re-positionable Super Glue in the craft area of Walmart. It's my new best friend! The best part was that my daughter LOVED the gift!! I hope this post inspires your creativity!
Comments
Join the conversation
2 of 3 comments
-
Adorable idea!
-
Thank you ladies! I appreciate your kind words :)


Frequently asked questions
Have a question about this project?