


DIY Shag Rag Rug {Tutorial}

by
Jessica
$110
Easy
I have spent the past 4 weeks making a Shag Rag Rug for Riley's nursery and am thrilled to say that it's finally complete!! It was one of the easiest projects I've ever done; however it was by far the most time consuming, but it was WELL worth it!!! It turned out better than I imagined and looks just like the ones that retail for $600+
Checkout my DIY Shag Rag Rug Tutorial!! I hope you enjoy!
Checkout my DIY Shag Rag Rug Tutorial!! I hope you enjoy!
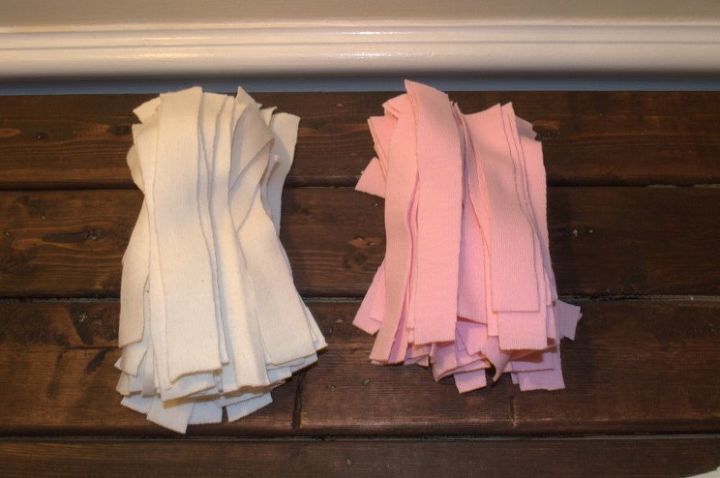
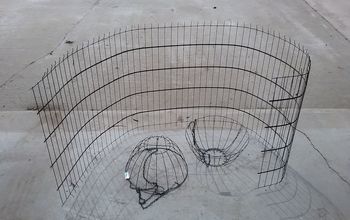
Cut Fabric into 5" by 1" strips
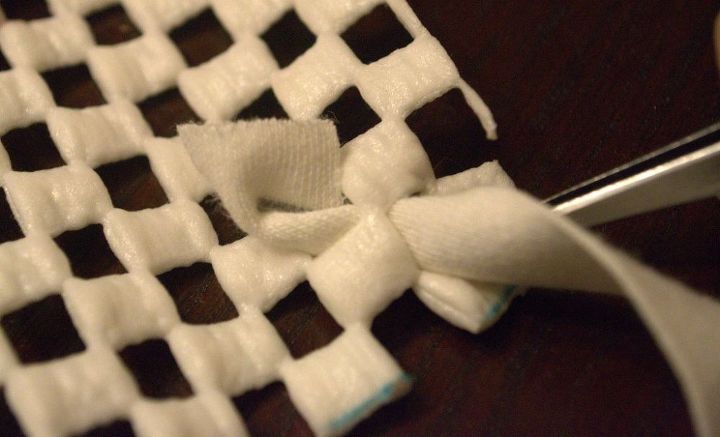
Weave Fabric under one of the holes and back up through another hole (I weaved the fabric in a vertical direction). I left one row of holes empty on all sides.
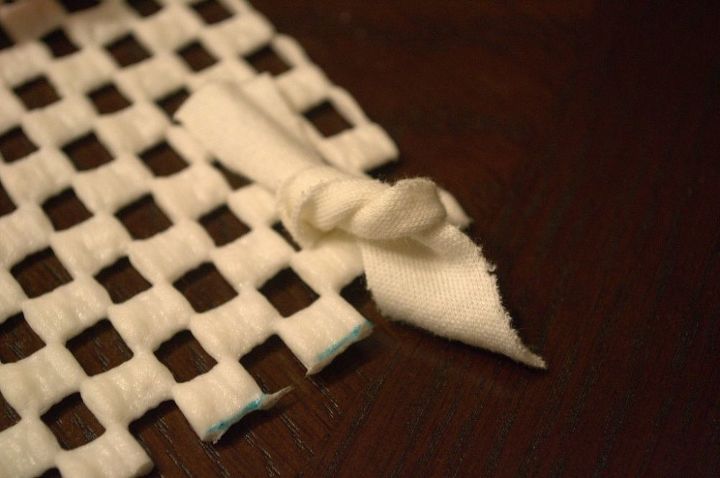
Pull the fabric so that it’s even on both sides and tie it into a knot (this will hold the fabric in place)
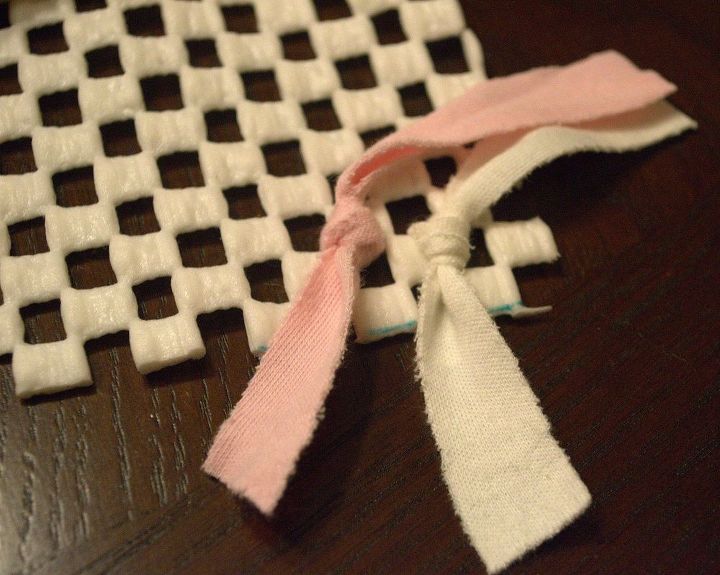
If you are using two colors then you should alternate colors as you go.
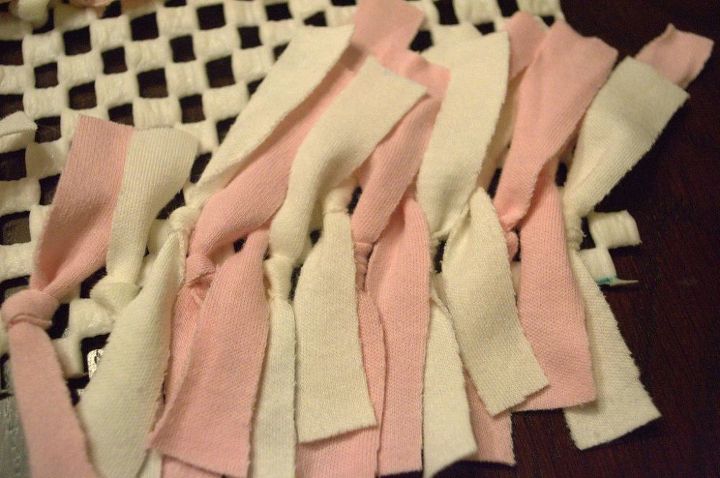
Continue adding Fabric Strips alternating colors as you go. It will look bare at first but the more rows you add the fuller it will get. Here is what it looks like after adding two rows of fabric
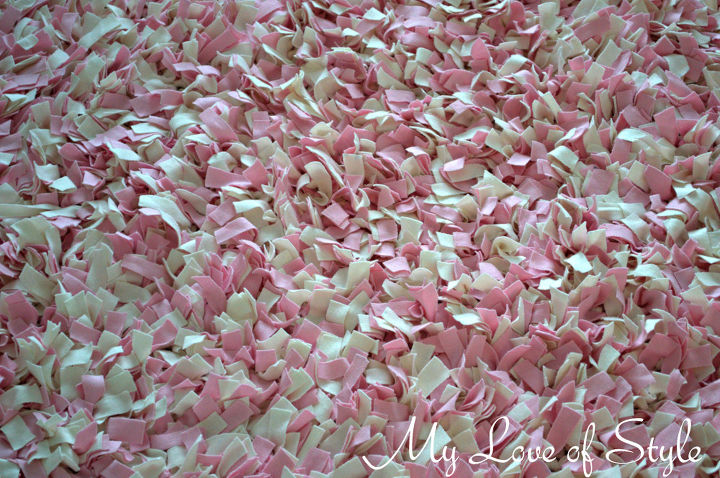
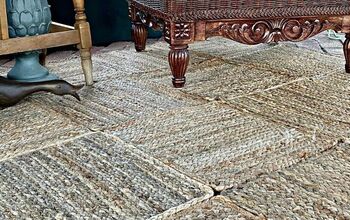
This is how your DIY Shag Rag Rug will look upclose
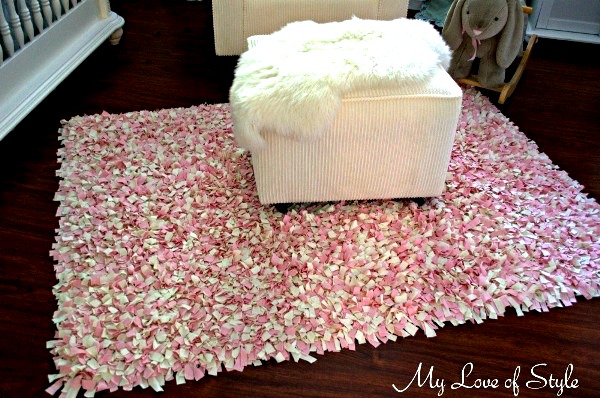
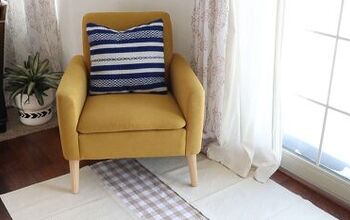
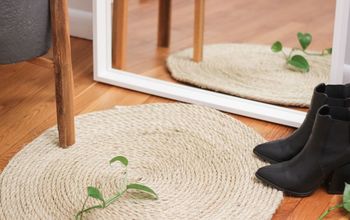
This is a completed version of my Shag Rug on wood floors
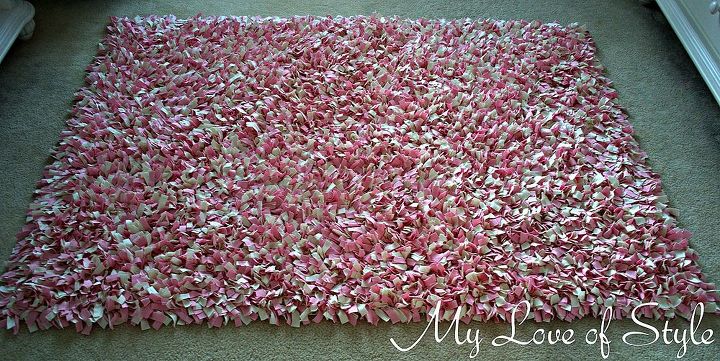
A picture of how it looks on carpet
Want more details about this and other DIY projects? Check out my blog post!
Comments
Join the conversation
2 of 230 comments
-
Love this!!! Thanks!
-
That is adorable!!!


Frequently asked questions
Have a question about this project?
Hi Jessica~ your gorgeous rug inspired me to make MY first rag rug!! I am using flannel, two solid colors and one print. I have two questions I need help with: 1) should I wash the material first?; 2) some videos show tying the strips twice instead of once. How do I determine which is correct for my b
When I start my second row, do I put fabric in same hole as first and bring it through an above row or start a second row completely empty of fabric?
What are you using for the backing?