


Dining table update

by
Andrea S
$6
3 Days
Advanced
I have this dining set that has some boring oak color from the 90s I guess. I like the shape of the pedestal table and I freecycled 4 chairs that matches the dining set. Actually I got the chairs first and then I saw the set for sale for $125. I jumped on it right away and now we have a set with 10 chairs. I think that is an awesome price and we never have to worry about not having enough seats at holiday dinners.
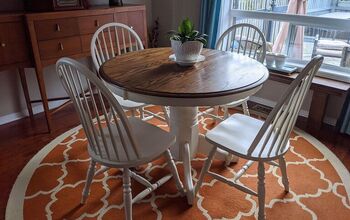
Here is the update of the old table, painted and distressed, that will fit well into my new white dining room (my next project after I get the chairs done).
Paint: free from the recycling depot, the $6 is for the wood filler to repair the table top. There was no other cost to this project.
I marked the difficulty challenging only because it was hard to get rid of the old finish with environmentally friendly means. I ended up doing the not so environmentally friendly way and also I needed to prime which is not what I planned to do. But with the thin veneer table top that was already worn down I had no choice but to be drastic. If it had been primed and painted only, this project would have been a 1 day job and very easy to do.

I wanted to save the top finish to show wood grain and I planned to paint the legs and sides only. However the top was so badly damaged by water that it had to be stripped and fixed. This picture shows the old fashioned boring color.
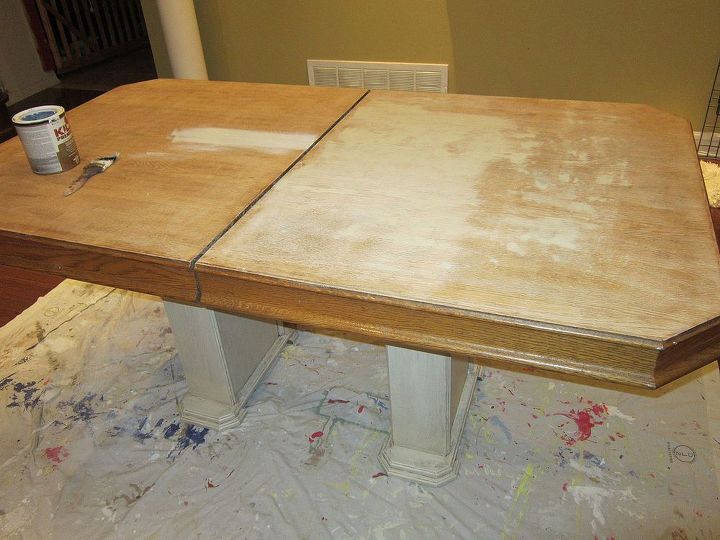
The top was stripped on the damaged side with mechanical stripper. This wasn't the easiest thing to do and the veneer was too thin and damaged that needed to be filled in for a smooth finish. The other parts were stripped with chemical
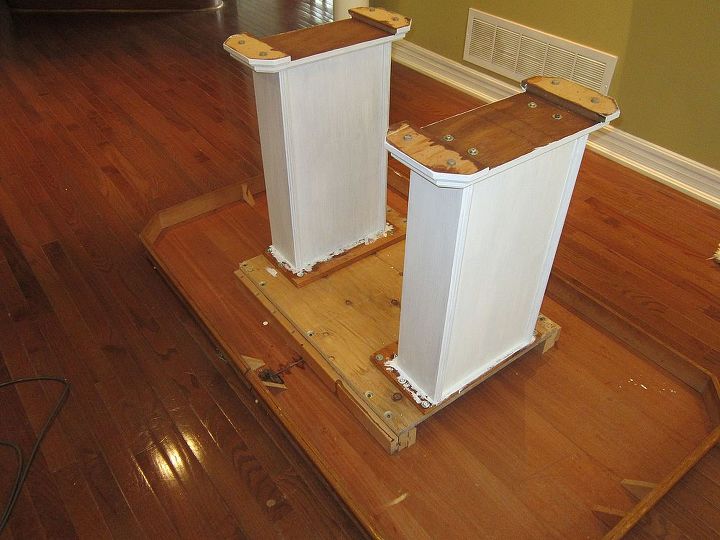
Table legs were done first. Here they are primed.
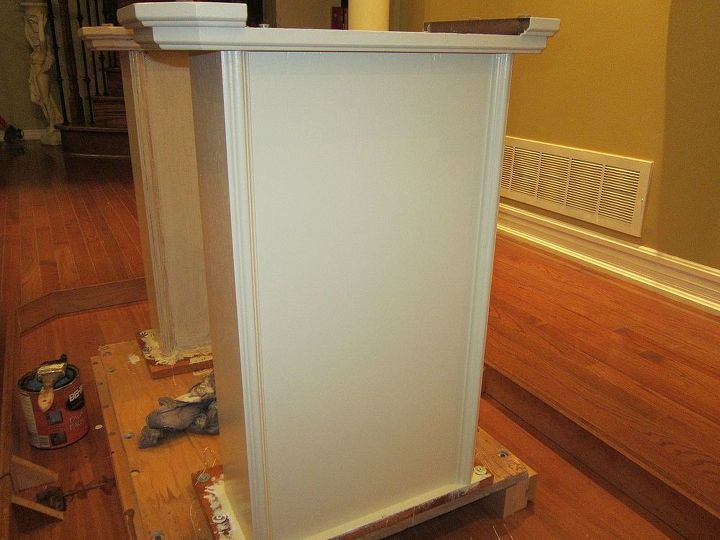
Legs painted with a light cream color, then glazed with chocolate brown to bring out the details and distress the table.
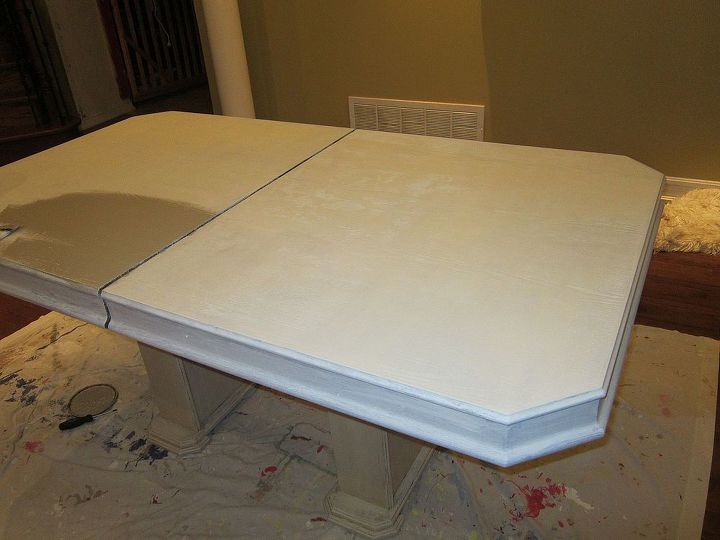
After the legs were finished, the table was flipped over and the top was primed with 2 coats of primer, then painted with 2 coats of the finish color which was a contrasting grey.
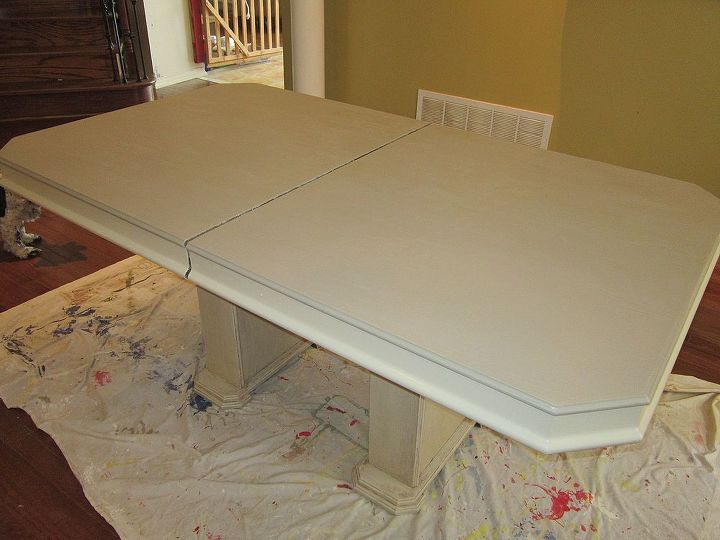
Grey table top and cream sides. The top was sanded after the 2nd coat and patched with a 3rd coat, then distressed with sand paper again. Finally glaze with chocolate brown was applied.
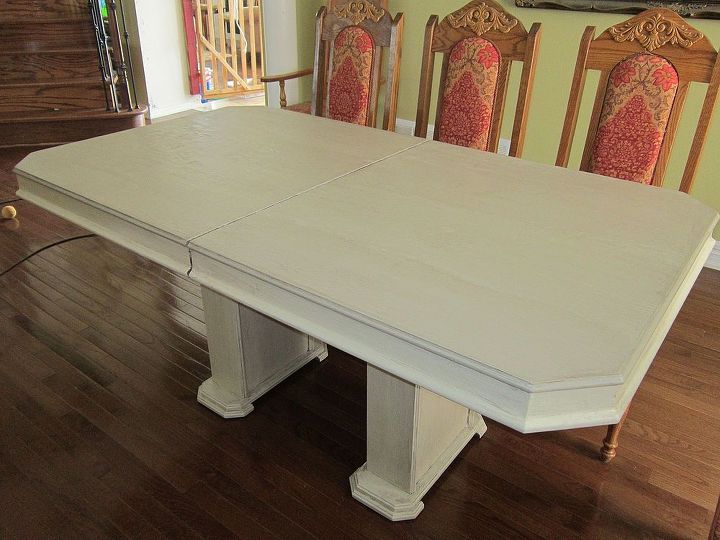
The finished table. There is actually a much better contrast between the top and the side colours but the picture doesn't show it well.
Comments
Join the conversation
2 of 3 comments
-
Thank you for your comment. I will try to take another picture that shows the colours better. I might have to wait for some sunshine as it is dark in here and all the lights turned on just wash the picture out. In real life the color is nice. The chairs should be much easier to do but I have 10 of them. I am nervous to start LOL but I will plan one chair per day so I should be able to do them in a few weeks.
-
Wow! I am impressed, looks like a big job but worthwhile! I know the feeling about the chairs too..I look at mine..then I look again..and then some more, but never do anything because it seems such a big job to do 6 chairs . especially since I don't know how they will turn out! so I just sit and look. Good for you!


Frequently asked questions
Have a question about this project?