


My Craft Room Storage Problem is Driving Me Up the Wall
Literally! lol. I'm in total craft room reorganization mode, and I'm trying to sneak in some extra storage wherever I can find it in my little 8'x11'room.
So where did I go? Up the wall, of course.
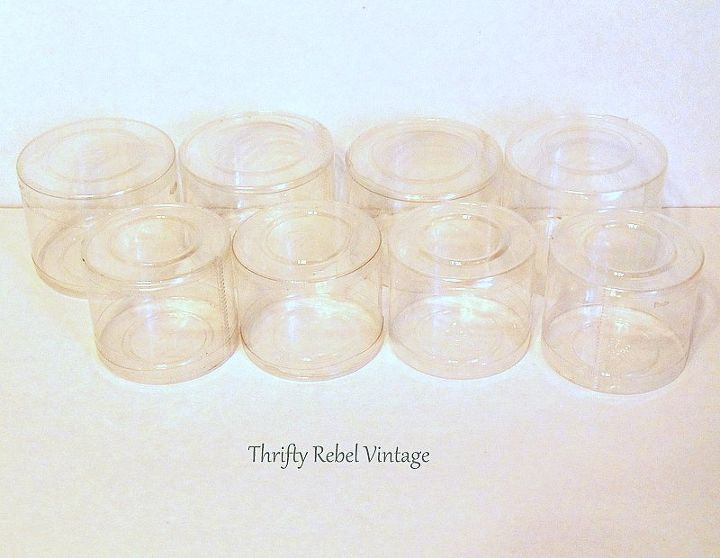
Like always I'm on a tight budget so I was looking to repurpose things.

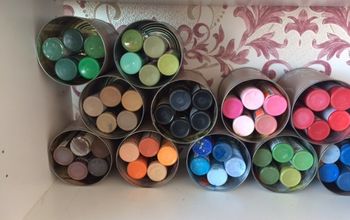
These container have removeable tops and bottoms, and it's very important to not get them mixed up. The tops have a hard rounded inside edge which gives the container some strength even when the lid is off. The bottom of the container is much weaker and gets its strength from being attached to the bottom lid.
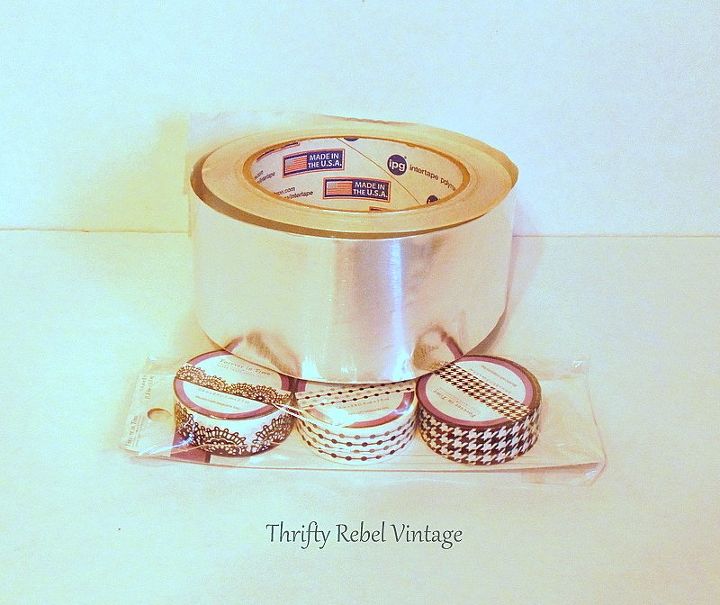
To dress up these containers I'm using my new favourite thing.... metal foil duct tape, and some washi tape from my stash.
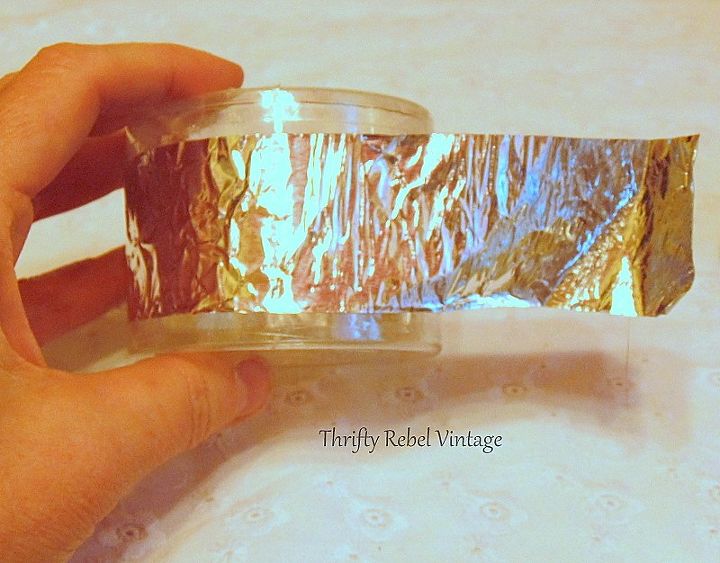
I cut pieces of the metal duct tape to size and wrapped it around the containers.
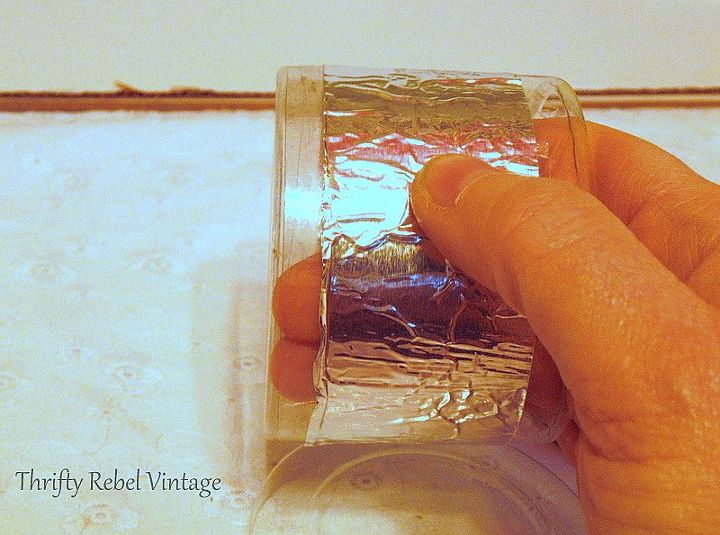
Once it was applied all around the container I smoothed it down by pressing on both sides of the container at the same time. This does not lose the distressed look, it just smooths down the edges.
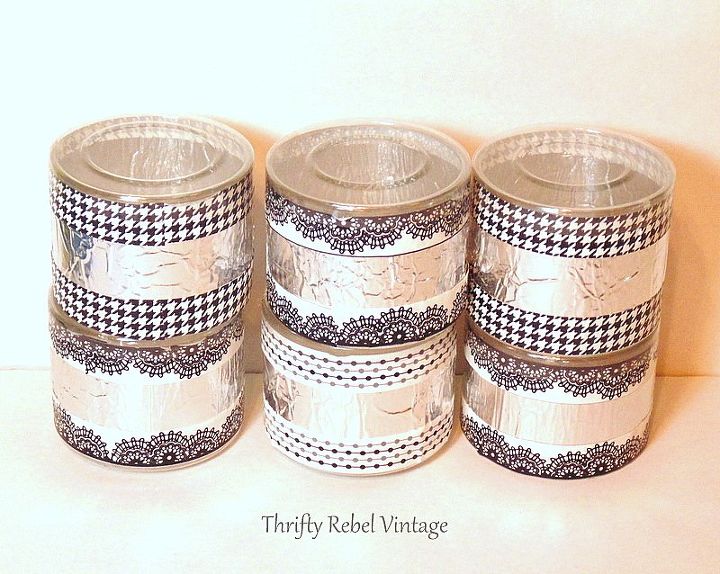
Then I just used the washi tapes around the tops and the bottoms.
When applying the washi tape around the tops make sure it's as flat as possible so the lid will go on without any trouble. If there are any ridges in the tape the lid won't fit and the tape will tear.
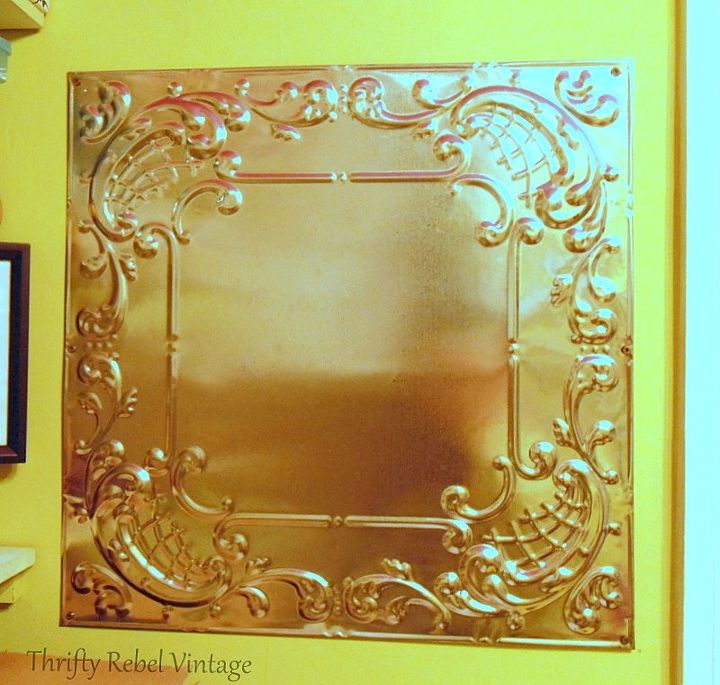
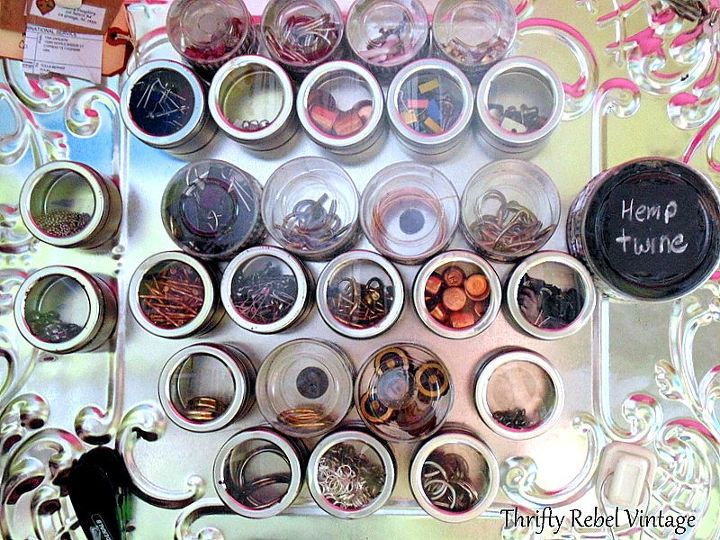
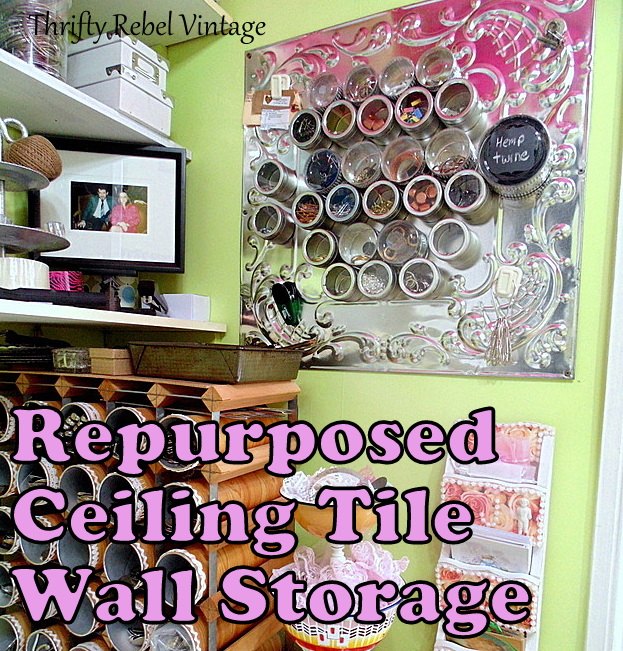
I remembered that I'd thrifted a tin ceiling tile a couple of years ago so. It's been waiting for a project just like this one. All I did was screw it into the wall right beside my work desk. I did the four corners and the middle of the two sides.

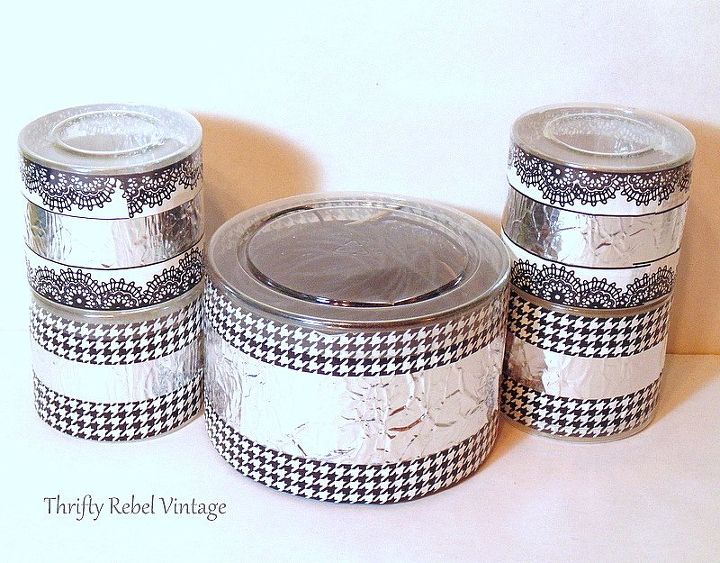
I glued magnets onto the bottoms of the containers, filled them with my bits and pieces, put them in place on my metal ceiling tile, and my wall organizer is done.
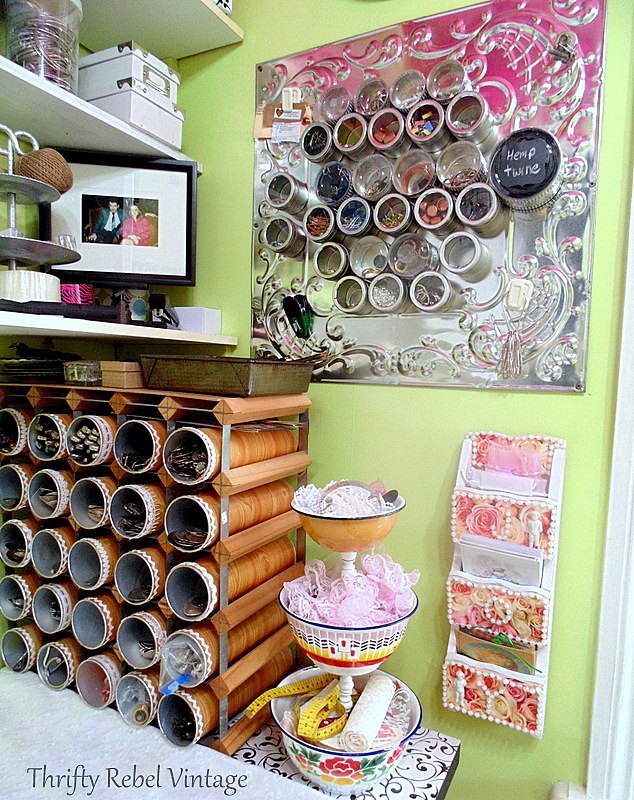
This is the perfect spot for this extra storage... with my repurposed Pringles can wine rack organizer, my enamel bowl tiered stand, and my letter holder makeover.
I put a chalkboard label on the one big container just because I had it, but I don't want labels on the rest because I like seeing what's in the containers.

Want more details about this and other DIY projects? Check out my blog post!
Comments
Join the conversation
2 of 39 comments
-
You are my new hero. I love it. And especially love the pringles cans. I see racks like that at Goodwill all the time. I will pick one up next time for sure.
-
Well, it is nearly 2022, and your awesome ideas are still just that… AWESOME!! 🎉 🎊
Since I can’t have your craft room, I am going to make mine as close to yours as possible.
I even love all the fun colors you used, and that ceiling tile with the little containers w photos in their tops. I still can’t comprehend what type of containers it is you used, but hopefully I come up with my own idea.
Thank you for being my inspiration, Tuula!💞


Frequently asked questions
Have a question about this project?