


Lego Pallet Table
One afternoon while at Steph's house, she & Tyler (nephew) took a walk & spotted a pallet curbside at a neighbor's house. They couldn't just leave it there so they hauled it to her house where Tyler promptly "wanted to help Aunt Stephie make a Lego table."
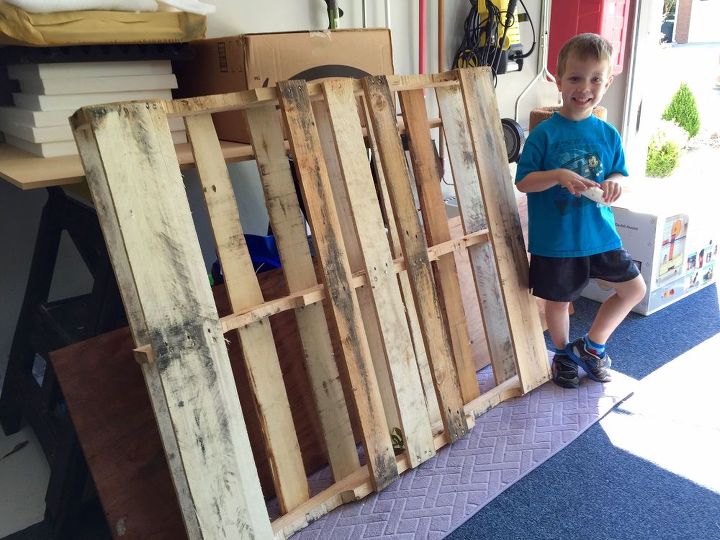
Tyler and his pallet!
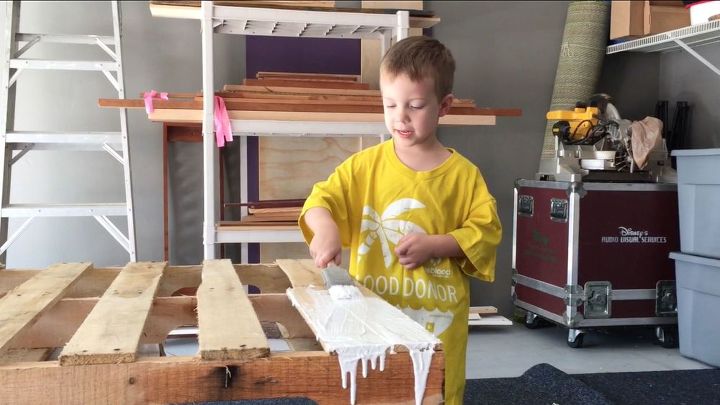
When you're working with a four year old, you don't exactly follow the proper steps in tackling a project, like sanding first! Anxious to get started, Steph got Tyler a painting shirt & they were off.
Vicki got there about the time they were finishing up- don't know which had more paint, the pallet or the floor of the garage!
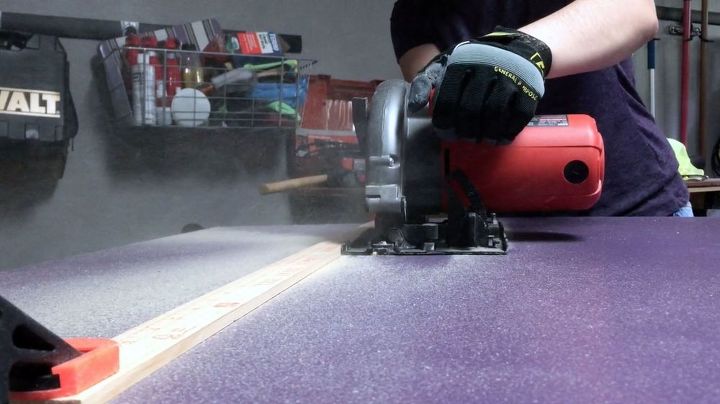
Steph already had a painted piece of MDF which we cut to size with a circular saw for the top of the pallet. To aide in cutting, Vicki set up a "fence." The fence is something like a metal yardstick that is clamped to the wood that is to be cut. The edge of the circular saw butts up against the fence keeping the cut nice & straight.
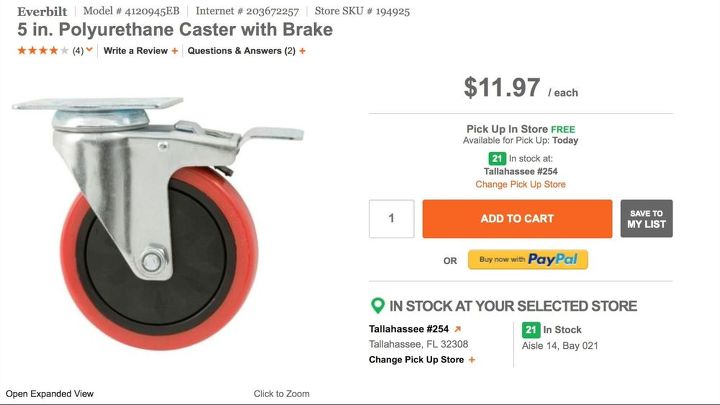
Letting things dry, we all headed out to the big box store to look for casters. Tyler liked the large red ones, cause that's his favorite color. These are locking casters which keep the table from moving.
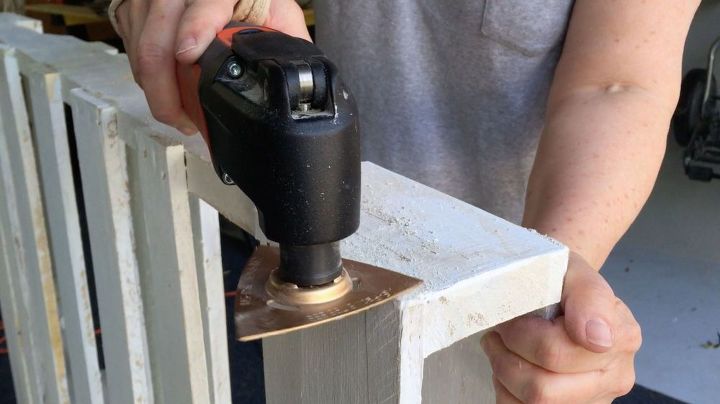
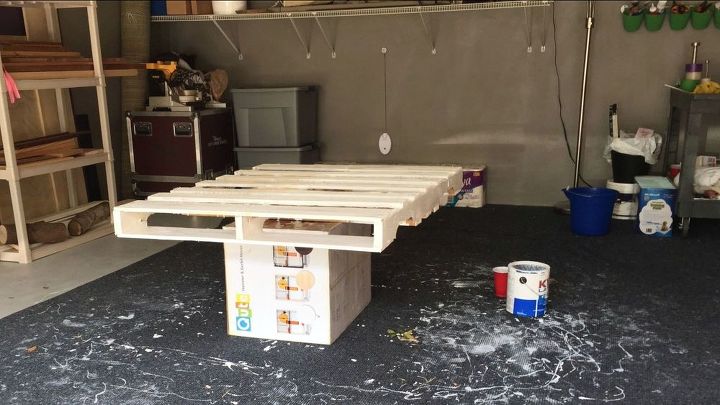
The real work came a few days later when Vicki was tasked with sanding the rough spots-and you know what, EVERYTHING on a pallet is a rough spot! It was made more difficult due to painting first, but we knew it would be. Steph finished up the painting after sanding. We attached the casters to the four corners adding blocks of wood for support. (watch the video for more detail)
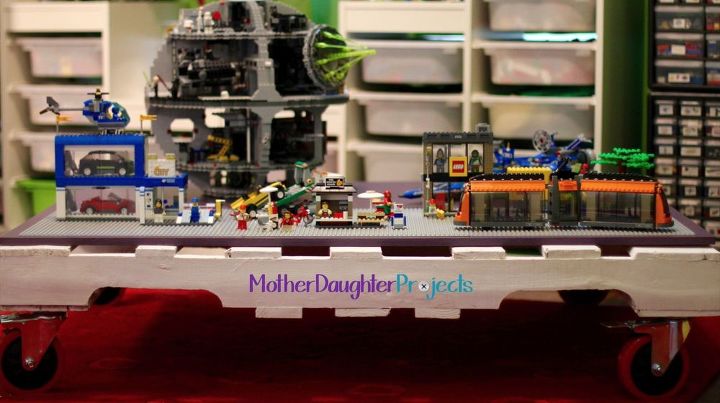
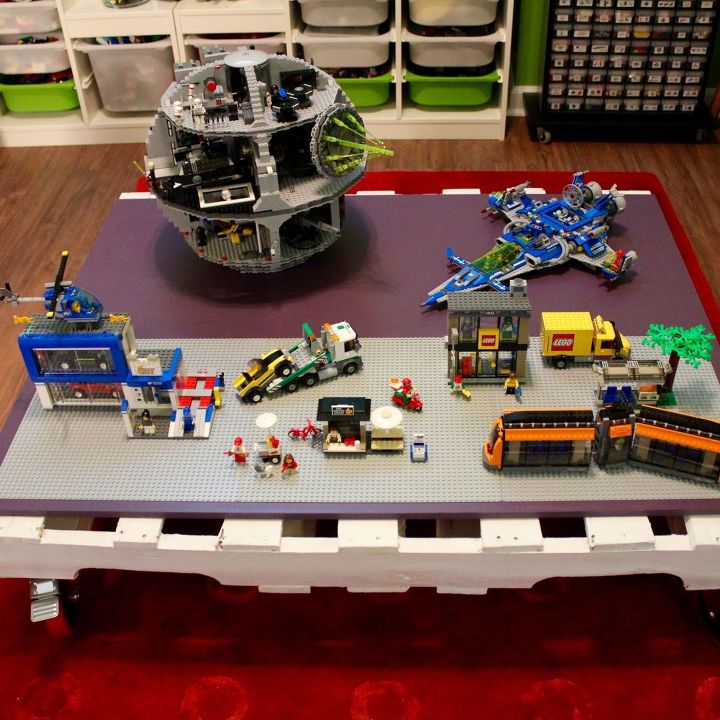
With the MDF cut to size all that was left was to move it into the Lego room, add a couple of building plates, & invite a four year old over to play!

Want more details about this and other DIY projects? Check out my blog post!
Comments
Join the conversation
2 comments
-
What a great idea! My kids would love it! :)


Frequently asked questions
Have a question about this project?