


Make a Hammock in an Afternoon
2 Materials
$20
1 Hour
Medium
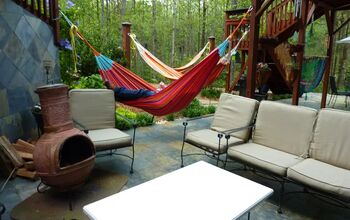
There is no better way to spend a lazy summer afternoon than in a hammock in a beautiful garden. This easy DIY only takes an hour and costs under $20 – now that’s pretty cool.

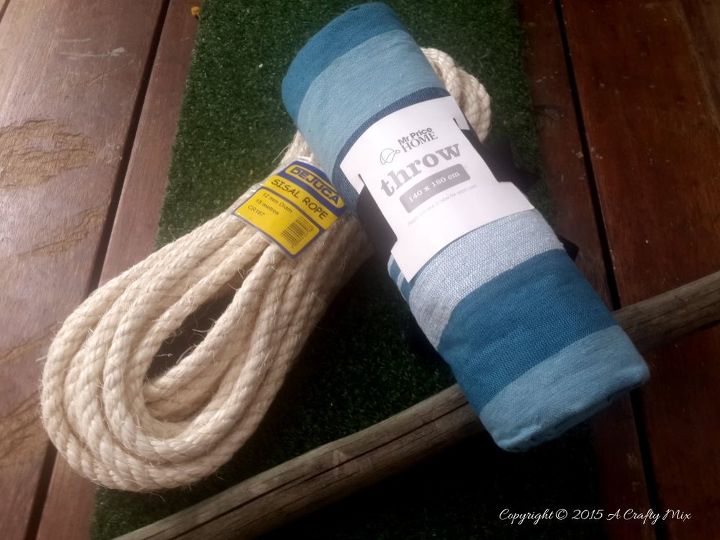
All you need is a throw (140x180cm or 55" x 71"), some rope, a wooden lath (wooden stick at least 4.5 cm or 1 7/8" thick) and a sewing machine. Oh and a drill.
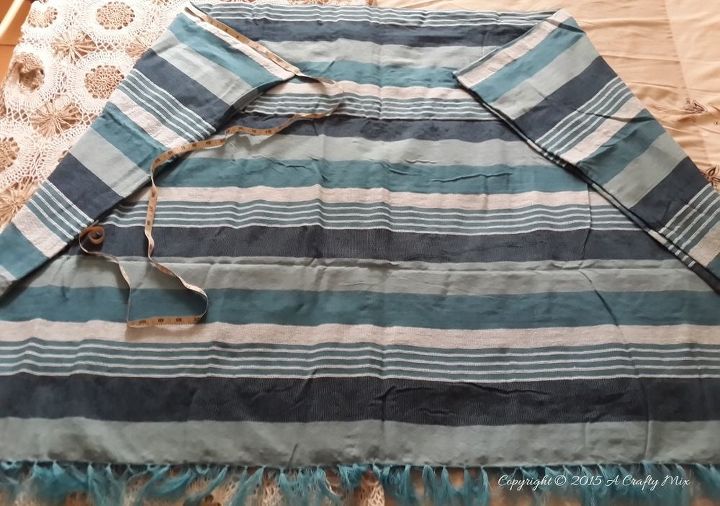
Fold the throw in half length wise and then fold the outside corners in by 30cm (12") as shown above. Cut away the folded corner pieces and zig-zag the cut edges so that they don’t fray.

If you're unsure of the measurements you can always ask Jazz to double check them for you :-)
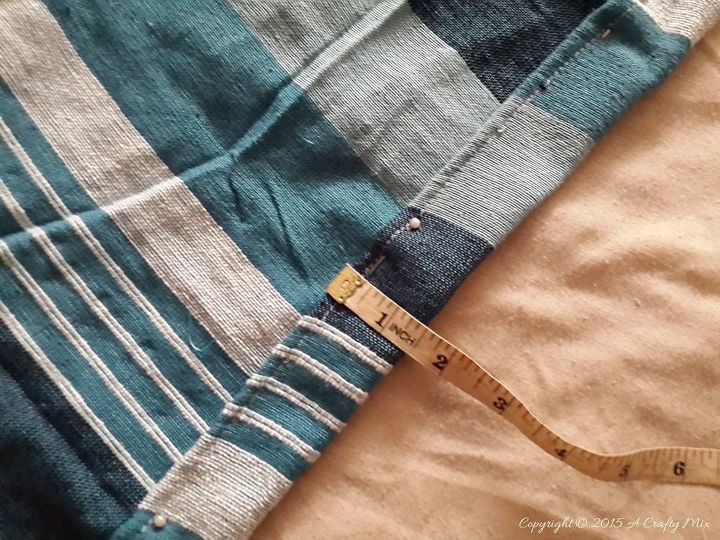
Fold each cut side in about 4.5 cm (2") and pin to create little pockets for the sisal rope to go through. Stitch up the pockets and reinforce the beginning and end with back stitches. Stitch twice to make sure the pockets are strong enough and then repeat on the other side. To hang the hammock make a mark 9 cm (4") and 14 cm (5.5") in from both ends of the lath and using a 13 mm (3 7/8") drill bit, drill through. Cut the sisal rope into 2 piece measuring 3 m (10 feet) each and use masking tape to seal the edges so they won’t fray. Tie a knot at one end of each of your 3m ropes. Thread the rope down through the outside hole in your lath and into the top, narrowest edge of your hammock seat and through to the widest edge. Tie a knot about 170 cm (5.5 feet) from the first knot and thread it back up into the lath. Repeat on the other side. Adjust the knots up or down to make the hammock higher or lower. That’s it, your hammock is ready for a shady spot in the garden, just knot the two pieces at the top together and find a strong branch.

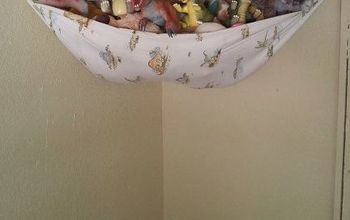
A word of caution. Make sure your hammock is fastened to a branch that is strong enough to support the weight of the hammock and whoever is sitting on it. You need to check that the hammock is properly tied so that it won’t come lose or fall when you get in. Kids should never be allowed to use the hammock without adult supervision. The detailed steps with loads of additional photos can be found on the blog. The link should be down there are the bottom. And if you want to try making a smaller version for your fairies first we have that tutorial here.


Any price and availability information displayed on [relevant Amazon Site(s), as applicable] at the time of purchase will apply to the purchase of this product.
Hometalk may collect a small share of sales from the links on this page.More info

Want more details about this and other DIY projects? Check out my blog post!
Comments
Join the conversation
2 of 121 comments
-
I bought one of these. Hung it up as high as I could still get into it. (And I'm tall) But when I sat down the ropes stretched so badly I ended up ON THE PATIO!!!!
SO, be sure the rope you buy does not give or stretch AT ALL!!!!
-
I was looking for Less creative, cover flowers from frost. I'd be scared this wouldn't be sturdy enough. But nice post🙂


Frequently asked questions
Have a question about this project?
Could you use a couple of braided rugs sewn together instead of a throw?
What is a wooden lathe? Is it a dowel rod? What size should it be?
Where can I find the measurements in inches and feet? I saw that someone asked but all these new STUPID ads are popping up right over the info!!!!! Makes it so I can no longer read the info!!!! What's up with that??? Not a happy Hometalker😡😡😡