


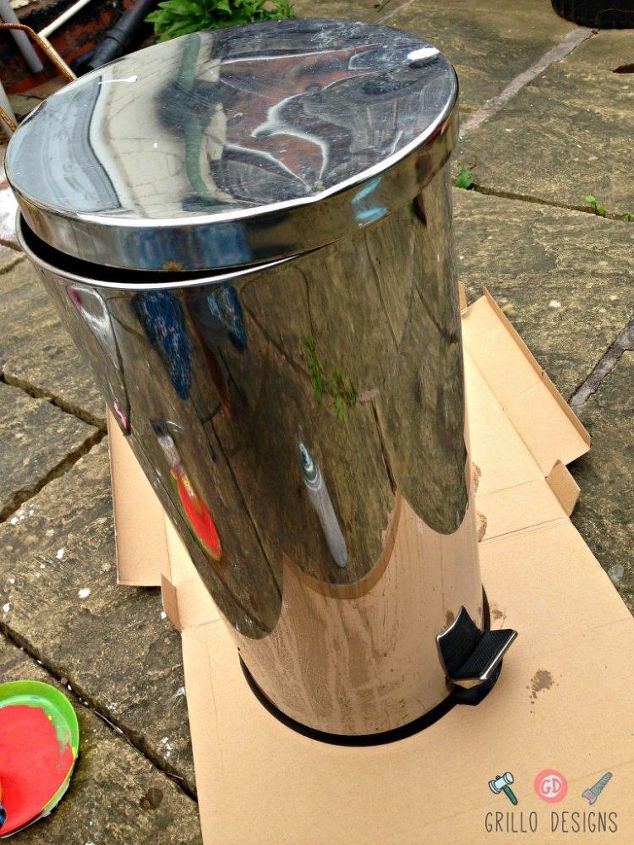
Trash Can Makeover!
When I gave my kitchen a bright funky retro makeover, I decided my rubbish bin was not exempt from getting a bright face lift of its own too (for all my American readers, a Rubbish Bin, is what you would call a 'Trash Can').
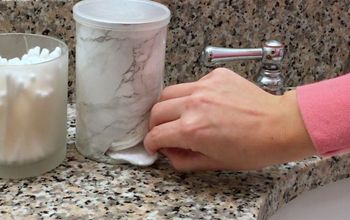
Materials : Grey spray Paint, Yellow latex paint, White and Teal contact paper, Paint Brush, Painting tape, Spay on Varnish, Sand paper
Click here for detailed TUTORIAL on how I did this!
Materials : Grey spray Paint, Yellow latex paint, White and Teal contact paper, Paint Brush, Painting tape, Spay on Varnish, Sand paper
Click here for detailed TUTORIAL on how I did this!
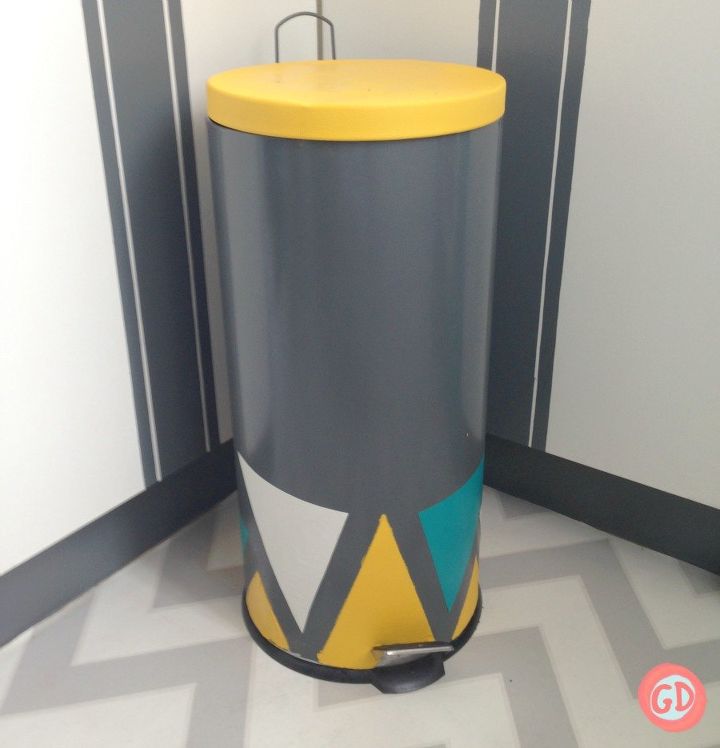
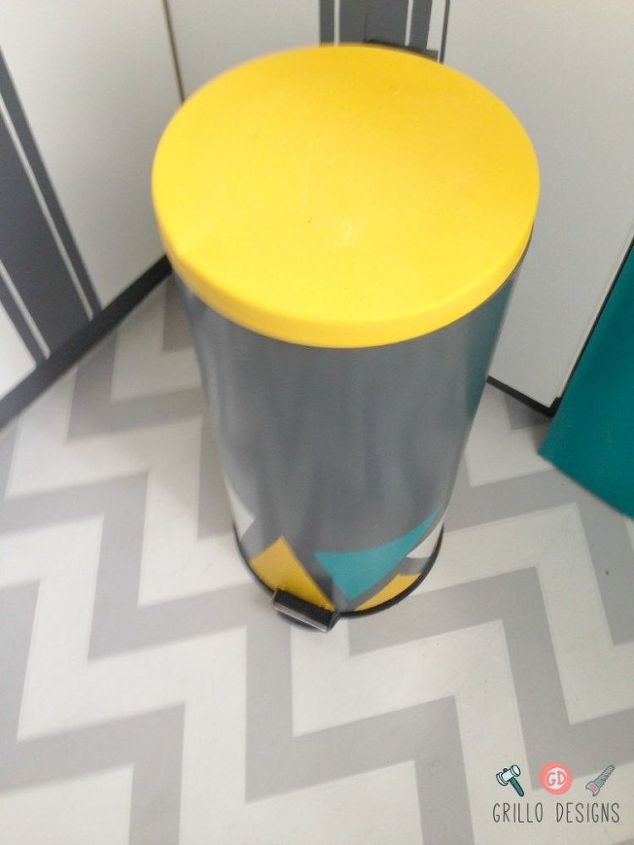
And you might remember my bright and funky kitchen makeover. I posted a while back. Well I think it fits perfectly in there! You can head over to blog to see more of my colourful room reveals!

Want more details about this and other DIY projects? Check out my blog post!
Comments
Join the conversation
2 of 57 comments
-
Your kitchen is a very "personal "design. I bet you have fun working in there with all the cheery colors. One can also decorate an outdoor "bin" to make it more attractive, and to ensure its' return when the wind blows it down the street. Thanks for sharing!
-
Wow. Love it


Frequently asked questions
Have a question about this project?
Does this gorgeous trick work on plastic/rubber garbage cans? If so do you have to prep the cans differently?
I have a white plastic trashcan with no top. Apt is small so what tyoe of paint do I use and what can I use as a cover?
Beautiful job!! Looks fantastic! How did you get the dents out of the lid and make it look new?