


Watercolor Ribbon Tutorial
Around our home we often try to re-purpose outdated or impractical items. I enjoy finding new uses for things that might otherwise end up in the garbage, like this beautiful vintage wooden toolbox or this sweet highchair. Another favorite activity of mine is popping into our local thrift stores to see if I can find a one-of-a-kind item that someone else simply doesn’t have use for anymore.

Each month we will give new life to an item that you might think belongs in the trash. I hope this series will inspire you to use your creativity and imagination; dig around your attic or basement or pop over to your local donation store to see if you can find something to re-purpose.
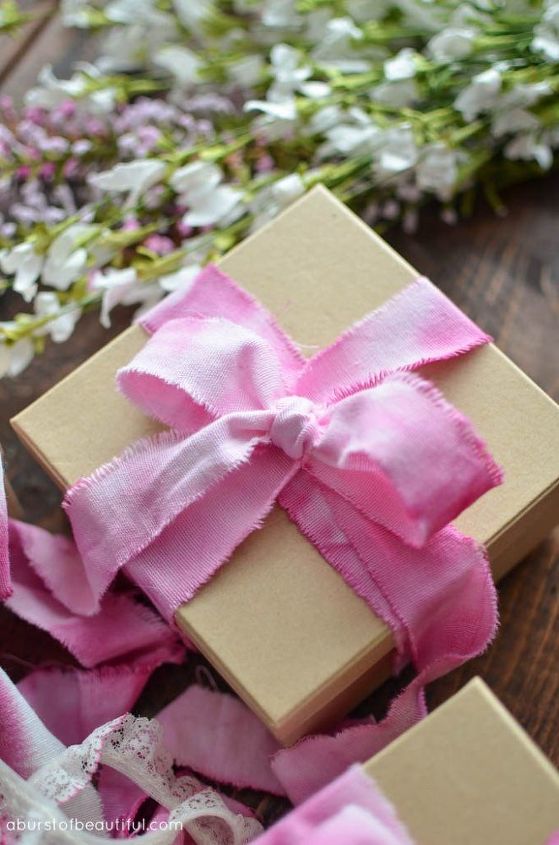
Watercolor is very trendy right now. It is popping up in everything from art to graphic design to home decor. And it’s a trend I am really loving.
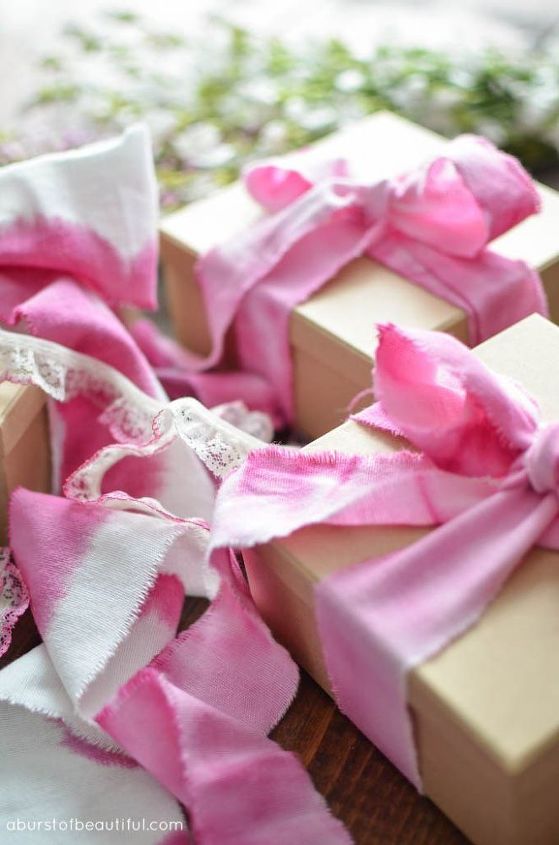
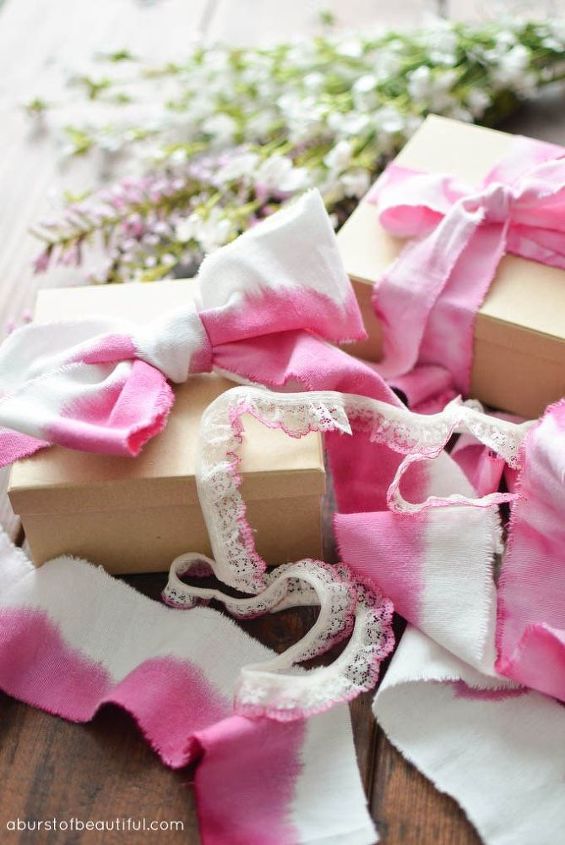
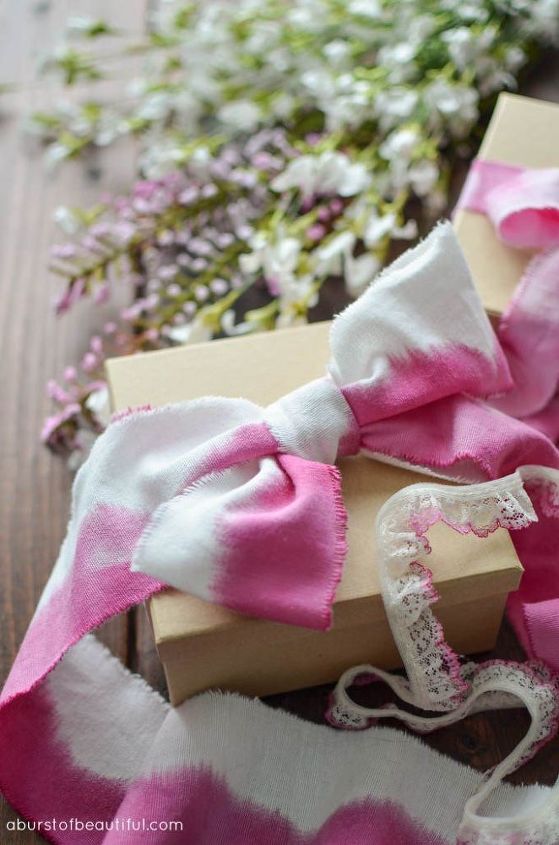
So I started thinking of other ways to use this popular trend and I eventually settled on watercolor ribbons. These ribbons are absolutely stunning and one of the simplest (and most inexpensive) projects to tackle.
I had some curtain panels that I was saving for a project (they had been washed and shrunk so we were no longer using them on the windows, but I didn’t want to throw them away), that I knew would be perfect for this project. You could use any extra fabric you had on hand, like an old t-shirt or bed sheet. I also used a few pieces of lace that I dug out of my craft supplies.
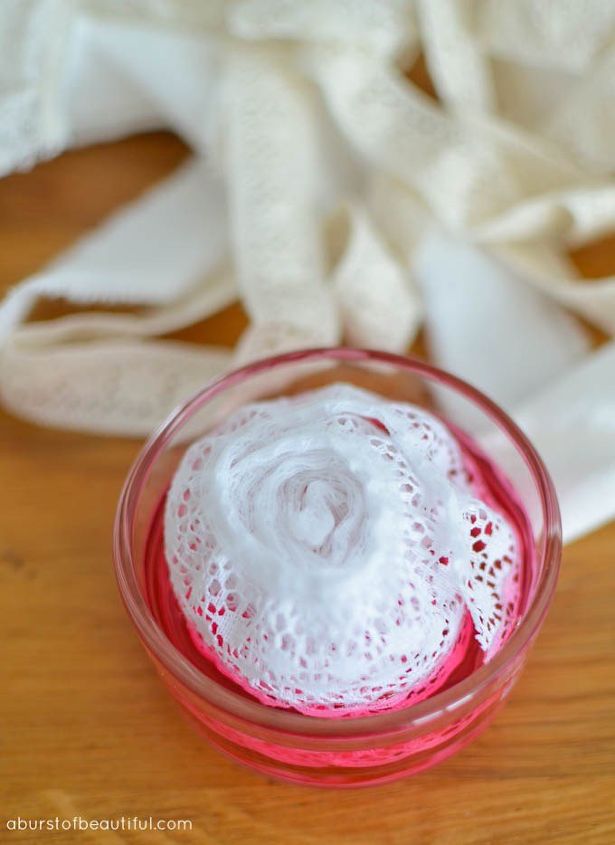
Let the fabric dry on paper towels until damp, and then unravel and hang to dry completely.

Want more details about this and other DIY projects? Check out my blog post!
Comments
Join the conversation
2 of 14 comments
-
Cute idea!!
-
Great idea


Frequently asked questions
Have a question about this project?