


DIY Watercolor and Gold Leaf Art
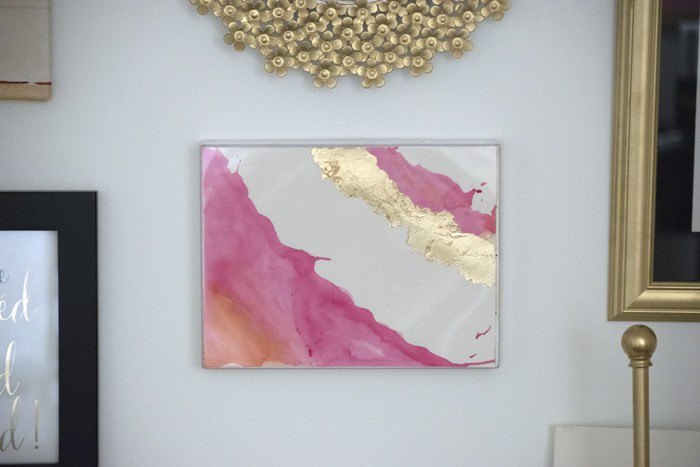
My daughter and i have been redecorating her room and still on the 'to do' list was to gather some art for the ubiquitous gallery wall that she requested. We re-purposed many pictures and frames that we already had, but we needed some pops of pink and, as is my wont, I opted to make art instead of buy it.
This was a nice, quick project and it filled the space perfectly.
it
This was a nice, quick project and it filled the space perfectly.
it

What You Need To DIY Watercolor and Gold Leaf Abstract Painting:
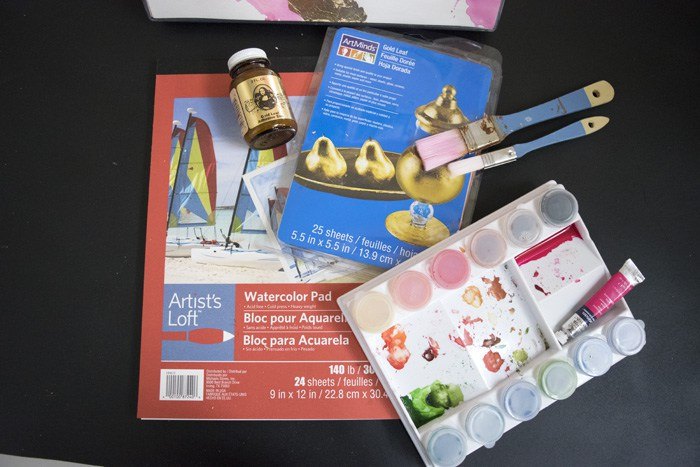
DIY Watercolor and Gold Leaf Abstract Painting:
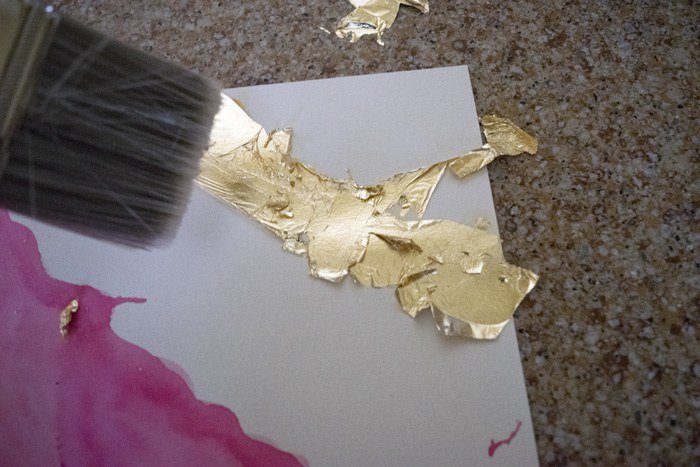
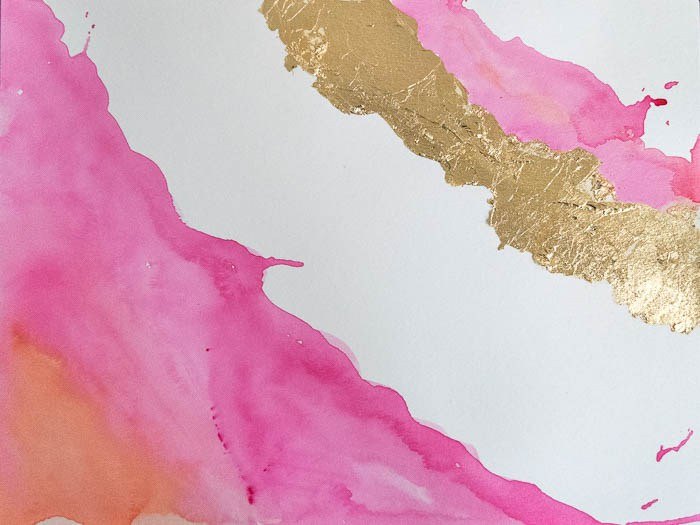
Once that is dry, lay down the gold leaf adhesive where you want the gold leaf to be. You don't need much of the adhesive, a thin coat will do.
Wait about 45 minutes before you lay your gold leaf in pieces over your adhesive.
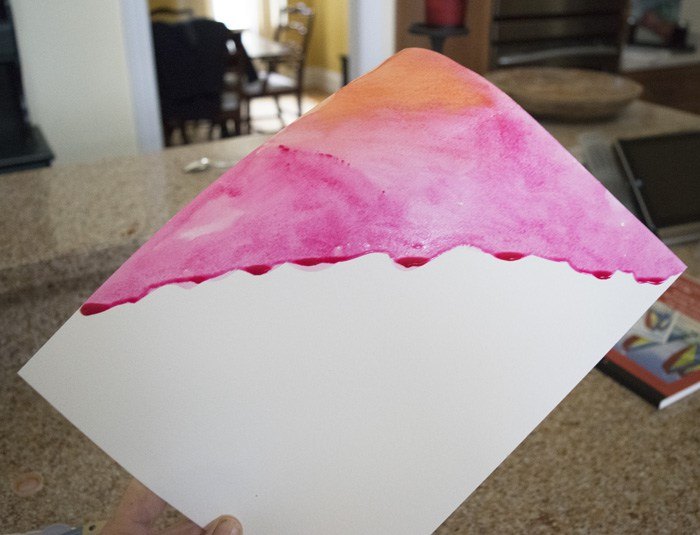
went back and added a bit of pink with a wee bit of orange on one side of the gold. I did the same procedure where I held it up and shook it to get some of the paint to move.
Once again such a quick and easy project to add some color to your walls.

Want more details about this and other DIY projects? Check out my blog post!
Comments
Join the conversation
2 of 15 comments
-
This is absolutely beautiful. It looks like very expensive, high-end art. Thank you for sharing your creative talent with us!
-
Aw, thanks Tawny!♥️


Frequently asked questions
Have a question about this project?