


How to Make a Solar Oven
Making your own solar oven is one way to cut down on electricity usage. Even a basic solar oven can be used to defrost and perform as a slow cooker. Here are instructions for a basic solar oven that won't cost much to make.
The principle behind any solar oven is to be able to generate enough heat, via solar energy, to heat up the inside chamber or oven. There are various ways of achieving this - the simplest and most affordable being to build reflective panels that direct sunlight into the chamber.
CLICK HERE FOR THE CUTTING AND MATERIALS LIST: http://www.home-dzine.co.za/diy-1/diy-solar-oven.html
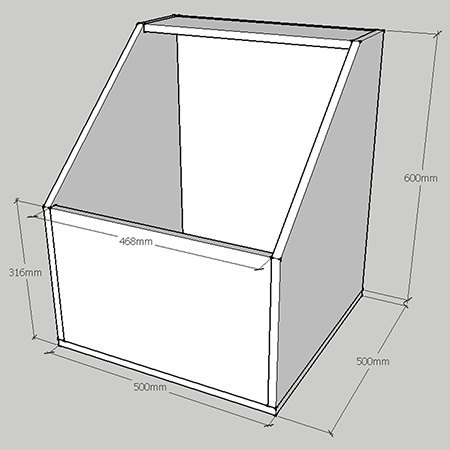
1. For the sides measure up 300mm at the front and 150mm at the top - see below. Cut this with a jigsaw to give the shape as shown below.
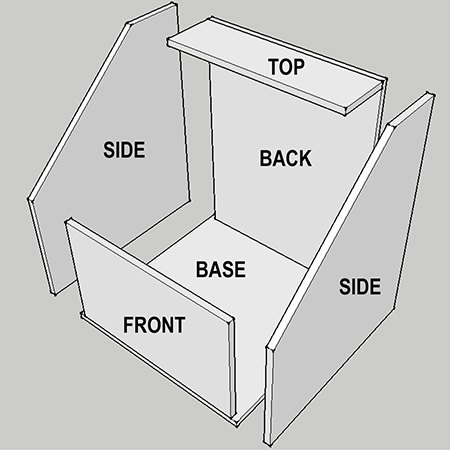
2. Assemble the box oven by securing the sides to the back and front. Place and secure the top and then attach the base.
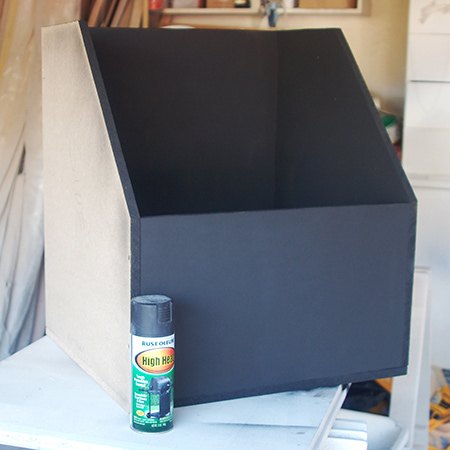
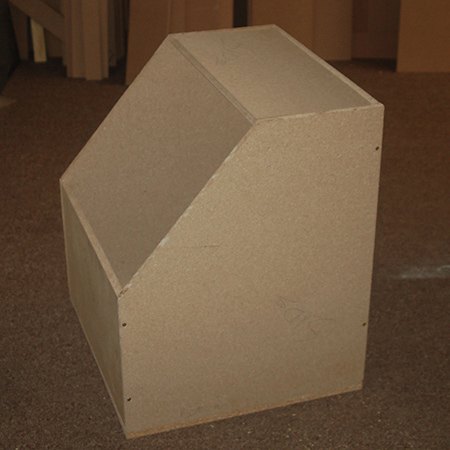
3. The entire box was sprayed with a coat of Rust-Oleum High Temperature spray paint. The lid is missing in the image shown, but this was also sprayed. I managed to do the entire box with one can of High Temperature spray paint.
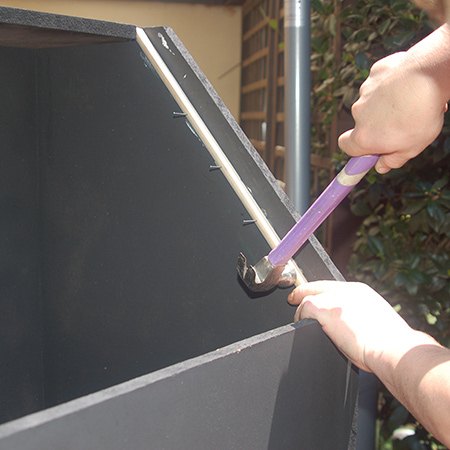
4. In this image [above] you can see how the clots in the top allow for fitting the quarter-round rail down the sides. Attached with adhesive and panel pins. Both rails are cut at a 45-degree angle.
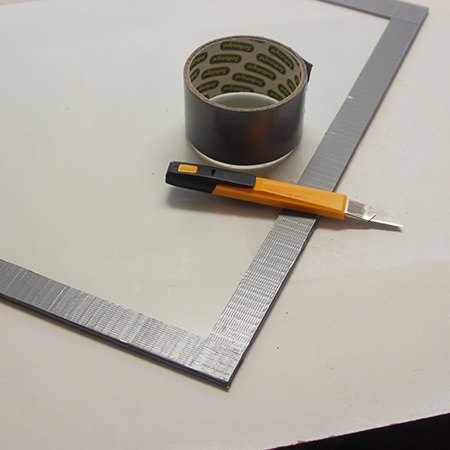
5. Measure up and have the glass cut to fit. Measurements are not supplied as there will be differences here and there and it is far better to measure and then have the glass cut. Wrap the edges with duct tape to cover up sharp or rough edges.
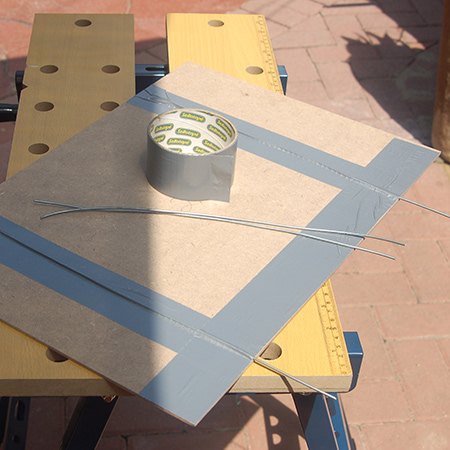
6. Cut lengths of wire to attach to the back of the panels, with an extra 6mm length for mounting into the side edges. Secure with duct tape along the length, top and bottom.
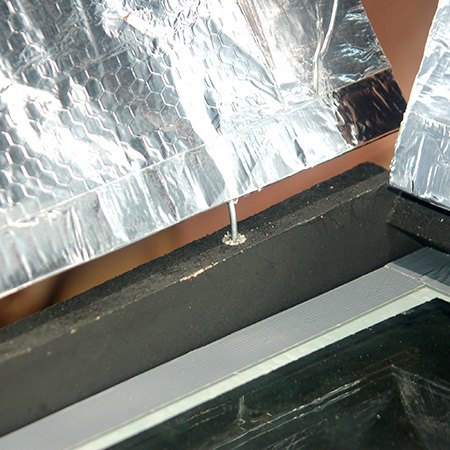
7. Wrap the panels with aluminium roofing tape.
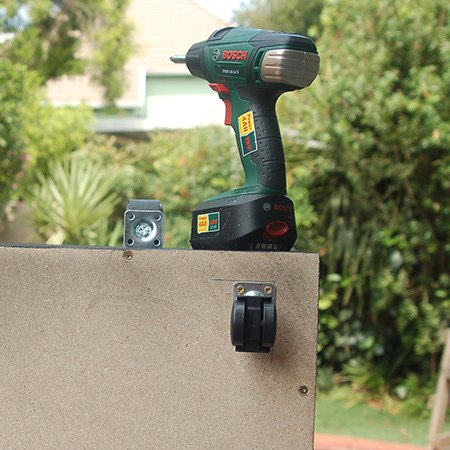
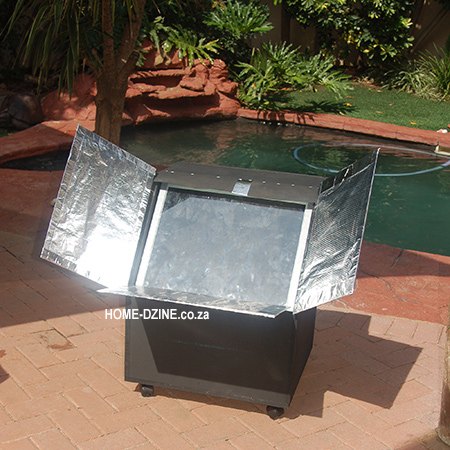
8. Caster wheels allow the solar oven to be moved around easily. For maximum temperatures you need to ensure that the solar oven constantly faces the sun.


Want more details about this and other DIY projects? Check out my blog post!
Comments
Join the conversation
2 comments
-
Wow I had no idea these even existed- how cool!
-
This is pretty incredible - thank you for sharing!


Frequently asked questions
Have a question about this project?