


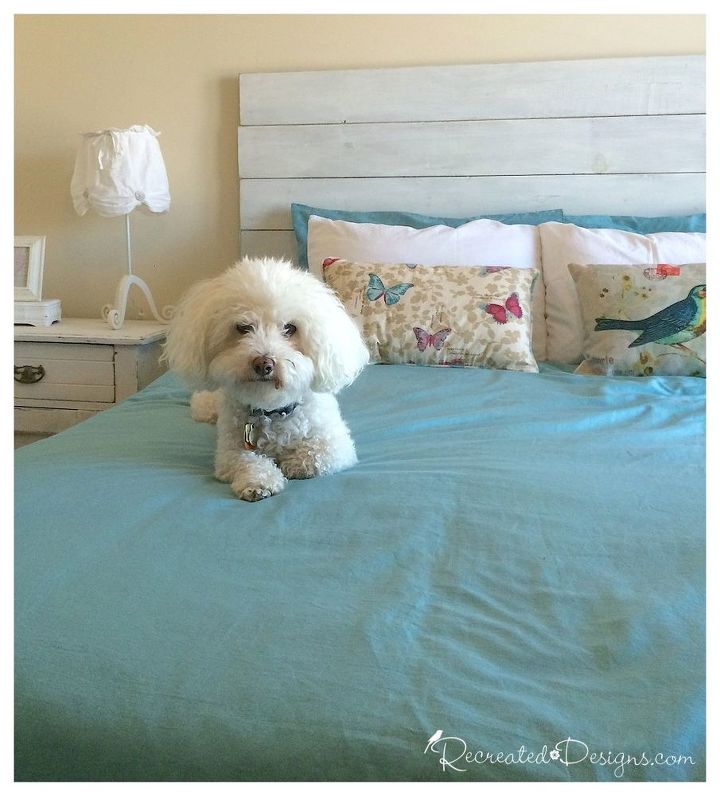
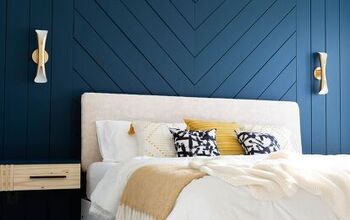
DIY Wooden Headboard
This DIY wooden headboard was so easy to make, inexpensive and added a great rustic focal point to my master bedroom.
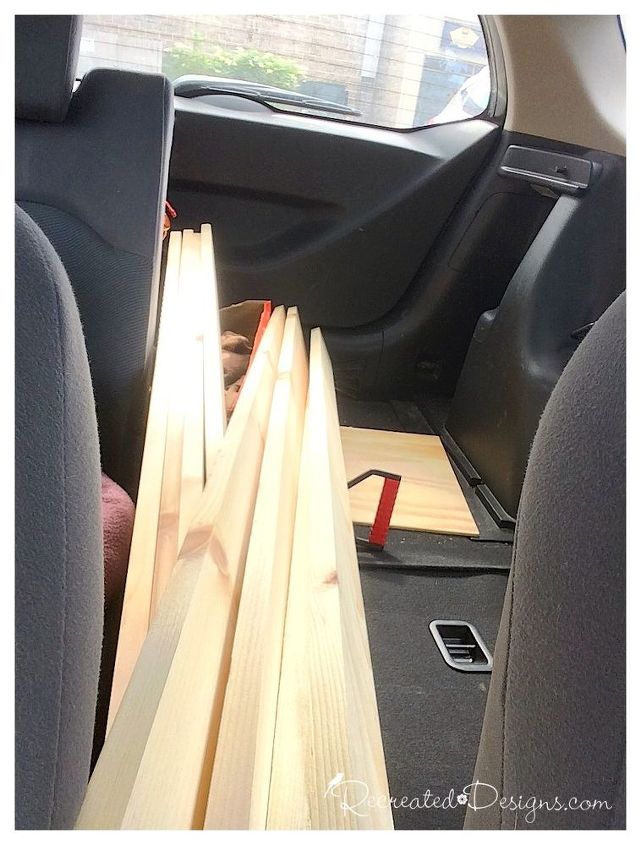
Started off with a pile of pine boards - I needed six for the height that I wanted and then two thinner ones to use as support pieces. The six boards should be slightly longer than the width of the bed so that they hang over the edge.
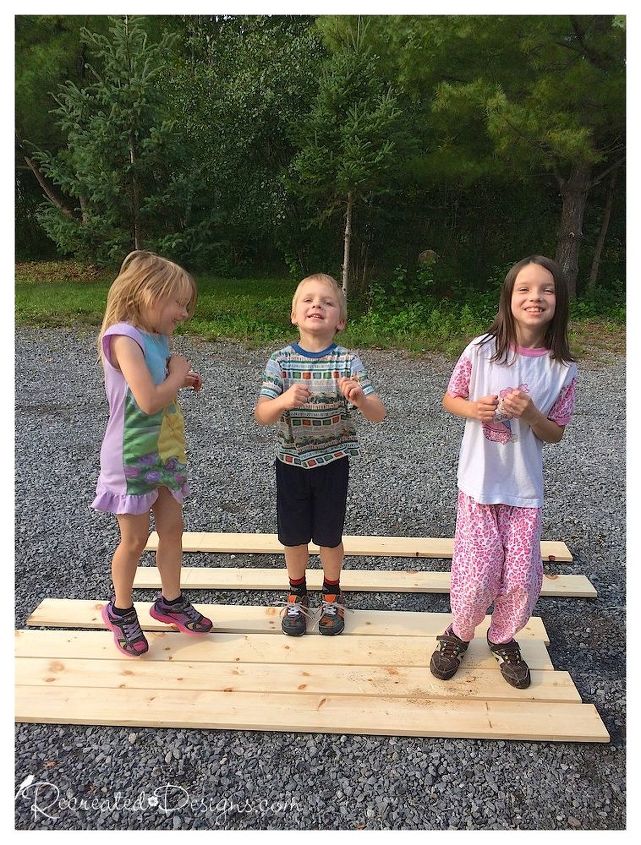
Rough up the new wood so that it had some character and charm. (AKA have your nieces and nephew pound it up on their gravel driveway in their jammies!) All of those nicks and dents looked great once they were painted.
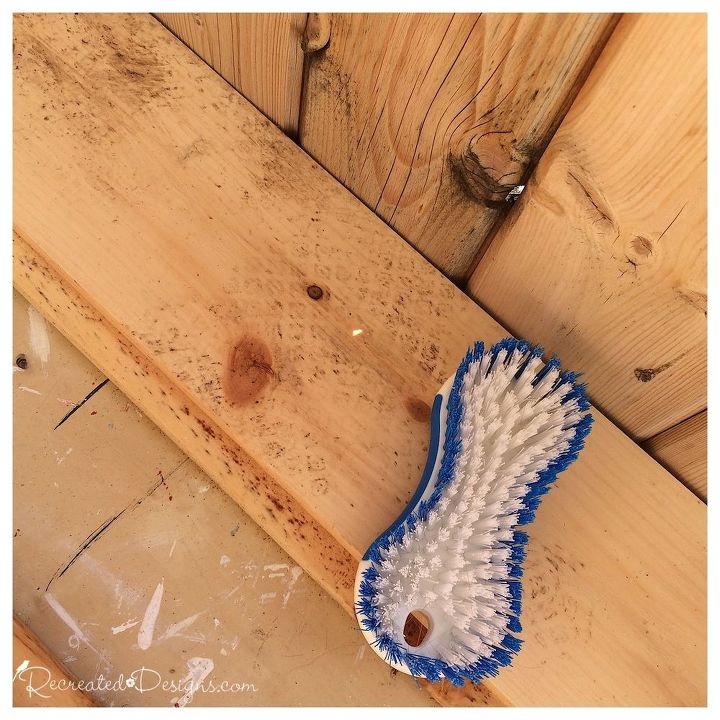
Make sure to clean the wood before painting.
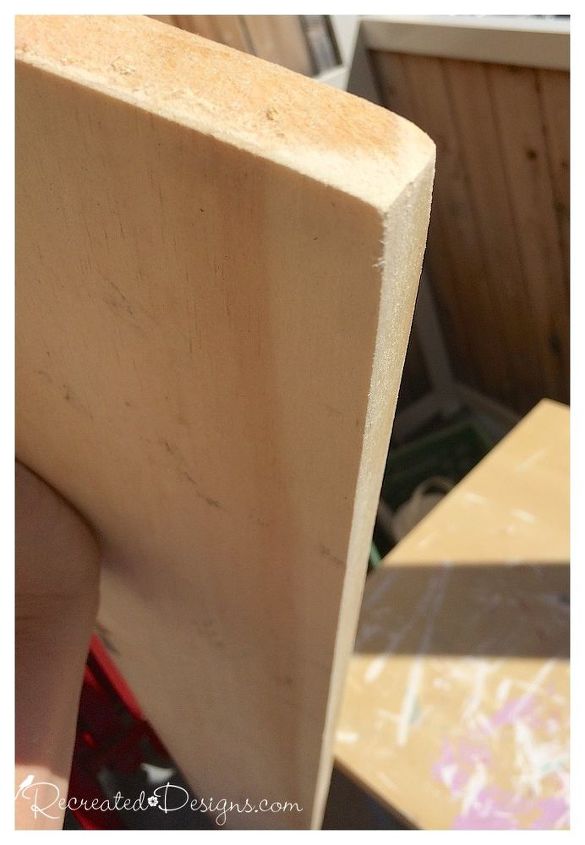
Round out the corners and edges to give the wood a worn and aged look and feel.
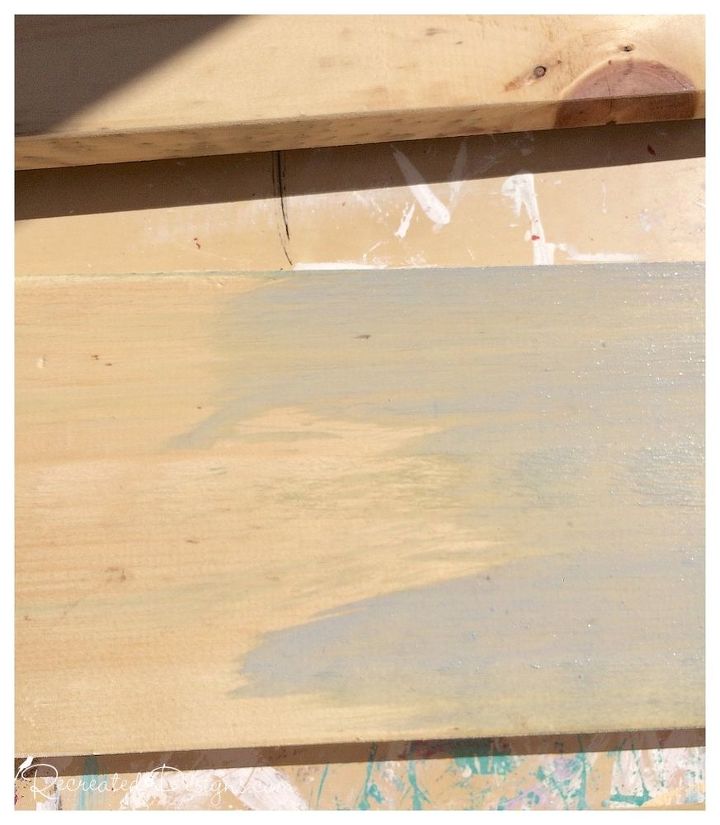
Give the wood a wash of Miss Mustard Seed Milk Paint in Shutter Grey first to make it looked like aged cedar. (A wash is simply watered down paint so that it is more translucent than normal paint)
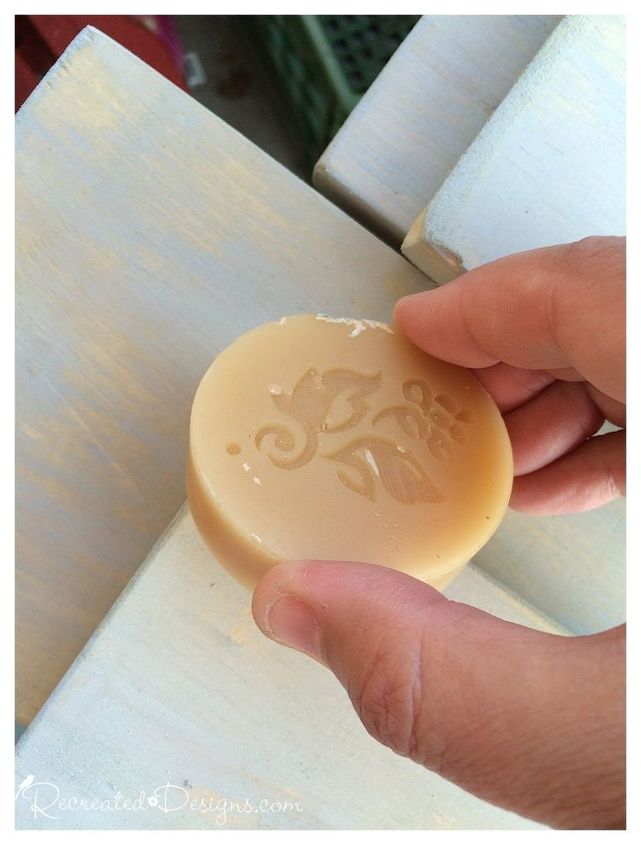
Rub the edges and corners with a Miss Mustard Seed Milk Paint wax puck so that that when I add the coat of Ironstone Milk Paint it won't adhere in these spots and the grey will show through.
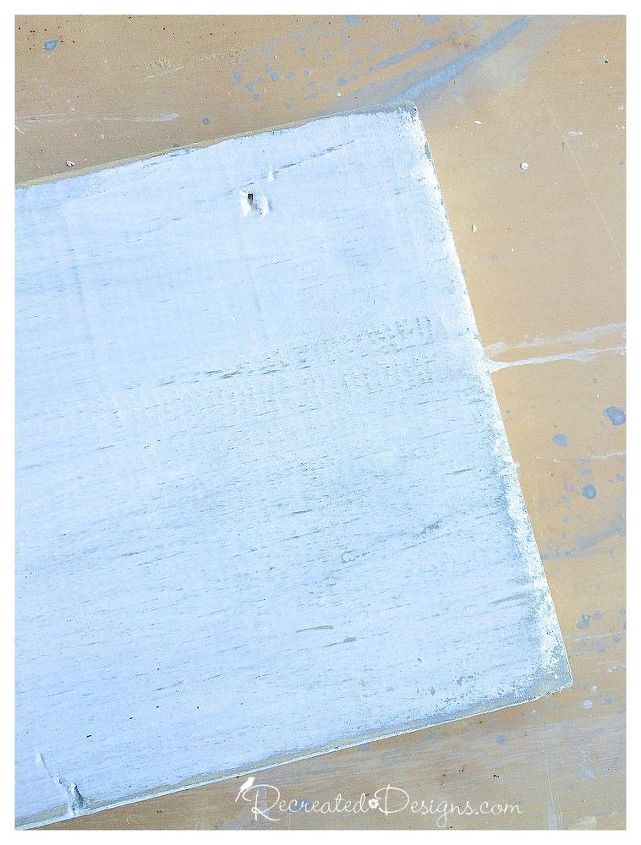
Give it a coat of Miss Mustard Seed Milk Paint in Ironstone.
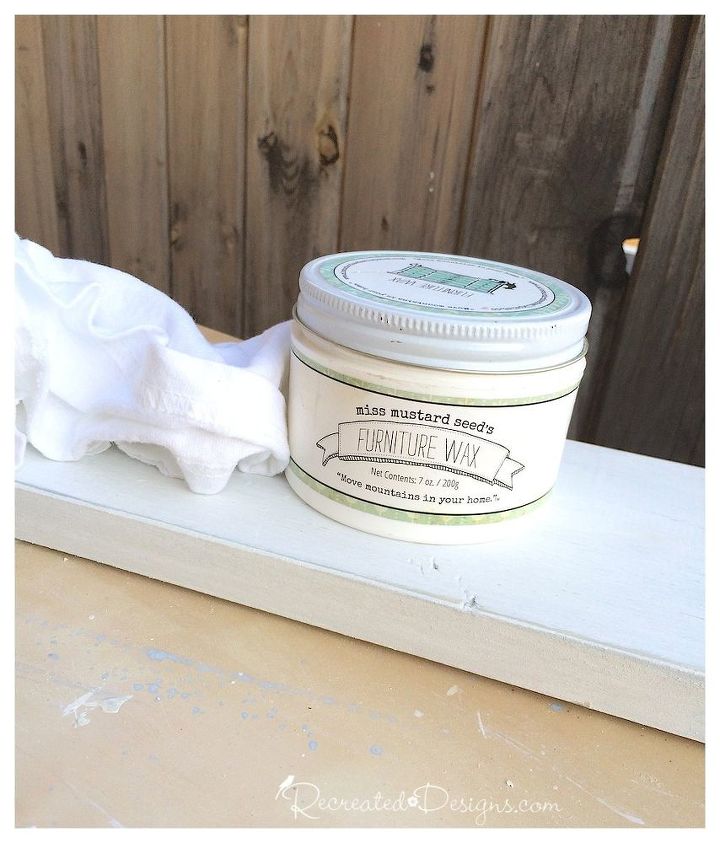
Finishing off all of the boards with a coat of Miss Mustard Seed Furniture Wax for protection.
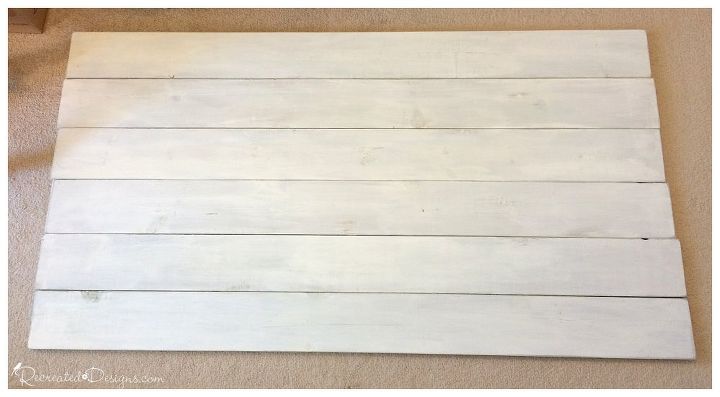
Laying the finished boards out and arrange then in the order they will be in.
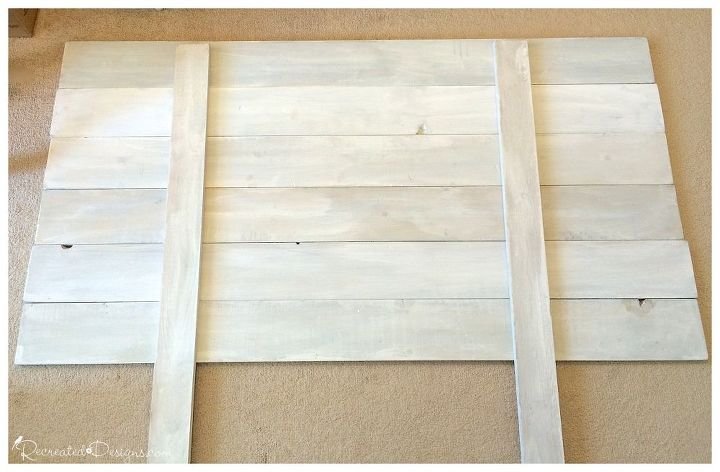
Attaching the support pieces to the back.
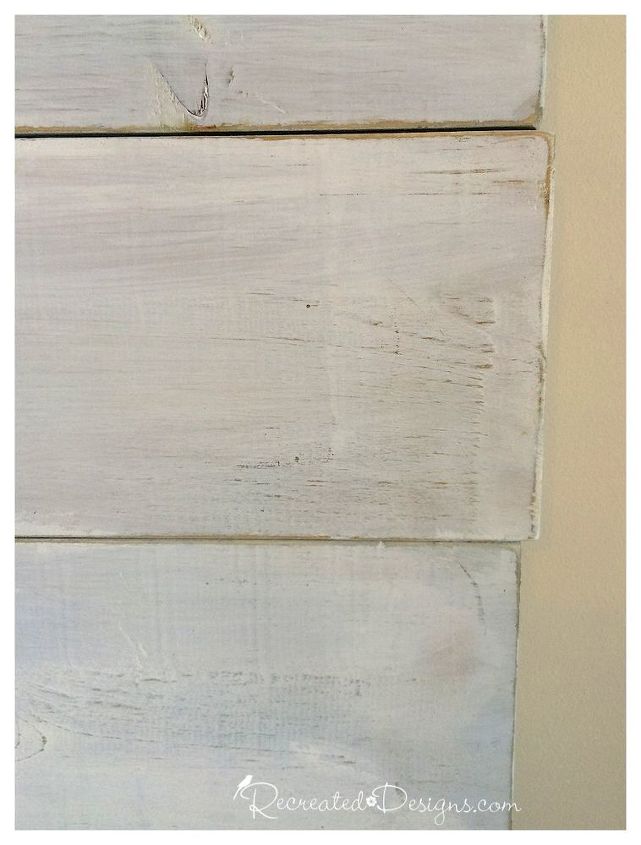
Keep the edges uneven to add to the rustic look of the headboard.
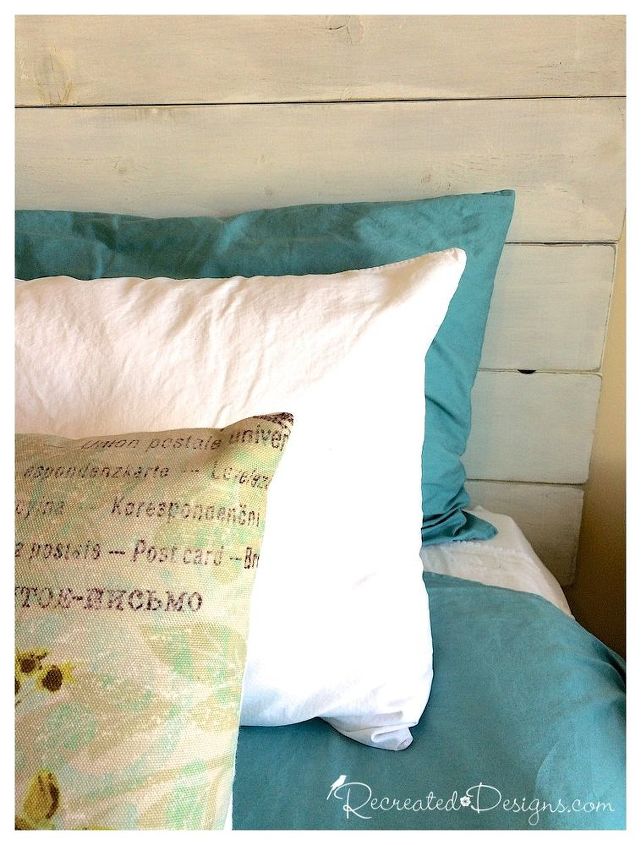
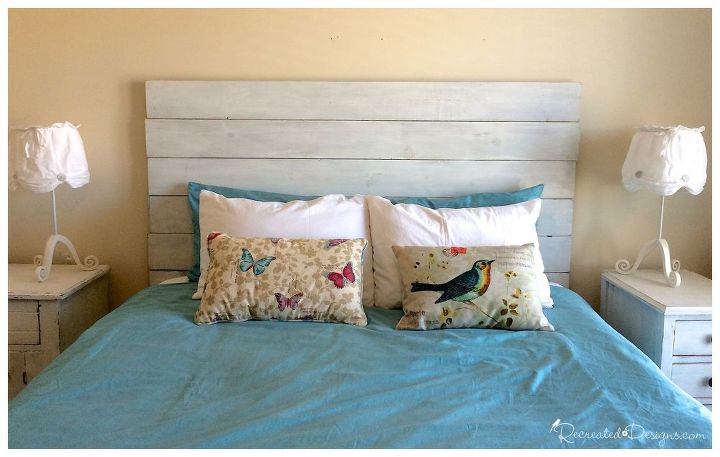
I love how easy and inexpensive this project was and the rustic impact it added to the bed and room
To get more details for this project and see additional pictures, please visit the Recreated Designs website...

Want more details about this and other DIY projects? Check out my blog post!
Comments
Join the conversation
3 of 26 comments
-
Just a side note. My sister bought the same IKEA white bedside lamp. The shade is kinda weird so we replaced it with an upside down white wicker waste basket.
-
There is a picture with blue and gray boards to each side of the bed. Then a little floating looking shelf attached. Is there a tutorial for making it as well. I love the look and I assume you could do it in other color’s as well.


Frequently asked questions
Have a question about this project?