


Awkward Wall Gets a Chalkboard Paint Makeover
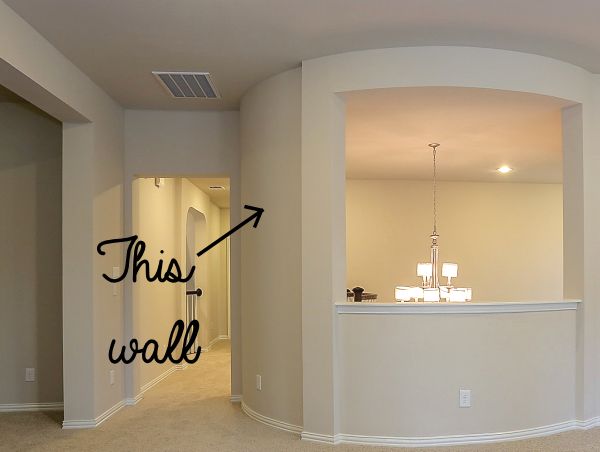
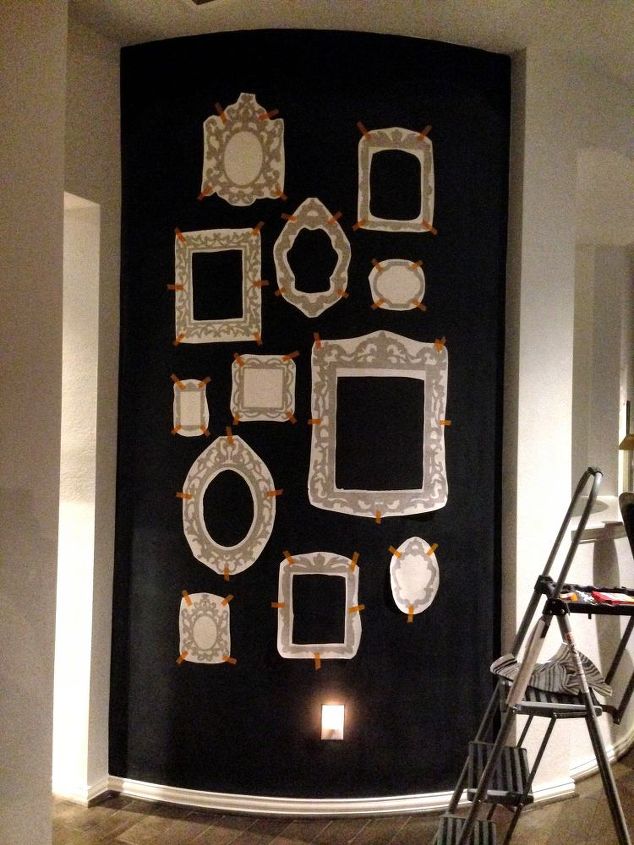
We have one of those awkward curved walls in our game room that you just can't hang anything on without it sticking out or rocking back and forth every time someone walks by. It's a good sized wall too, and right at the entrance to the room so it stuck out like a sore thumb as blank space in an otherwise fully decorated room. Here's a pick of the wall before we moved in:
Having added a mural to my master bedroom and my daughter's room, I thought that might be one way to do something with it, but decided against another mural in the house for the sake of overkill. And then my husband asked me, "what about a chalkboard wall?" (I think I am rubbing off on him.) THIS was exactly what we needed to do! I mean, it IS a game room, which is supposed to be fun, and we do have 2 kids - one of which draws all day every day - so why hadn't I thought of this sooner?
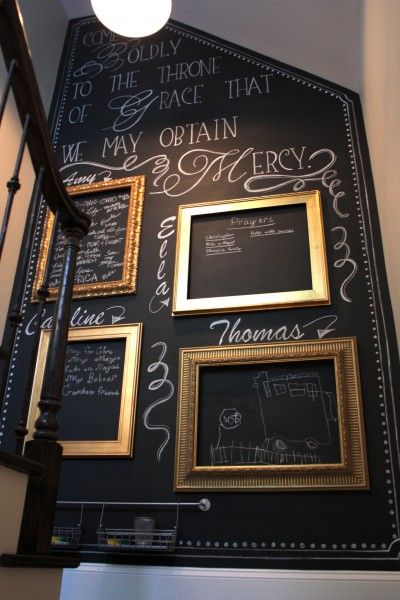
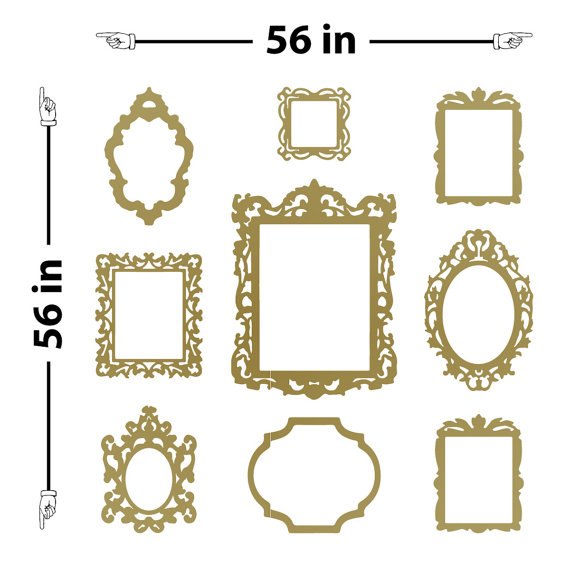
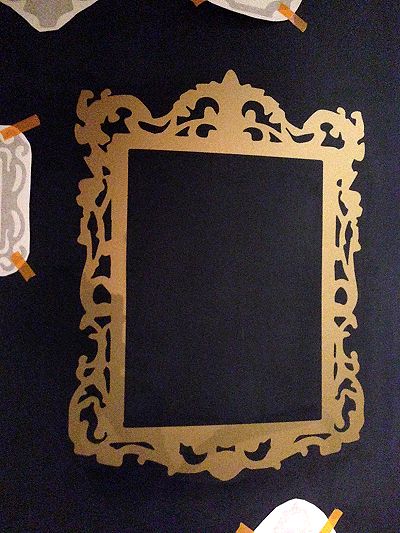
I adore empty gold frames and this had been an idea I remembered pinning once upon a time. Heck, I saved it as the cover for my DIY board!
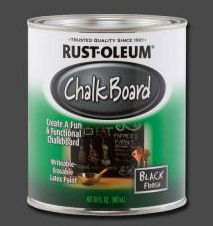
Then I did my research on chalkboard paint and wall prep. THIS article by FleeceFun.com with 5 things you should know before painting a chalkboard wall was a big help. After reading the reviews, I chose Rustoleum Chalkboard Paint in Flat Black at Home Depot based on the online comments about good coverage, texture and long wear.
You can see step by step process and keys to success with Chalkboard Paint on the attached blog post link.
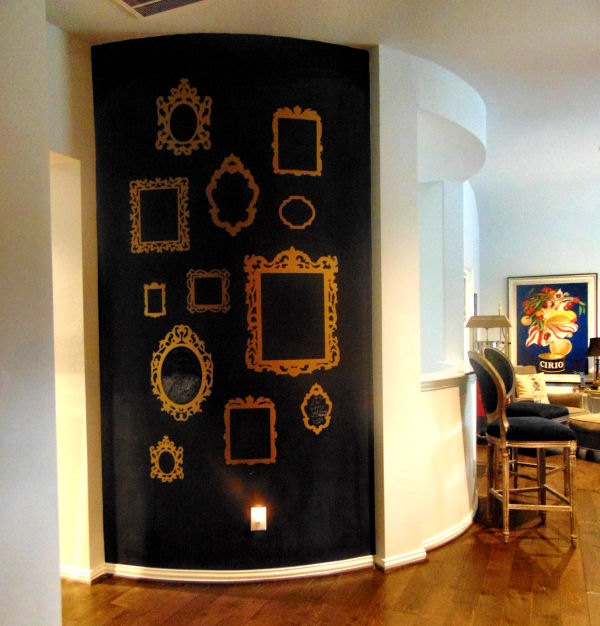
Here's the final look...
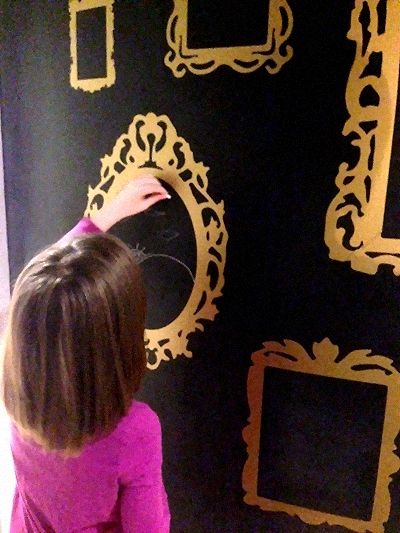
And here's my little artiste about 5 minutes later...
The contrast catches your eye, the kids love that they can update the wall as often as they want, and it totally solved our curved wall dilemma. (On a side note, you can see we changed the flooring in this area to wood prior to moving as well, so the cleanup is easier that with carpet for sure.)

Want more details about this and other DIY projects? Check out my blog post!
Comments
Join the conversation
2 of 42 comments
-
Love it.
-
Perfect solution and perfectly done!


Frequently asked questions
Have a question about this project?