


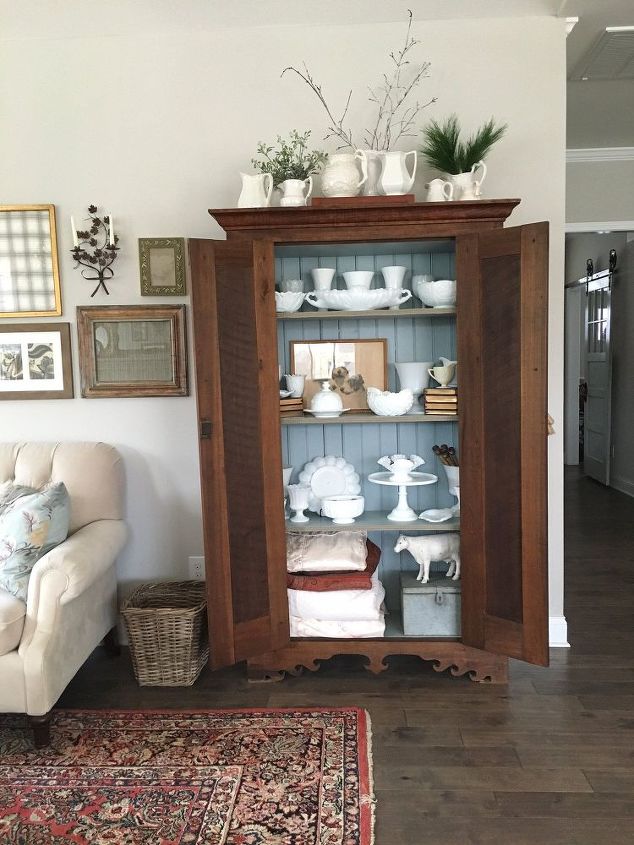
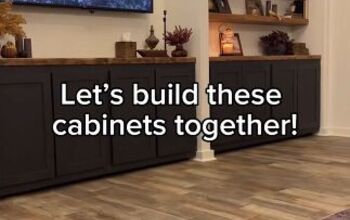
DIY Rustic Cabinet Rehab
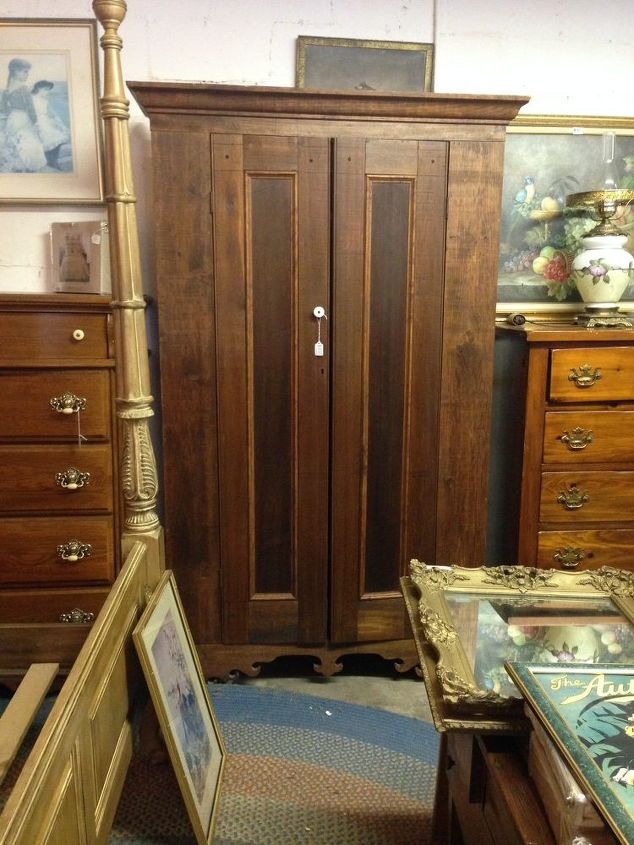
Our house isn't all that big, so impulse buys of large objects don't happen very often. To be specific, the inside of our garage has never seen a car because storage is an issue here. But this cabinet had the "it" factor. It was clearly crafted by someone who didn't make furniture for a living, yet the curved detailing along the skirt and the walnut inset panels indicated that the maker was trying-trying really hard to make this piece special. At least in the front - the back not so much. The other compelling feature was its price.
Rhiann Wynn-Nolet
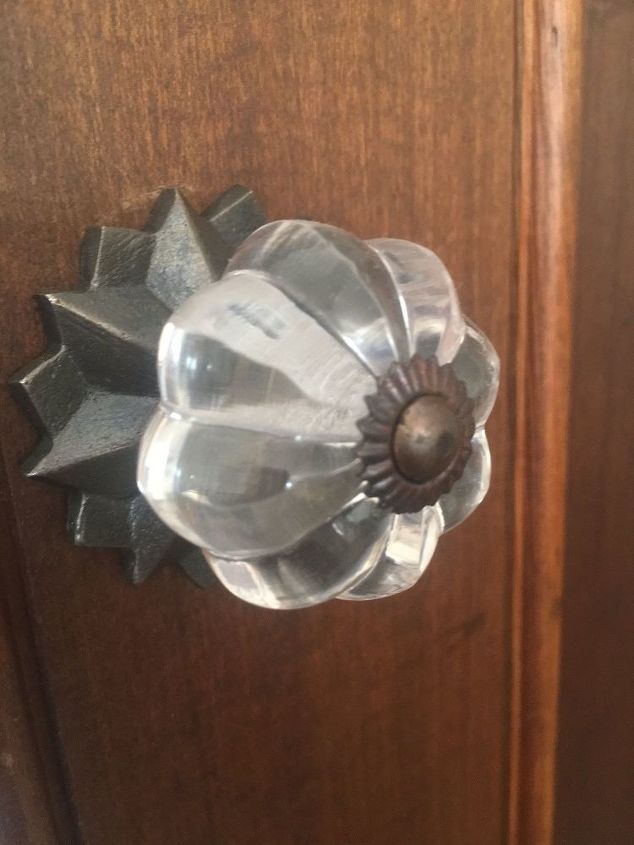
Here's a close up of that fancyish skirt.

Rhiann Wynn-Nolet
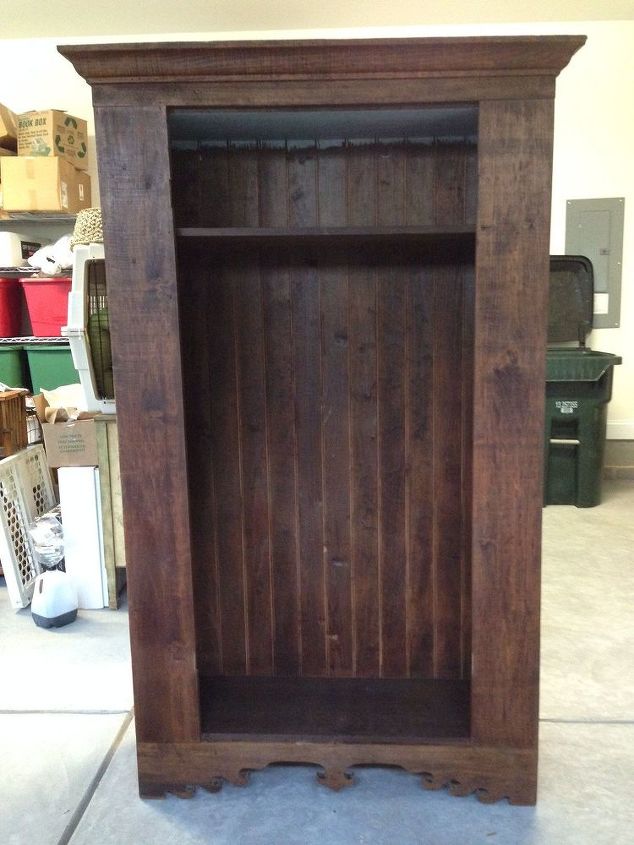
After a bit of haggling, we became its new owners. The dear old thing was delivered to our home the following week.
Rhiann Wynn-Nolet
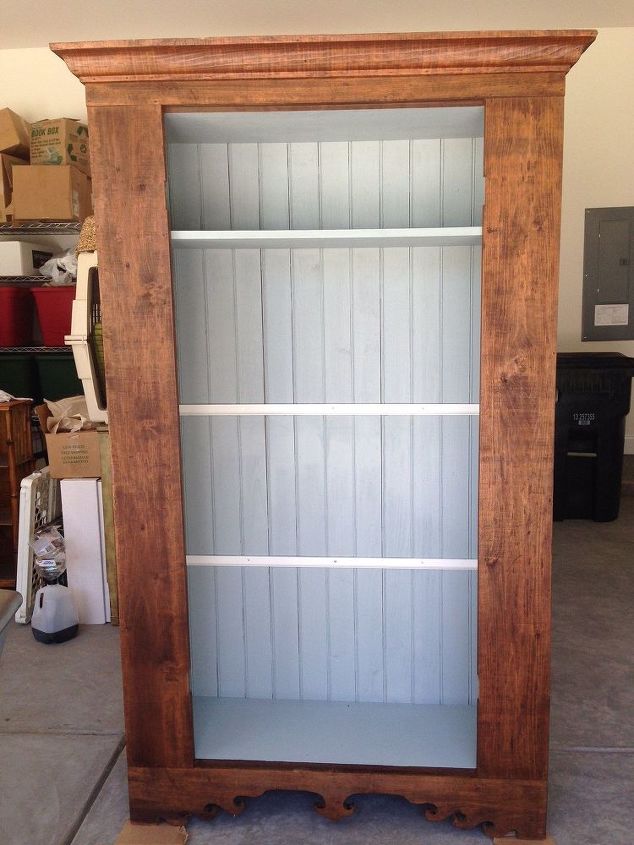
We decided to paint the interior for contrast, and to make a more pleasing background to display whatever we ended up putting on the shelves. We had some leftover Valspar latex paint from an office redo a few years ago. The color is Blue Arrow. It's a perfect shade, not too "baby", just a little "dirty" (meaning it has some earthy warmth to it).
Rhiann Wynn-Nolet
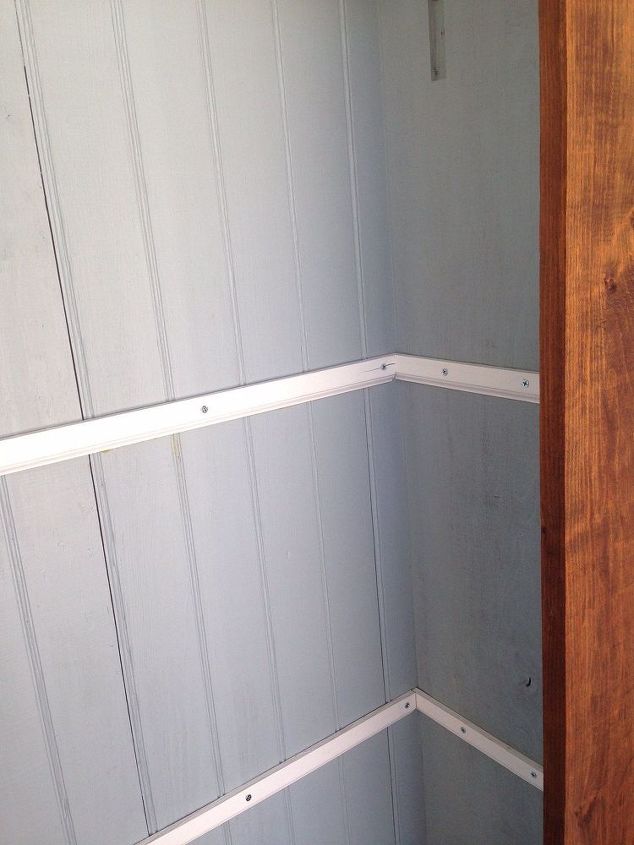
Here's a close up of the support strips.
Rhiann Wynn-Nolet
After the painting, a coat of clear polyurethane was applied to the interior surfaces only, including the shelves
Rhiann Wynn-Nolet
Then we added some gimp along the edge of the shelves for a finished look. We got a good deal on some closeout trim at a fabric outlet. We took care to choose one that looked vintage and had a bit of blue in it. Hot glue worked just fine to adhere it to the shelf edges. We only burned ourselves once or twice.

Rhiann Wynn-Nolet
Now the fun part! Styling!

But now that it's February, we've taken away most of the evergreens and shifted some things around.
Rhiann Wynn-Nolet
As always, we'll leave you with a photo of one of our adorable Irish Jack Russell terriers. This one's Buster. Stop by our blog for more photos, projects, and recipes!

Rhiann Wynn-Nolet

Want more details about this and other DIY projects? Check out my blog post!
Comments
Join the conversation
4 of 18 comments
-
You freshened the whole cabinet by painting the interior. Adding the shelving just made it such a functional piece of furniture. Great find and great job !!
-
Beautiful


Frequently asked questions
Have a question about this project?