


DIY Master Suite Renovation: Bathroom Reveal

For the past few months, Bryan and I have been spending all of our time on the Pearl St. master suite renovation, which has involved converting a bedroom into a bathroom, finishing an attic, and renovating a bedroom. It was a big project for us, mainly because we did most of it ourselves, but we're finally finished and excited to share before & after photos with you!
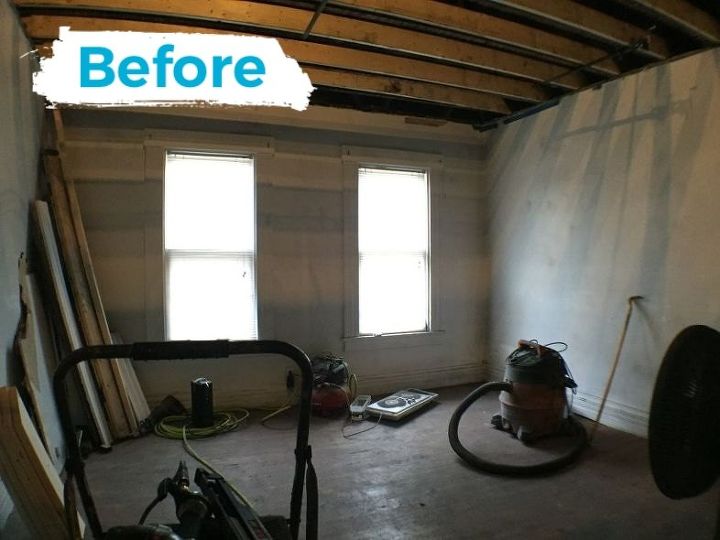
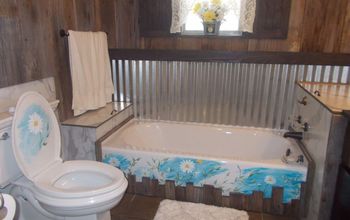
Here's the whole room before.
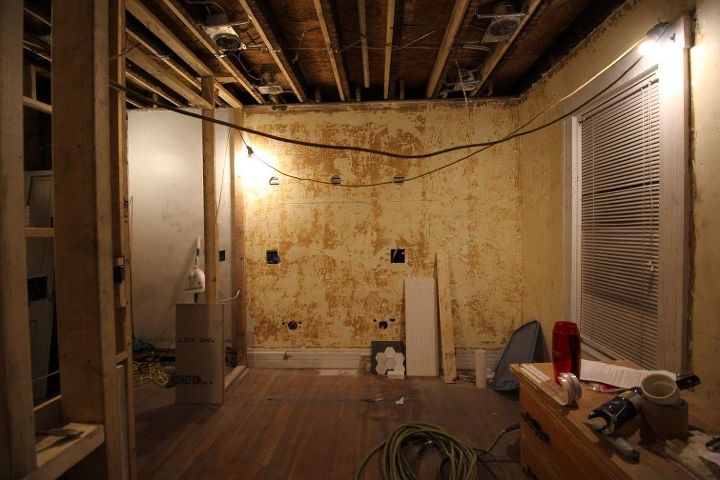
Here's the vanity wall before.
We wanted this bathroom to feel classic and unique at the same time.
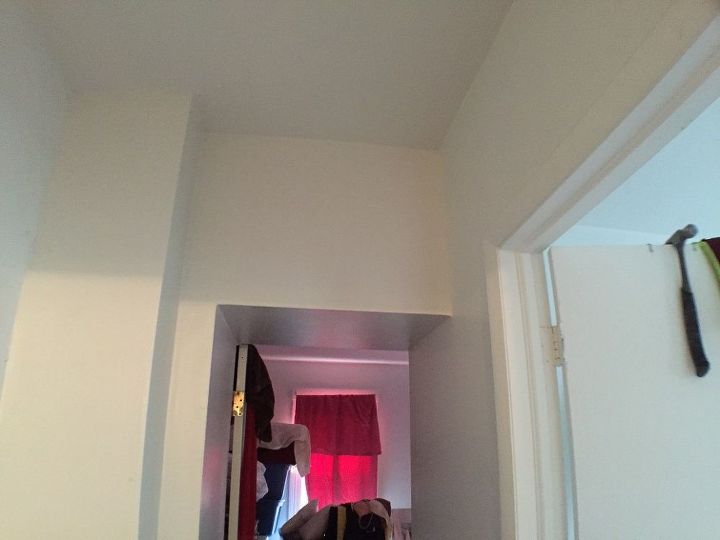
This is what the old entrance to the bedroom (now bathroom) used to look like.
Here's the space in between.
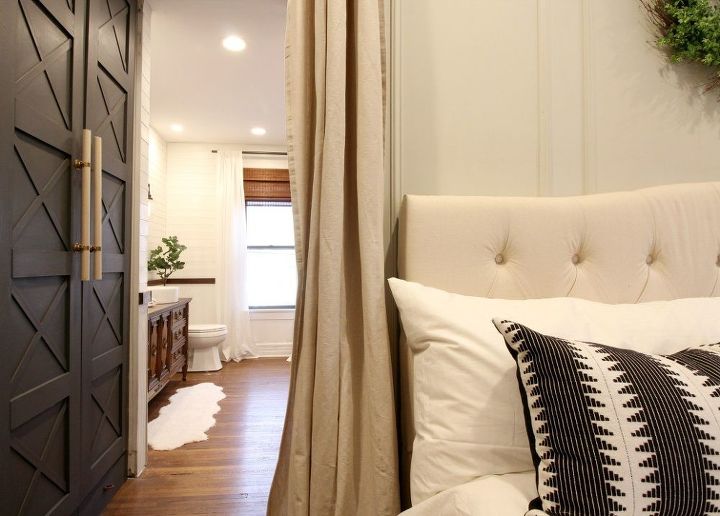
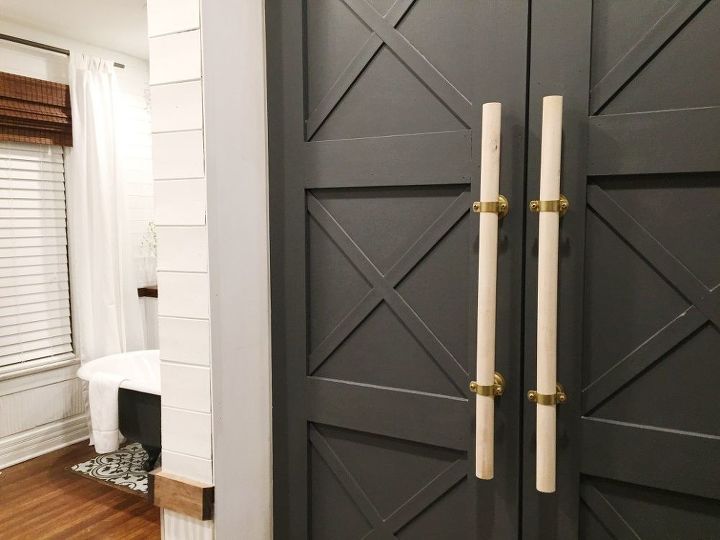
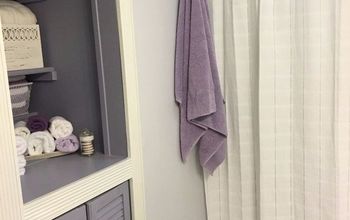
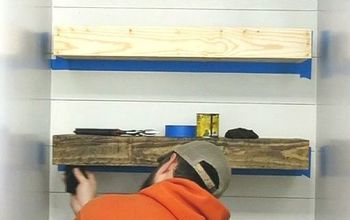
We designed and built floor to ceiling wardrobes and painted them Benjamin Moore Gray (2121-10). The wardrobes create a small corridor between the adjacent bedroom and the bathroom. We haven't decided what type of door we want yet, so we hung curtains for privacy.
We made the wardrobe hardware from copper bell hangers, brass spray paint, and unfinished wooden dowels from home improvement stores.
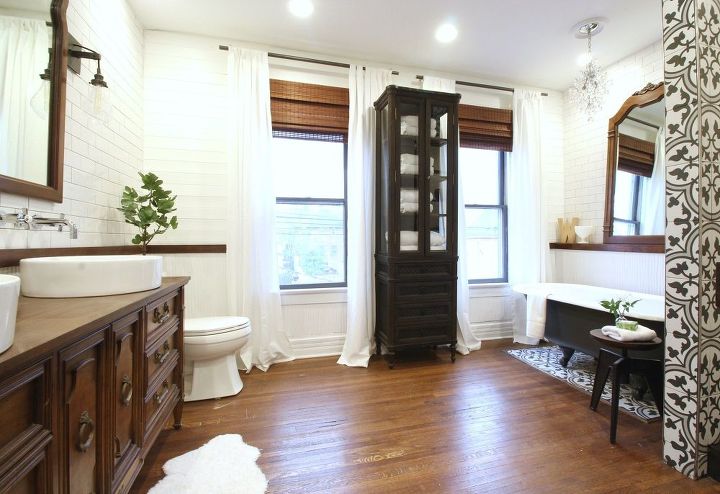
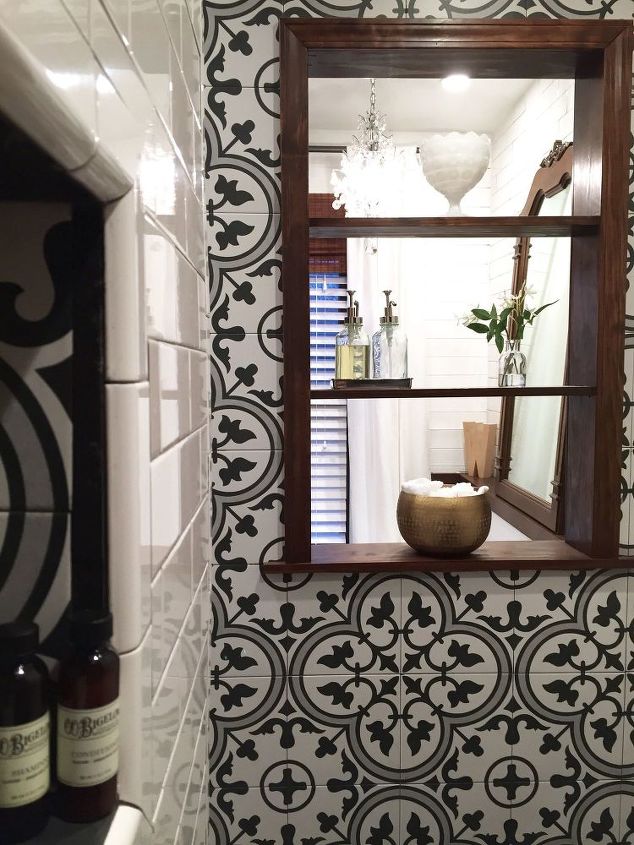
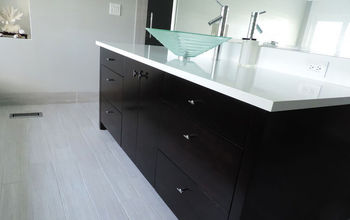
We refinished the original oak floors and tiled the walls with a mixture of subway tile, wavy white tile run vertically as contemporary wainscoting, slate tile, and porcelain patterned tile. We loved the patterned tile so much that we added an inlay below the clawfoot tub.
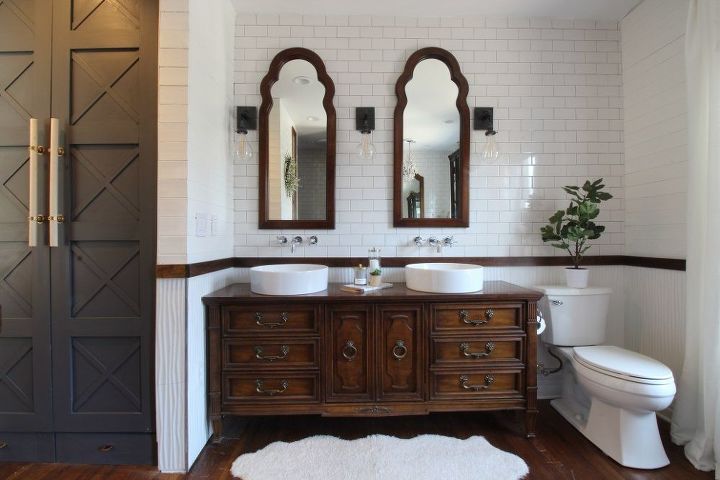
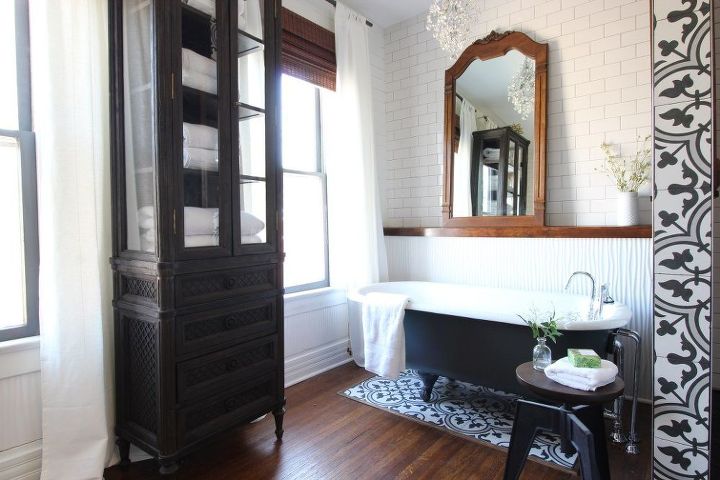
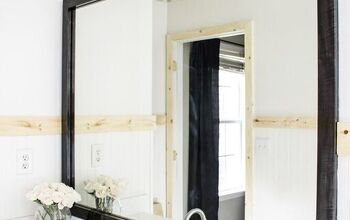
The vanity mirrors are old dresser mirrors that we bought for $60 on Craigslist. The Drexel Francesca antique dresser was also a Craiglist find, and came with a mirror that we placed on the shelf above the tub.
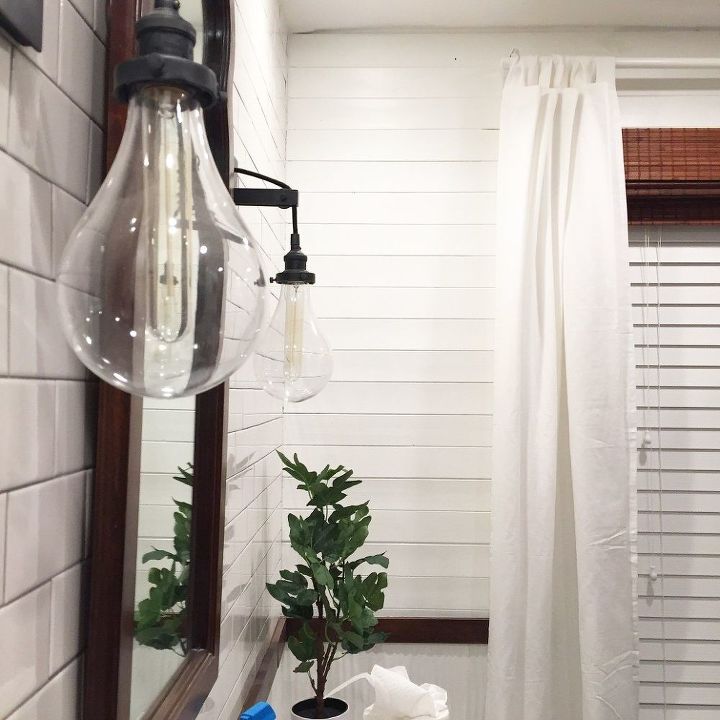
The sconces add an industrial element to the space and give off soft light. We found them on sale at Restoration Hardware. . We couldn’t decide between the look of bamboo shades and functionality of blinds, so we did both. The white blinds blend with the planked wall when they’re closed and are inside mounted, so they can be pulled up all the way and hidden behind the bamboo shades. The bamboo adds a touch of warmth to the space, and we mounted them above the window to make the windows appear larger.
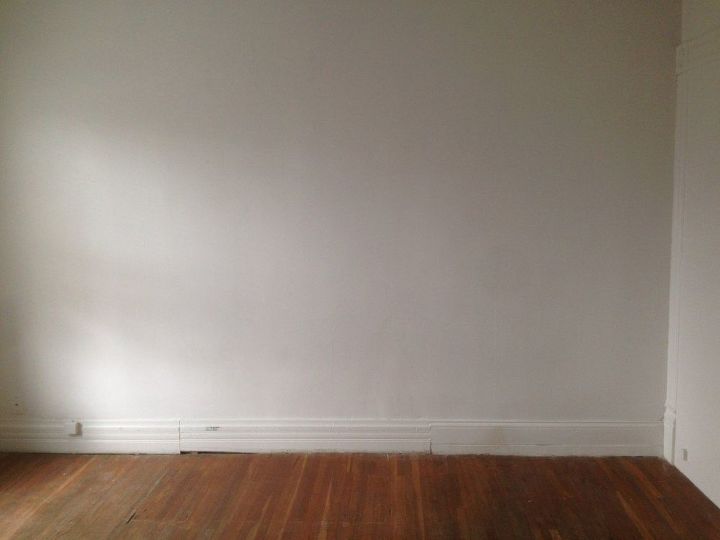
This is what the wall to the right of the room looked like when we bought the house. Gotta love patched baseboards, right?
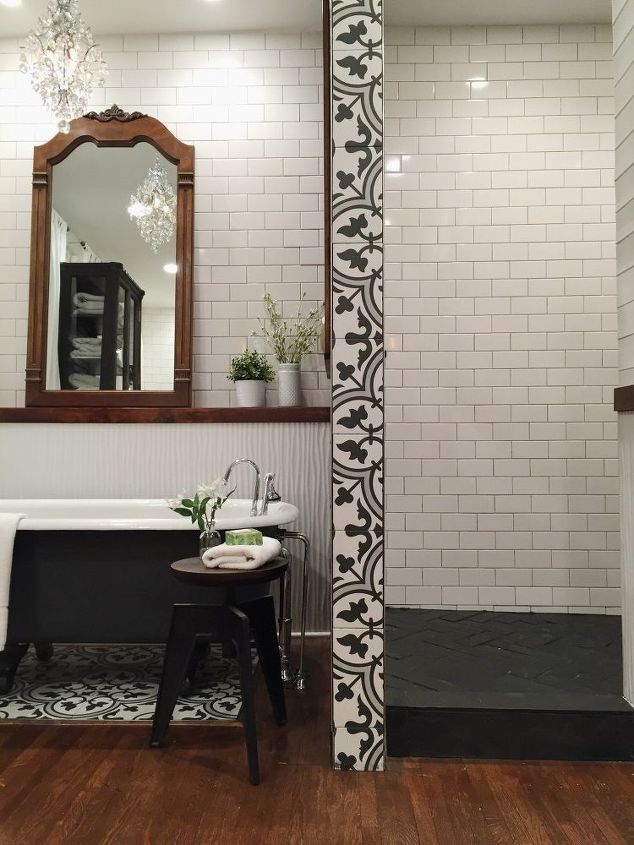
We framed out a 48 x 72 shower on the right, and left room for an antique clawfoot tub that we picked up at Columbus Architectural Salvage. By making the shower large enough, we actually saved ourselves money because we didn't have to buy a pricey shower door.
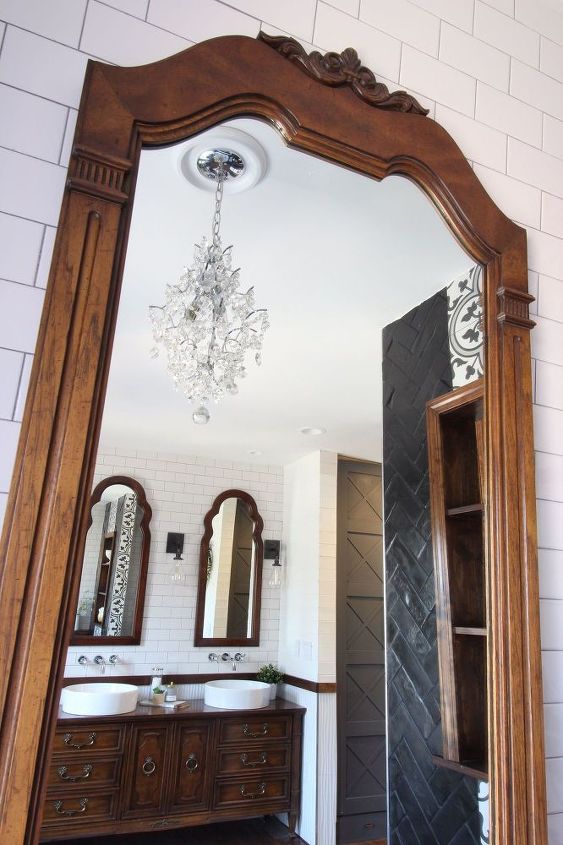
This is what the inside of the shower looks like. Instead of putting glass up between the shower and bath, we created an open shelf. Washcloths and soaps can be accessed from both sides, and the wood adds some warmth to the black and white.
Head over to the blog for LOTS more photos, details and source info!
Comments
Join the conversation
-
beautiful
-
OH YES, absolutely beautiful.


Frequently asked questions
Have a question about this project?
Did you install the plumbing yourself ???
Are you somehow contractors?
Stunned by your abilities ❕
Please come fix my bathroom. I need to repair some water damaged subfloor (leak identified fixed). Do you guys know how to do that ?
🌹Eliza