


More Painted Plastic Eggs

by
Grace
2 Hours
Easy
This particular post is for Hannah. :) I have been asked to add more details on how to paint those plastic easter eggs. I hope they are just as good as what she thought they were.
I also need to mention that these eggs were initially inspired by a blogger named, Heather Metzler from her hometalk post.
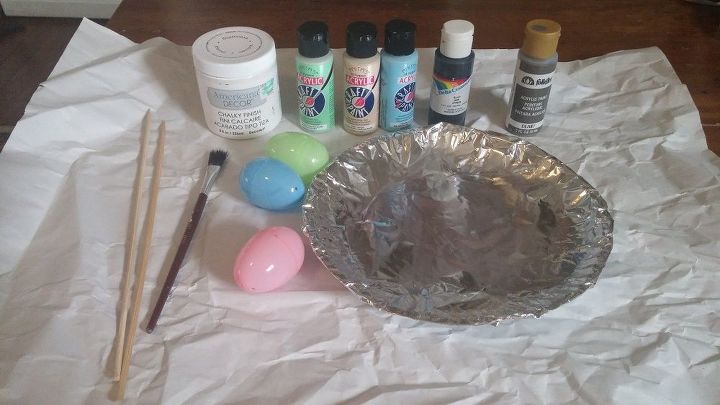
These are the things I used to paint those plastic eggs.
1. White Chalk paint, used like primer
2. Craft paint in oatmeal, morning blue, sea foam green, black, and medium gray.
3. Plastic eggs in pastel colors(I got 12 for 0.88 at Wal-Mart for my first attempt)
4. Skewer to be used to anchor the eggs while painting(now I know why I pick up things like that at goodwill, haha)
5. craft paint brush
I also need to mention that these eggs were initially inspired by a blogger named, Heather Metzler from her hometalk post.
These are the things I used to paint those plastic eggs.
1. White Chalk paint, used like primer
2. Craft paint in oatmeal, morning blue, sea foam green, black, and medium gray.
3. Plastic eggs in pastel colors(I got 12 for 0.88 at Wal-Mart for my first attempt)
4. Skewer to be used to anchor the eggs while painting(now I know why I pick up things like that at goodwill, haha)
5. craft paint brush
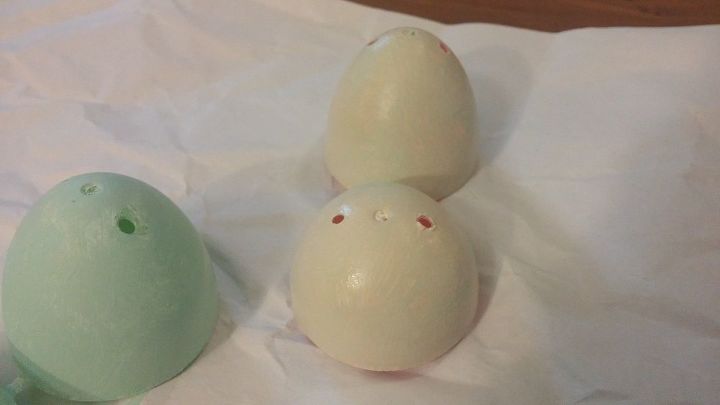
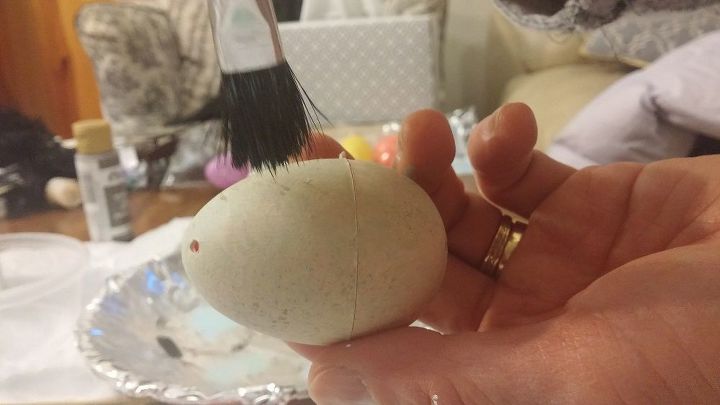
Paint the eggs with white chalky paint
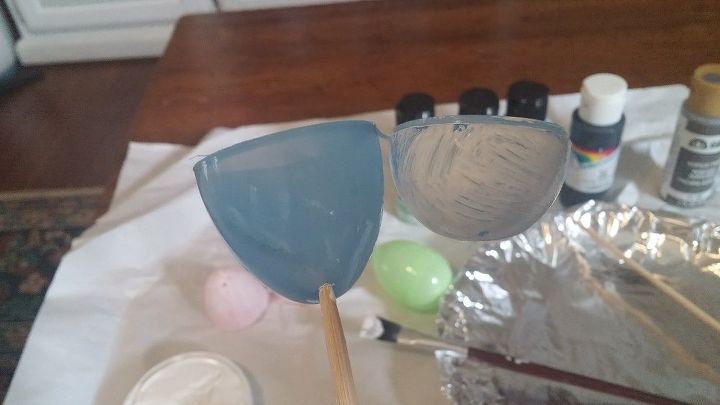
This is how I used the skewer. You can push the egg from inside where you will not paint so that egg stays stable. Once you are done painting one half, you can move the skewer to the other by holding the other half.
painted with white chalky paint
I waited for about 20 to 30 min for each coat to dry, probably shorter than what is recommended.
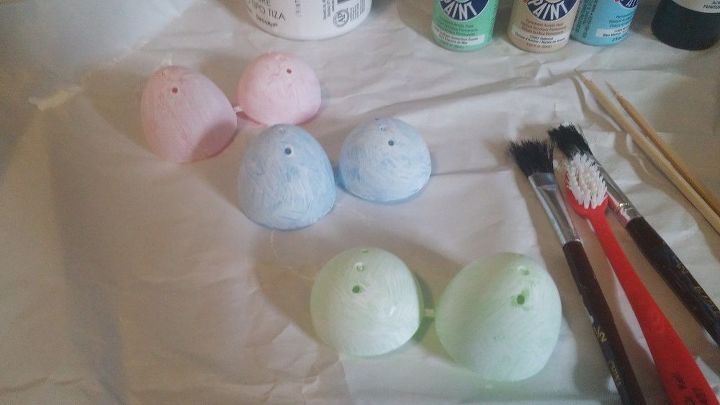
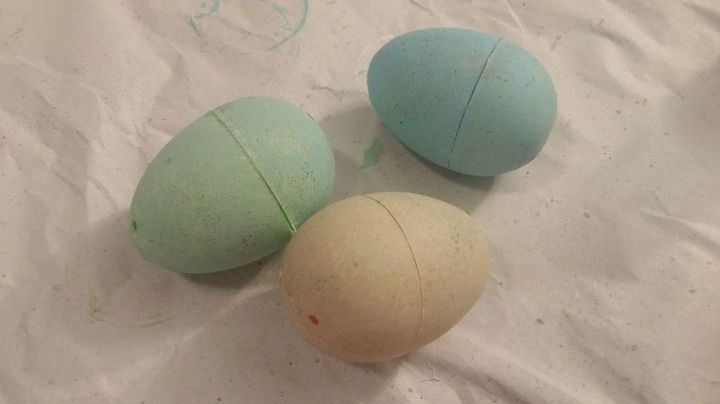
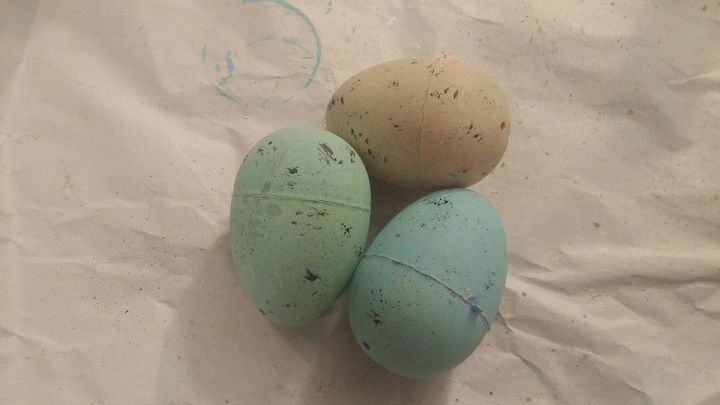
first coat
I painted the blue one in morning blue, green in seafoam green and the pink one in oatmeal. This is the first coat.
Next is the important step. In order to give depth in the egg colors, I mixed the paint: if painting oatmeal color egg, I would use mostly oatmeal, but mix tiny bit of blue and sea foam. If painting blue, use mostly blue, but mix in sea foam a bit and mix in oatmeal, etc.

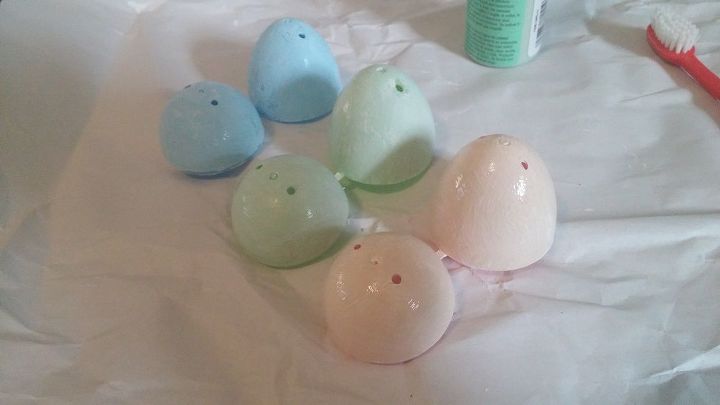
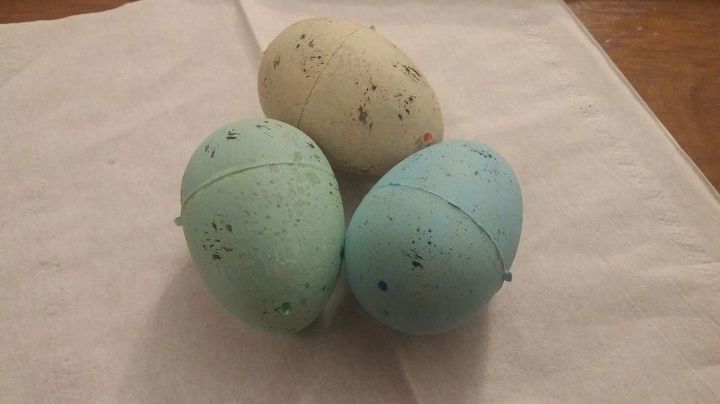
You can see they are slightly uneven in color
Can you tell?
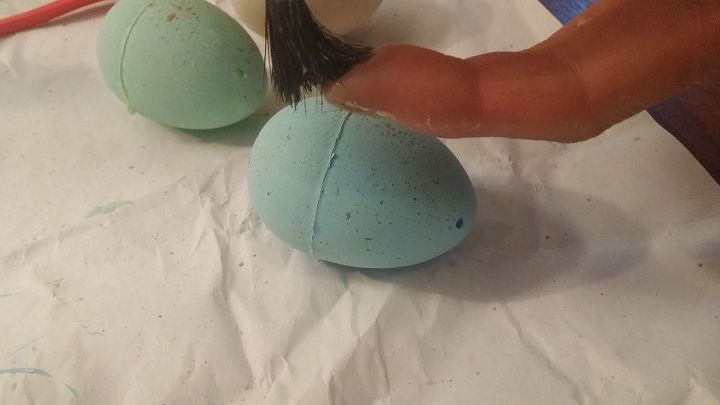
You want your brush to be a stiff kind
Once all dried, add a little bit of water in gray paint, dip the brush and flick it on the eggs.
Let it dry
Prepare darker speckles by going between the black and gray paint, but this time, don't keep the brush too wet, because you are going to slightly pound on the eggs. I would wipe the brush off on tissue or paper towel to keep it drier.
Slightly pound on it for darker speckles
There you have it!

These are the eggs Hannah saw and asked me to do a separate post on how to paint them in details. I like the color and speckles on these eggs better.
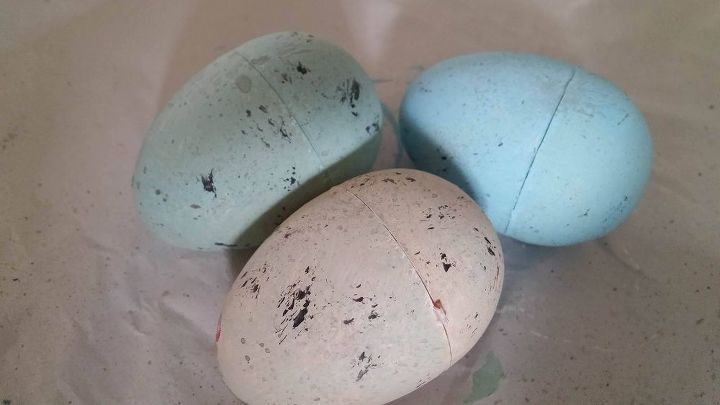
These are from yesterday, second trial....yeah, I think the first ones are better. You can modify the depth by deciding how much color you want to mix and also layering the paint. Good luck!
Comments
Join the conversation
3 of 15 comments
-
What about gluing a few strips of white tissue paper around the middle to help soften and disguise the line? Just thought this might work--not something I've done.
-
Very pretty! Nice technique! Hugs


Frequently asked questions
Have a question about this project?