


DIY: Peek-a-Boo Bunny Wreath

by
Hellofifi
Say goodbye to winter and hello to spring by debuting this cute Peek-a-Boo Bunny Wreath on your front door!
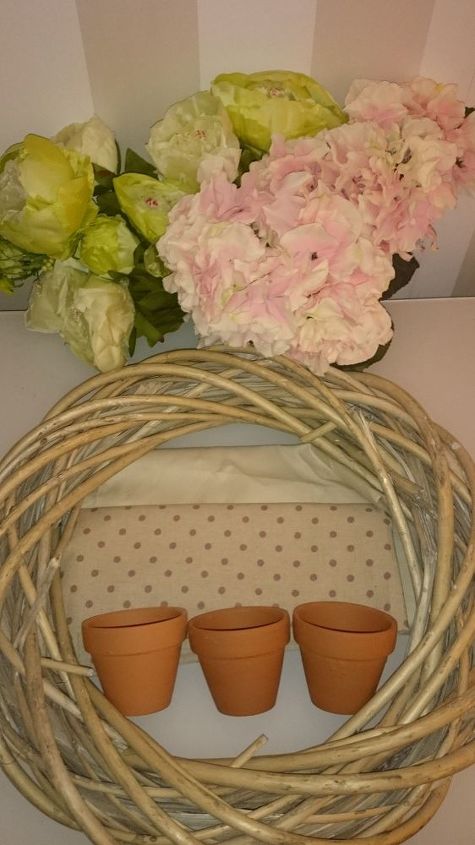
You'll need:
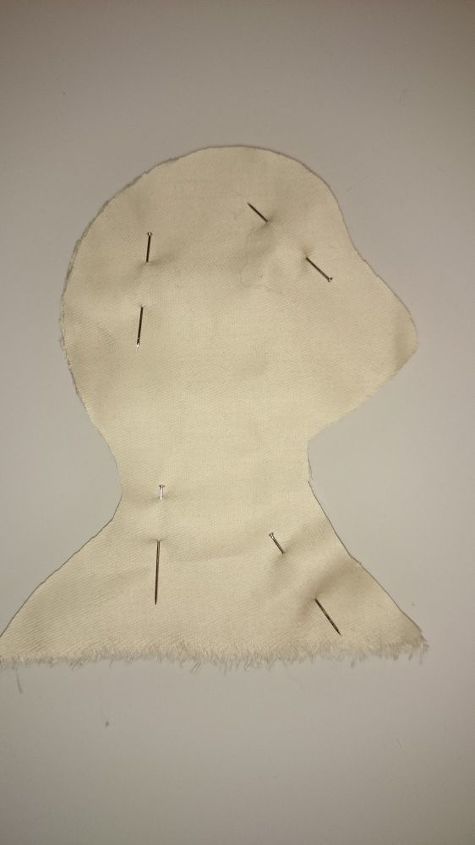
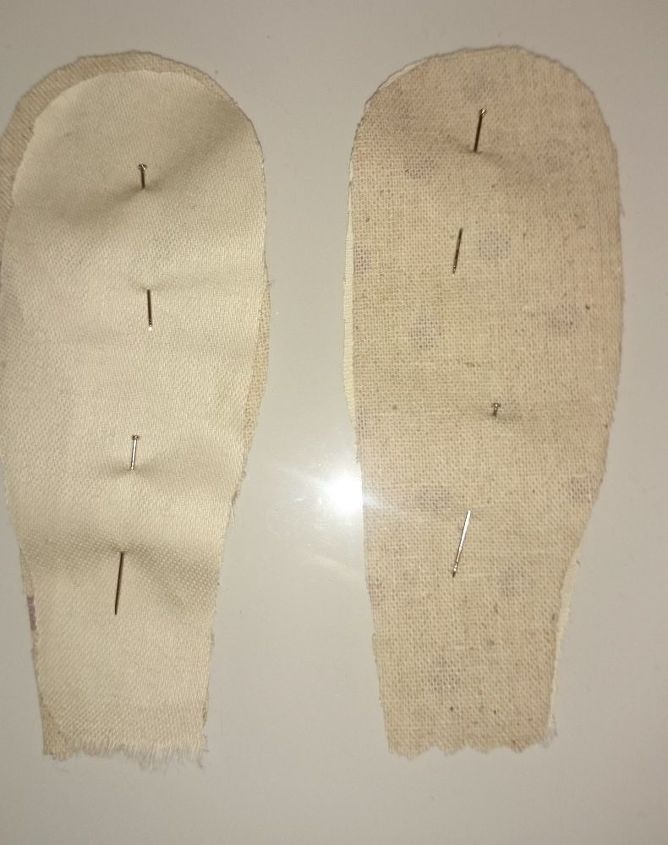
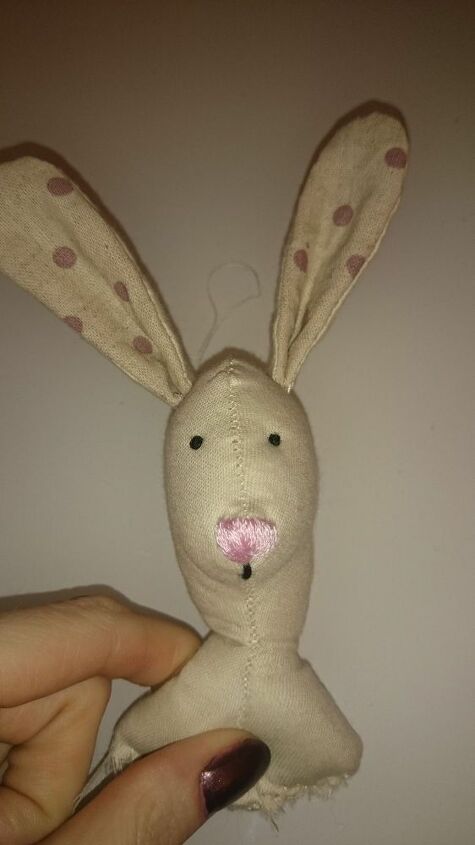
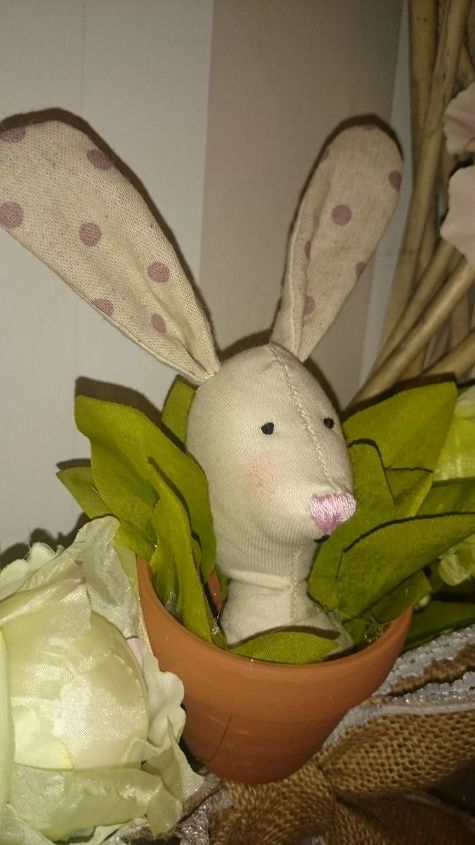
Cut out the head (x2) and ears (x4) in a fabric of your choice and place right sides together. Pin in place. Sew along the outside edge leaving a 2-3cm opening along the bottom of the head and ears. Turn the fabric right sides out and stuff the head with toy stuffing. Pinch the bottom of the ears and hand stitch to hold the shape in place.
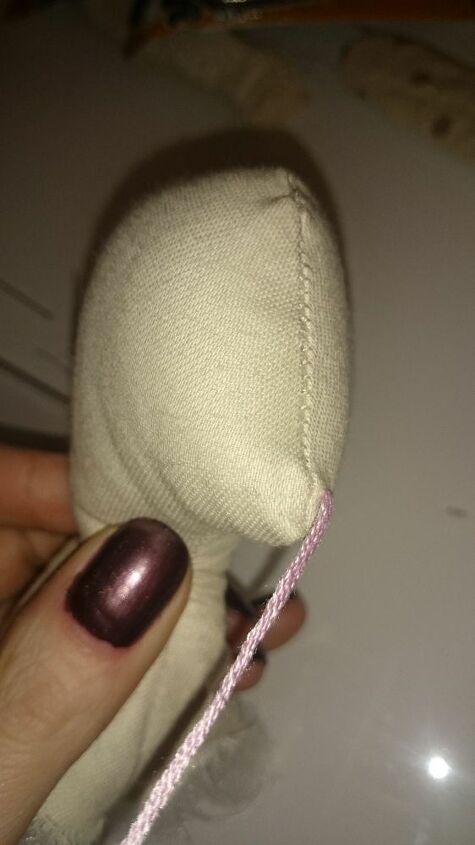
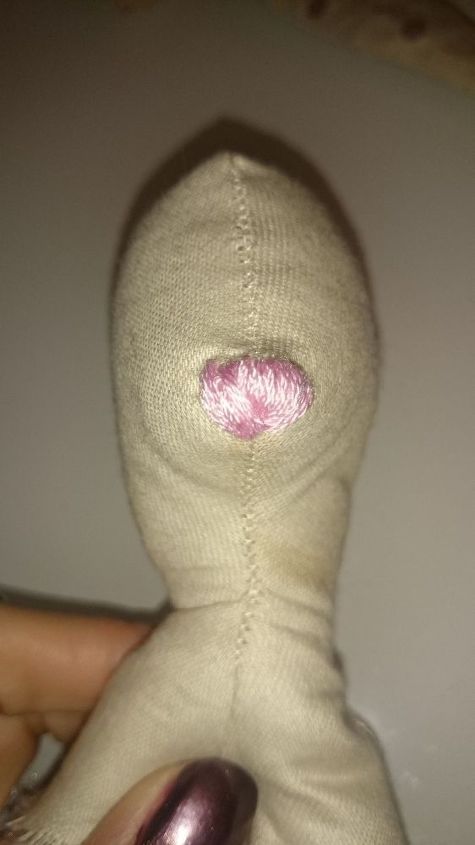
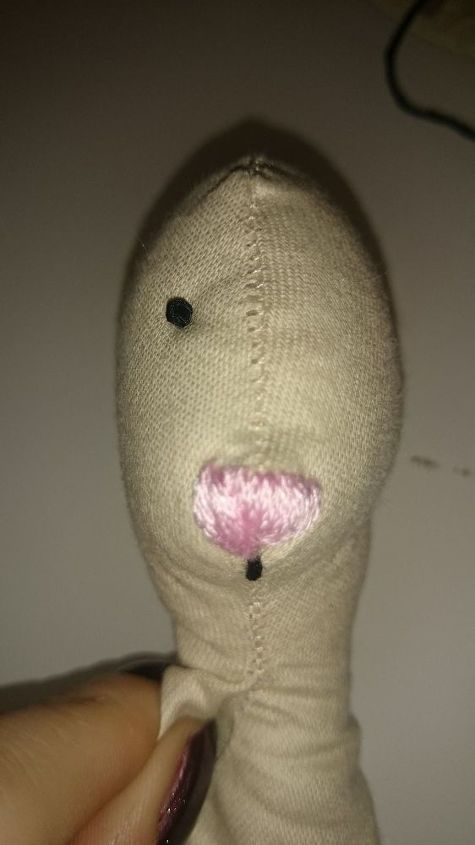
Thread your needle and knot the end of the pink embroidery thread and hand stitch a triangular shape where the point in the head is. For the mouth, use black thread and pull the needle through as close to the bottom point of the nose as possible and stitch straight down.
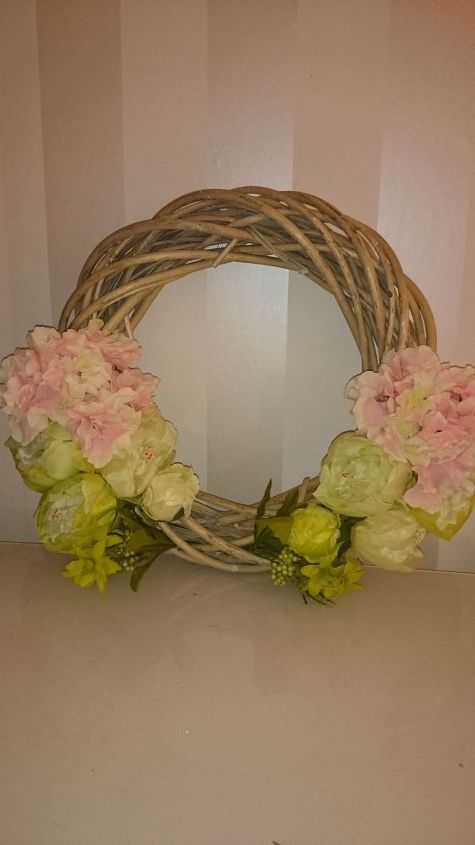

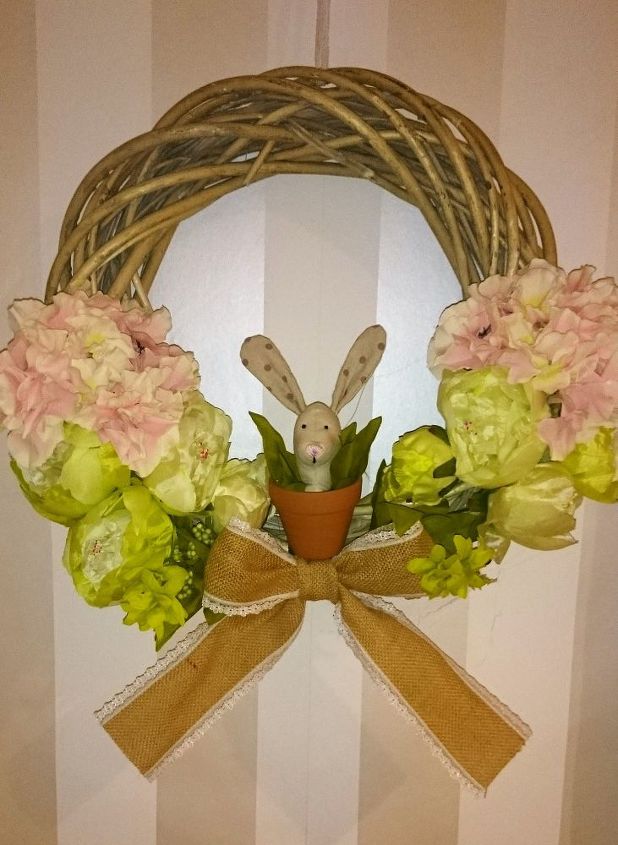
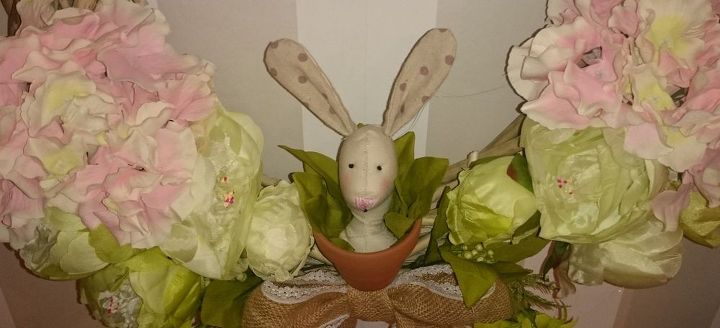
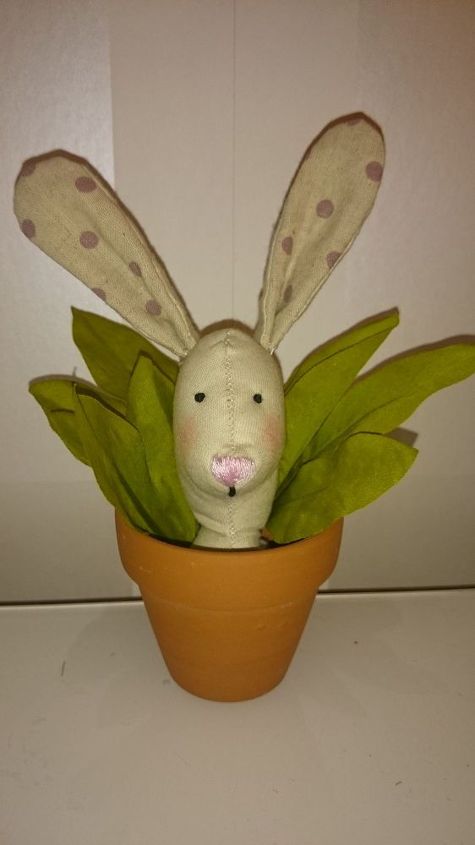
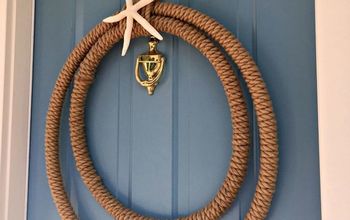
Glue the flowers to the bottom half of the wreath leaving a small gap in the centre for the bunny pot, then glue the pot in place. Tie the ribbon in a bow and glue to the centre of the wreath.
Want more details about this and other DIY projects? Check out my blog post!
Comments
Join the conversation
4 comments
-
Absolutely darling! One of the most creative Easter wreaths I've ever seen!
-
So beautiful


Frequently asked questions
Have a question about this project?