


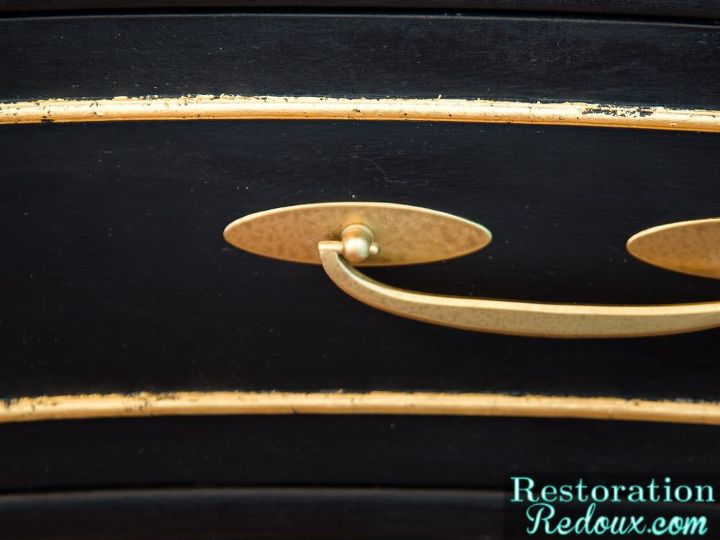
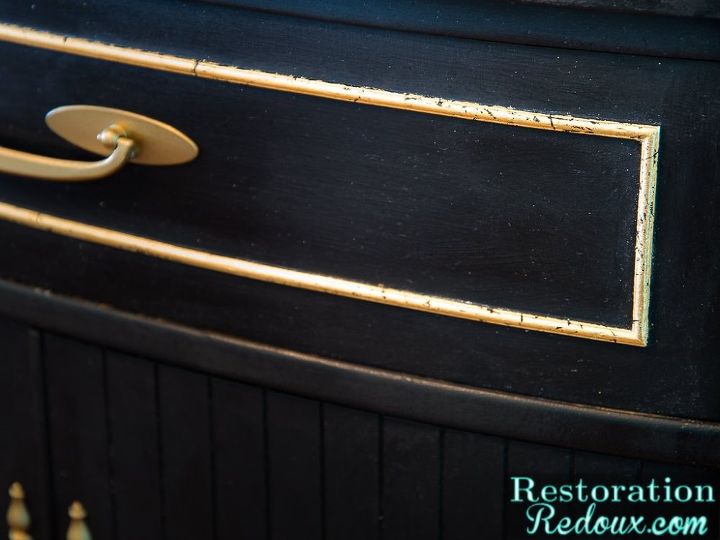
Black Vintage Dresser With Gold Leafing
The lovely and talented Amy Howard brought a handful of bloggers, including myself, down to Memphis for a few days for a training session and some fun pampering. We got to hear her story about how her company began, and how it transitioned into having her own line of paint. She also spent some time teaching us some new techniques, and I got to use some products that were new to me.
Once we got home, she most generously sent us some products to work with on our own, and I thought I would share my first project with you today.
Once we got home, she most generously sent us some products to work with on our own, and I thought I would share my first project with you today.
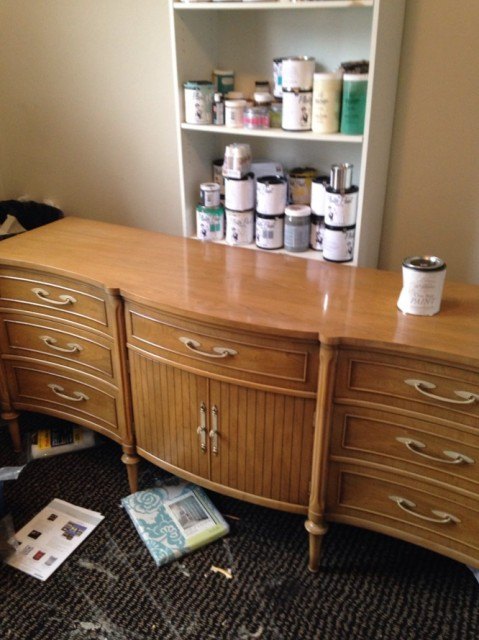
The paint I used is called Amy Howard One Step Paint. It's made in the USA, contains no methanol, no VOCs, and it's certifiable green. You can use it on almost any surface including glass, plastic, wood, formica, and metal.
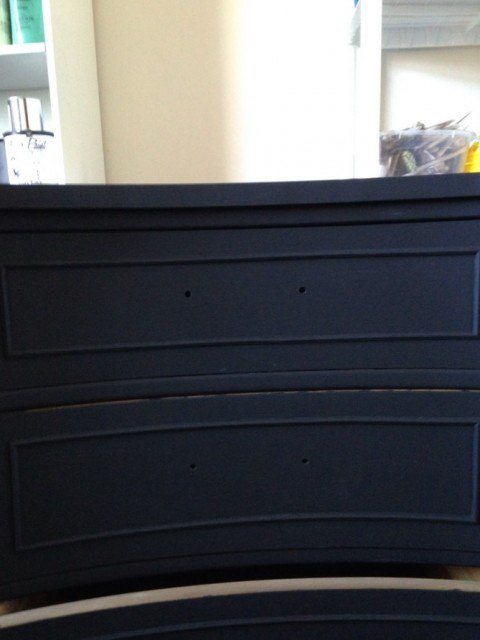
During my first coat (I used Black), I realized why it was called One Step Paint.
I have used tons of different brands of paint, but this one gave me the greatest coverage. With most brands, you have to use 2-3 coats plus touch ups, but with One Step one coat covered almost the entire piece - I just had to touch up a couple of small areas.
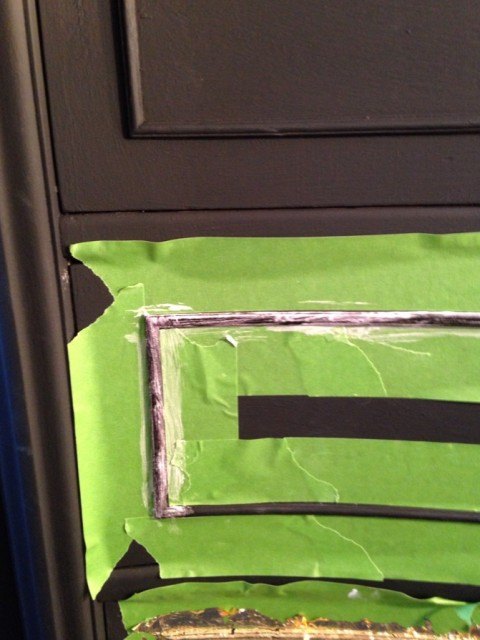
I then went a small section at a time. I lightly painted on a layer of gilding size, which is a special adhesive for the gold leaf.
To see the final project head over to the link down below!

Want more details about this and other DIY projects? Check out my blog post!
Comments
Join the conversation
3 comments
-
Shockingly beautiful. Love this.
-
Nothing more glam that black and gold! Great job :)


Frequently asked questions
Have a question about this project?
No picture of the whole dresser???