


Traditional Easter Eggs
The story of how eggs were dyed in the old days has been passed down but, have you ever tried it yourself? Today you will have a chance to do just that with a step by step tutorial of traditional egg dying.
Many of the supplies you will find at home.
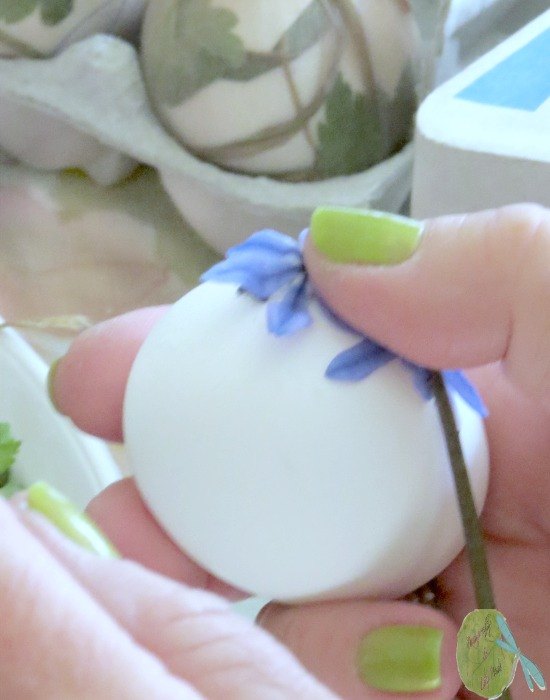
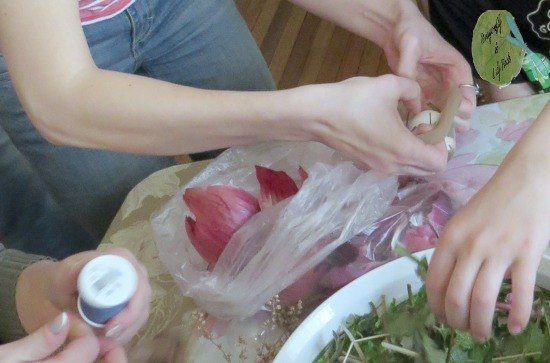
Place the flowers and greens around the egg.
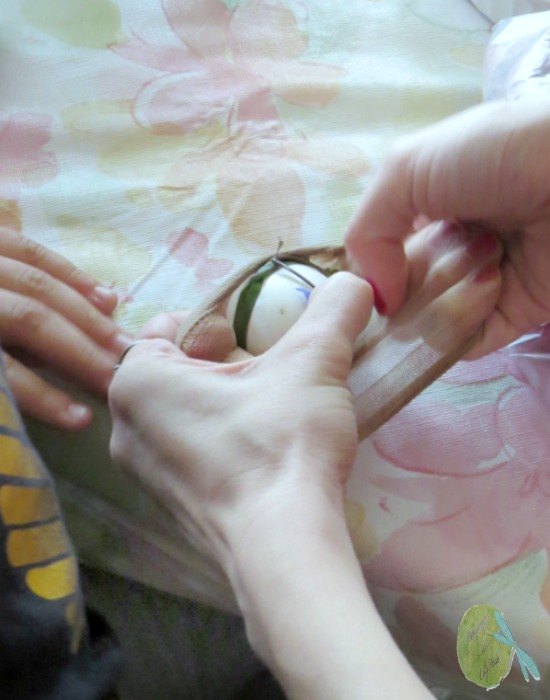
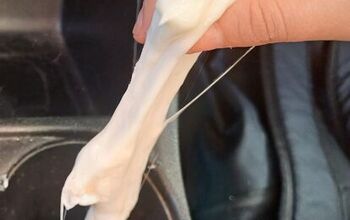
Grab a partner to hold the nylon open for you to place your egg in and twist closed. Then wrap with thread and tie off the open end.
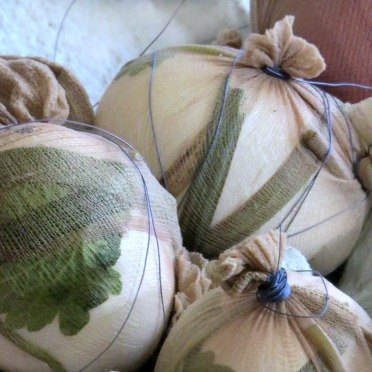
They will look like this when you finish this step.
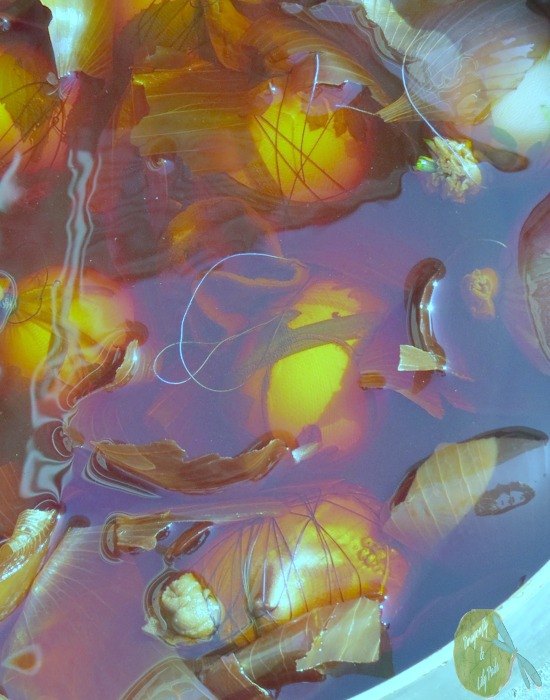
Place the wrapped eggs above into red onion skins with water and boil.
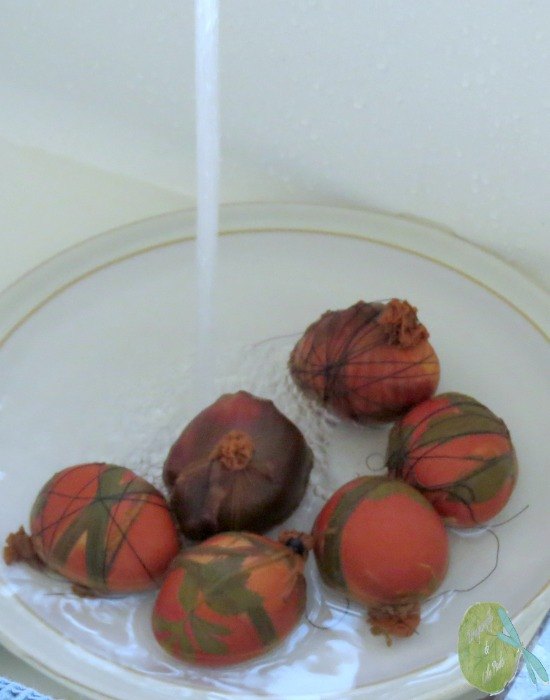
After 20 minutes of boiling remove from heat and cool down with cold water. When cool to touch cut the thread and nylons to reveal the eggs.
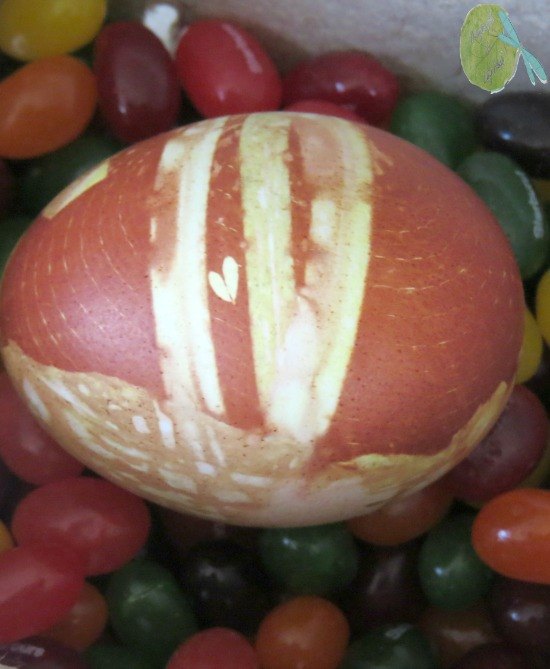
Ta Da! Traditional Easter Egg Dying set in jelly beans for color.

Want more details about this and other DIY projects? Check out my blog post!
Comments
Join the conversation
2 comments
-
So cool! And au natural!
-
I am glad you liked the traditional Easter eggs. It was fun to do too.


Frequently asked questions
Have a question about this project?