


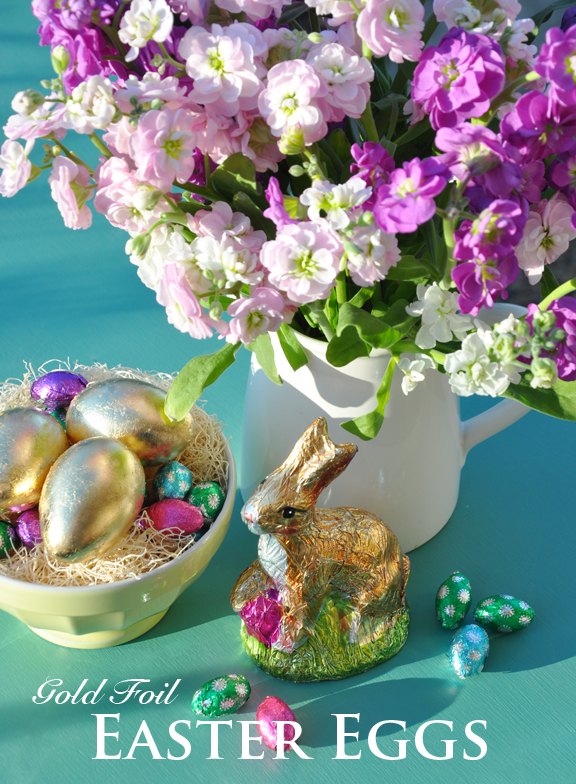
Gold Leaf Easter Eggs
Easy
If you ever wanted to try your hand at gold leafing, this is an easy project with
which you can gain some experience.
which you can gain some experience.
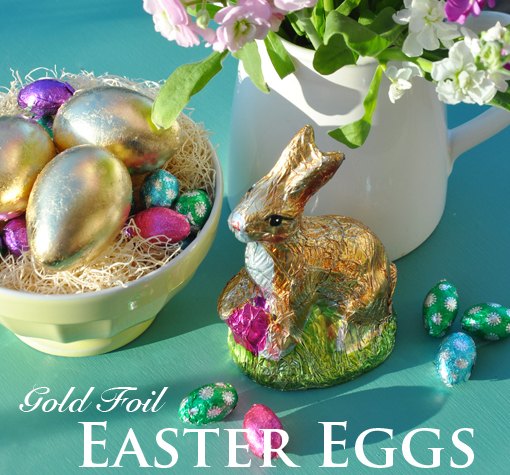
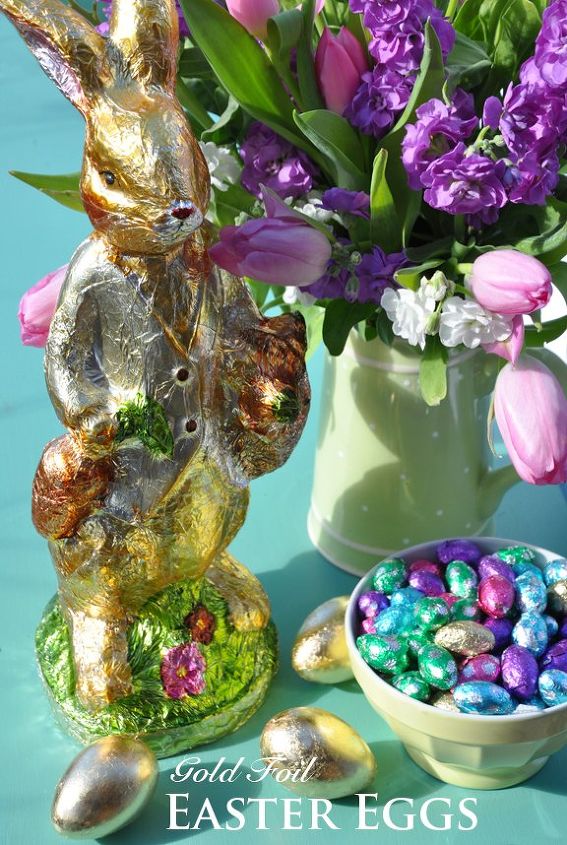
Over the last couple of years I have collected a few Easter bunnies that
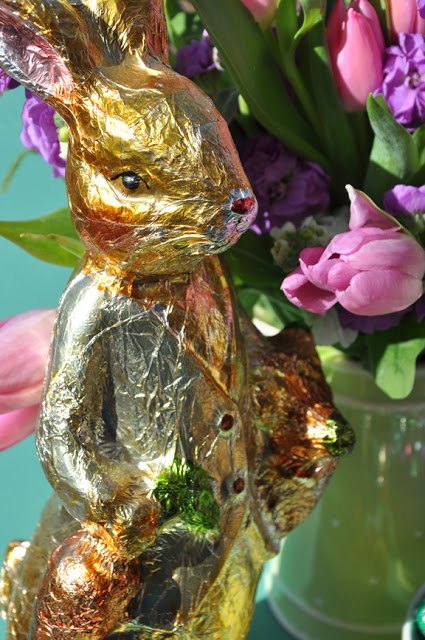
They remind me of childhood Easter presents that included some chocolate
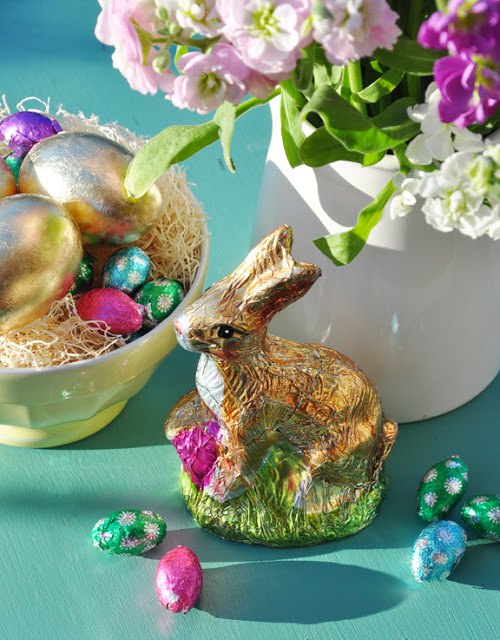
I found my Easter bunnies at Home Sense (I believe the American equivalent is Marshalls).

To create a pretty display this Easter, I thought it would be fun to make some faux foil-wrapped chocolate eggs to sit in a dish or basket alongside my rabbits.
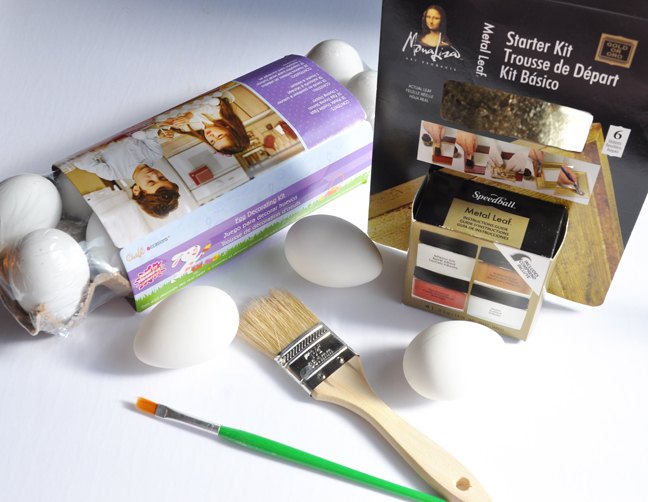
To make these Easter Eggs you need:
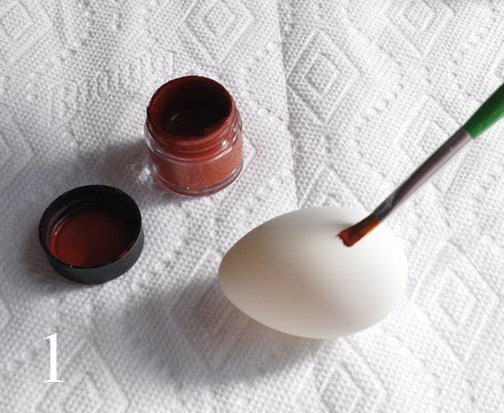
Step 1: Apply a base coat of paint to your plastic egg. The purpose of the base coat is to fill an tiny gaps in the finished gold leaf. In the kit I purchased, this base coat was a burgundy color, but you could use any color you wish to have peak through the gold.
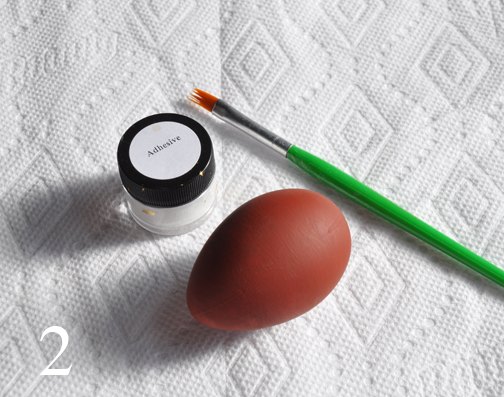
Step 2: Apply the adhesive with a paint brush. Again, I did a half length of each egg at one time just to make things easier.

Step 2: Apply the adhesive with a paint brush. Again, I did a half length of each egg at one time just to make things easier.
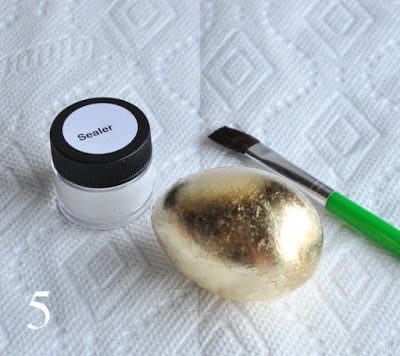
Step 5: Now all you have to do is apply a sealer coat to protect the gold leaf and your done!
Have fun decorating for Easter!
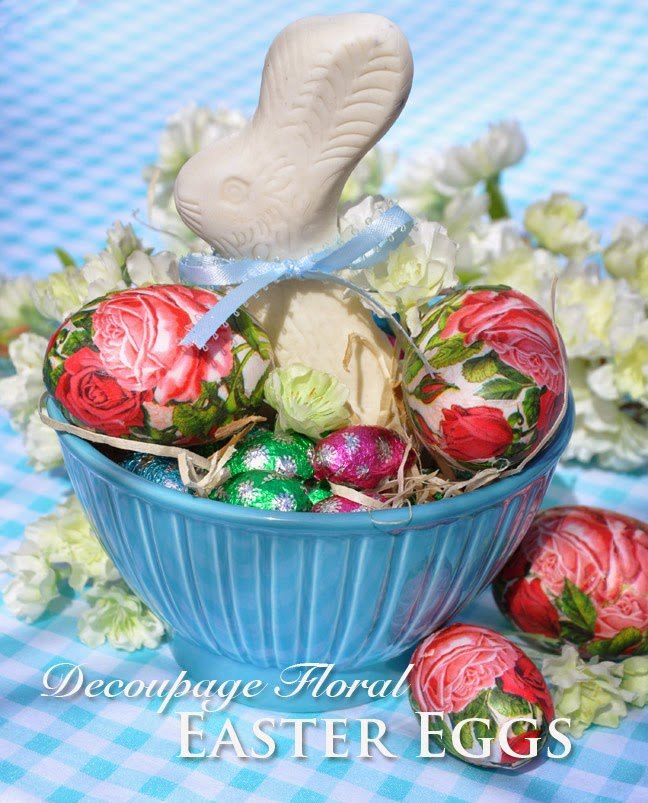
If you want to check out the blog, there is another fun easter egg project you might like to try as well.

Want more details about this and other DIY projects? Check out my blog post!
Comments
Join the conversation
2 comments
-
These are perfect- love gold foil!
-
Thanks Hannah!


Frequently asked questions
Have a question about this project?