


Rustic Pallet TV Stand

by
Dami B
What do you get when you have tons of pallet boards and a bunch of extra stain ..BAM my Rustic TV Stand. This project changed like 4 times, before I ended up with the final idea. Isn't that always the way. I tried to take as many pics as I could when it wasn't me working on it. I'm working on taking pics as I go..
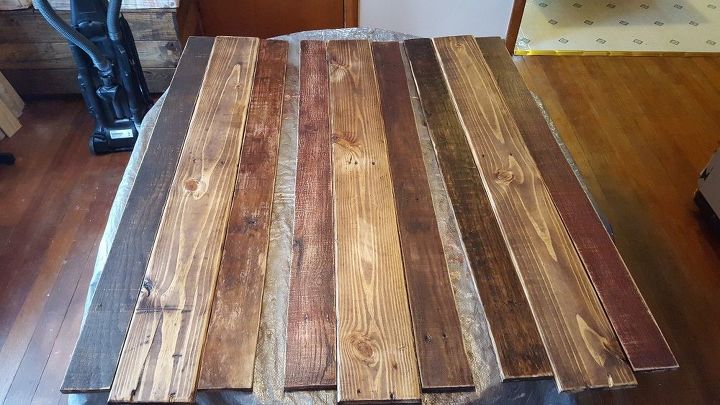
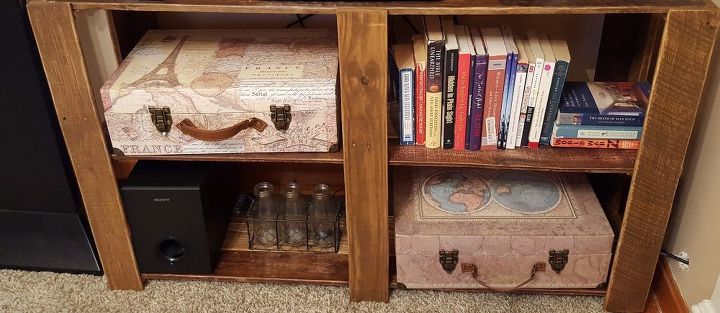
I used 2 different pallets to get different looks. I laid out thinner board pieces ( 3 & 1/2 ") at each end and 1 wider board piece (5 & 3/4") in the middle, for the shelves. I sanded the heck out of them to a "clean" piece to start the staining.
Stained them all with different stains. I mixed and matched to get colors that I liked. I sanded them down a bit to add character.
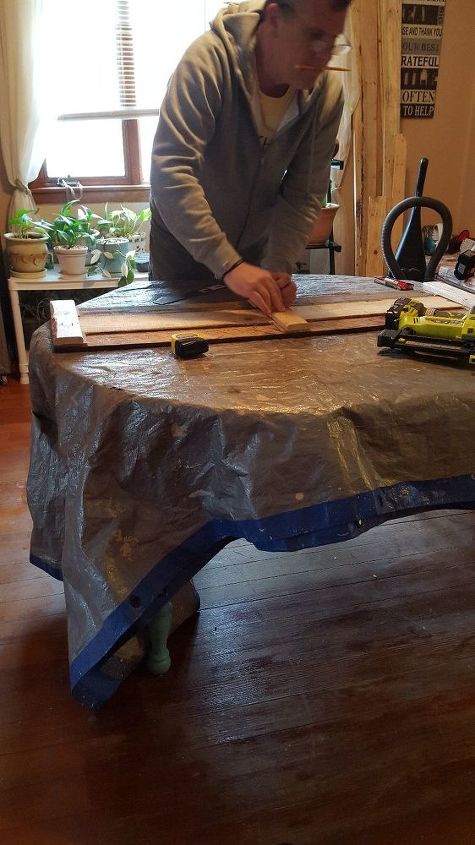
2 & 1/2" strappings were used to attach the boards for the shelves. They were screwed in at each end and one in the middle. I used some shims on the smaller boards, because they were a bit thinner than the wider boards, so they could lay nice and flat.
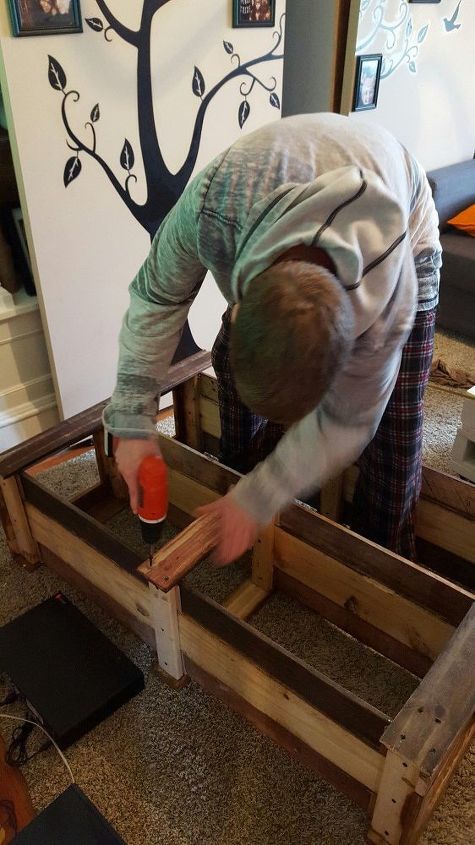
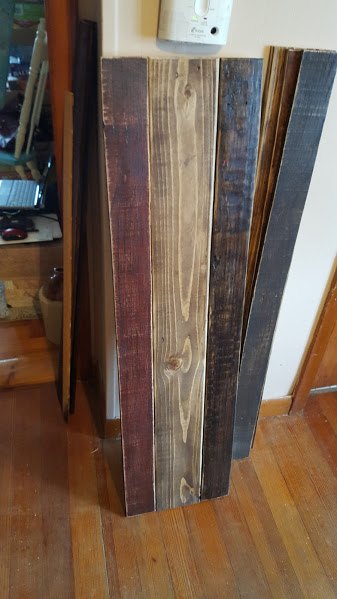
I used more 3 & 1/2" boards to make the 3 front legs and the 3 back legs. The back ones were about 34" long so I could add a wider board in the back. I attached them with screws.
I used the same 2 & 1/2" strappings for the sides. I added the small side pieces to hide the strapping. Stained and sanded and attached with screws, my nail gun wasn't having a good day..so be it.. just kept rolling. You can see I just did an "L" to make the legs... nothing fancy
When my nail gun decided to start working, I attached the front legs with glue and the nail gun.
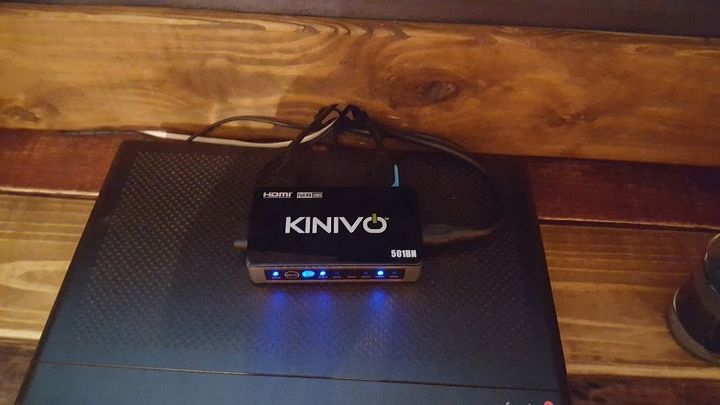
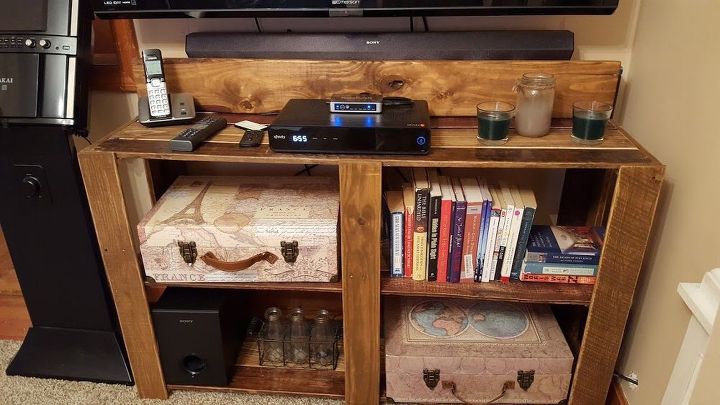
I drilled out a hole in the back-top board to pass the cables through it.
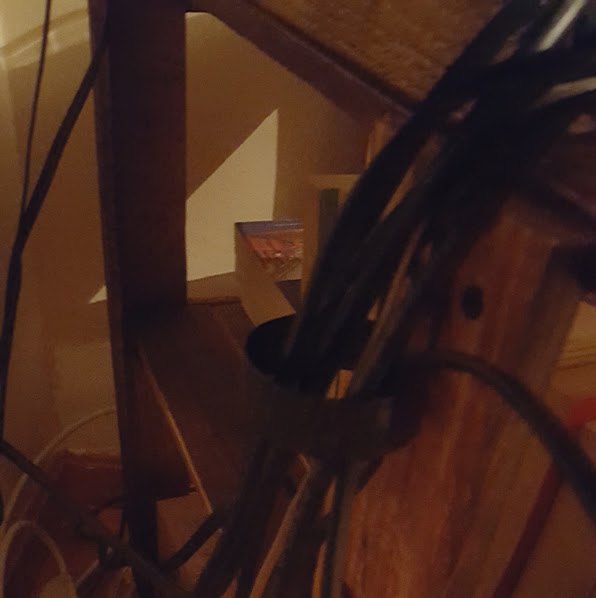
I also gathered the wires and attached them to the middle board with some galvanized steel hanger that I had, I wrapped it in electric tape because I thought it was less ugly.
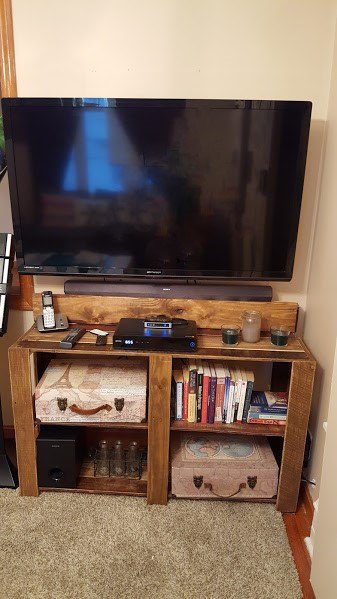
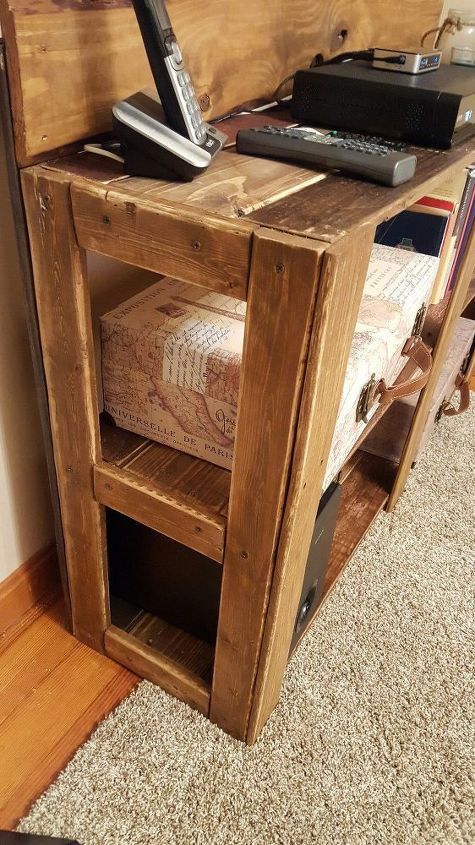
Here she is in all her glory!!
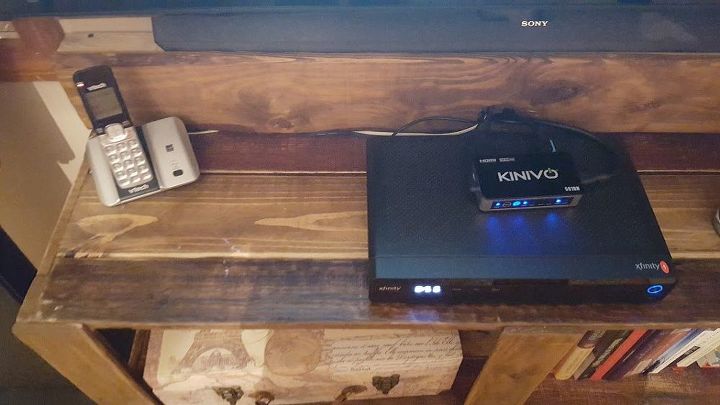
A view from the top.. so pretty.
Comments
Join the conversation
2 of 13 comments
-
Very nice!
-
I also may use it in my bedroom on my dresser for my Radio. That maybe want I need to have some room for wolfs . So I can not wait to try it. Thank you


Frequently asked questions
Have a question about this project?
How high can you make this? Thank you