You a Willy-nilly Sander? Here's How to Sand Wood More Effectively.

Queen Patina
by Queen Patina
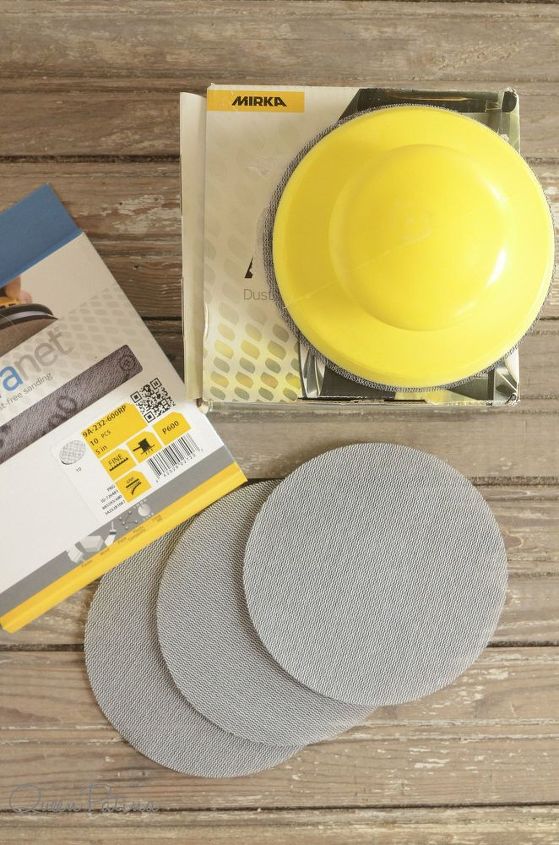
Confession: At my worst, I have been a willy-nilly sander. At best, a guilty, unsure sander, not sure where to start, or with what grit, at what point in the process. I mean: do I have to sand through EVERY grit on a piece? Do I start with 100 grit? Do I stop at 320? Where do I apply stain or a topcoat? Do I sand after every finish application? What grit? How hard? Do I hand sand or use a mechanical sander? So many questions. While I've essentially claimed Farm Boy's orbital sander as my own and have used it to sand down many a piece, with generally good results, I've still been unsure about my heretofore seemingly willy-nilly method.
As I strive for more perfect finishes-think glossy, lacquered pieces that show EVERY flaw-I've made it a point to research how to sand effectively in ways that compliment my hard work and make for a flawless (as possible) finish. While I certainly don't claim to have unlocked all the sanding secrets of the world, here's what I've found in the course of my research.
Understand the sanding process


According to Jewitt in Refinishing Made Simple, it's paramount to understand that "You level the surface with coarse grits, then move on the to finer grits to smooth the surface...the general idea is to work the surface with the sandpaper until the marks are removed and the surface is level. Then switch to a higher grit and sand until the (deeper) scratches are removed" (66).


Makes sense. One works through the grits in sequence in order to remove the marks left by the coarser grain.
Understand the sanding grits and their purposes


Coarse // 80 // Sanding bare wood to level and shape it (Unless you really want to do some wood-shaping, you probably don't need buy this grit)


Medium // 100, 120 // Sanding to further shape the wood and minimize dings, dents, etc. (I have some 120 on hand almost all the time)


Medium Fine to Fine // 150, 180, 220, 320 // Sanding bare wood to prepare it for stain or a topcoat* and ** (I use these grits quite extensively)


*Again, please note that these applications and recommendations vary from woodworker to woodworker (see Bob Flexner's article)


**My (non-professional recommendations!) in purchasing sandpaper for furniture refinishing/restoration would be to purchase grits ranging from 100-320; you'll use these grits to prepare the wood for stain and a topcoat.
Understand your sanding goals


If you want to level wood, e.g., remove all the dents, dings, etc., on furniture you'll want to start with 100 grit and work up from there. I've found that when I use anything lower/coarser on an orbital sander, the coarse grit leaves swirl marks in the wood that are really difficult to remove in subsequent sandings-Flexner calls them "squigglies." I made this mistake on a tabletop I refinished (thankfully, the table was mine and is currently in need of a refinish again, due to two artistic kids who love to make and paint stuff!) While I sanded the top with higher grits, I had a heck of a time removing the swirls-you can still see them, in fact,--and the dark stain settled into the swirl marks, accentuating them even further. Jeff Jewitt, in his superb text Refinishing Made Simple, makes a similar point, noting that most furniture refinishers don't use a grit lower than 100 because they don't need to.


Due the "squigglies," I'm personally not a fan of removing finish from wood with a sander. Mostly from the standpoint that I'm nearly certain that I'll burn through veneer (particularly on the edges of a piece) or create gouges, or other irregularities that will prove difficult to remedy or remove. Hence, I prefer to strip wood with a chemical stripper, like Citristrip and sometimes, if I want to remove a difficult finish more easily, a harsher stripper like Bix.


If the piece you're working on doesn't have large dents and dings, or if you're okay with leaving them as part of the piece, start at 120 or 150 grit. The grit progression would then be as follows: 120, 150, 180, and 220. Interestingly, in researching this woodworking question of mine, there was not a clear consensus among finishing experts on what grit to start with, if one needed to continue through all the grits consecutively, or which grit to end with before one applied a stain or topcoat. Some recommended stopping at 150 grit. Some recommended stopping at 180 grit.


And while this information seems counter-productive, in the end I actually felt better. Perhaps my sanding wasn't so willy-nilly after all. Bob Flexner, another widely recognized finishing expert notes in his article "Rules for Sanding Wood" that "There's also no fixed rule for how to progress through the grits. Sanding is very personal...You'll have to learn by experience what works best for you."


However, when you're standing in the aisle at the DIY store, or ready to pull the trigger on some sweet sanding materials online, how to to know which grit to buy??
If you click through to the blog post, you'll find a list of resources I consulted in my self-education, as well as few other things to consider when you begin the so important prepping process if you really desire that flawless, to-die-for final finish.


Thanks for reading!
Queen Patina
Want more details about this and other DIY projects? Check out my blog post!
Go
Frequently asked questions
Have a question about this project?
Comments
Join the conversation
Next