


From Drab to Fab-DIY Ottoman Bench
$30.00
1 Hour
Easy
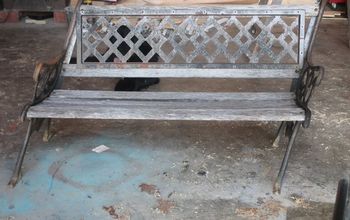
It seems we tend to do a lot of DIY projects on our blog but if you remember Michelle and I just recently moved so it seems that the projects never end. With that being said today's post is a super simple one and it only cost me $30, which made it even better and only took me an hour, so it's a project anyone can do if they have the time and are wanting to redo a piece of furniture.
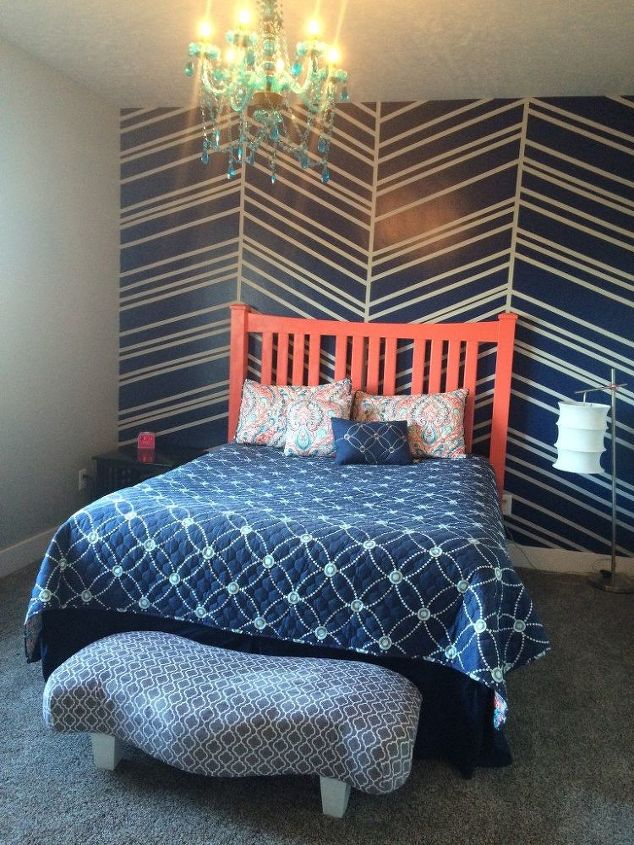
I have been working slowly on my daughter's room and have loved how each project has come together, unfortunately I can't tell if it's the room of my choice or if she loves it too. Regardless it is adorable and is going to last her for forever. Today's post is another project for her bedroom and has already been sitting in her room waiting to be finished.
I have been working slowly on my daughter's room and have loved how each project has come together, unfortunately I can't tell if it's the room of my choice or if she loves it too. Regardless it is adorable and is going to last her for forever. Today's post is another project for her bedroom and has already been sitting in her room waiting to be finished.
Supplies need:
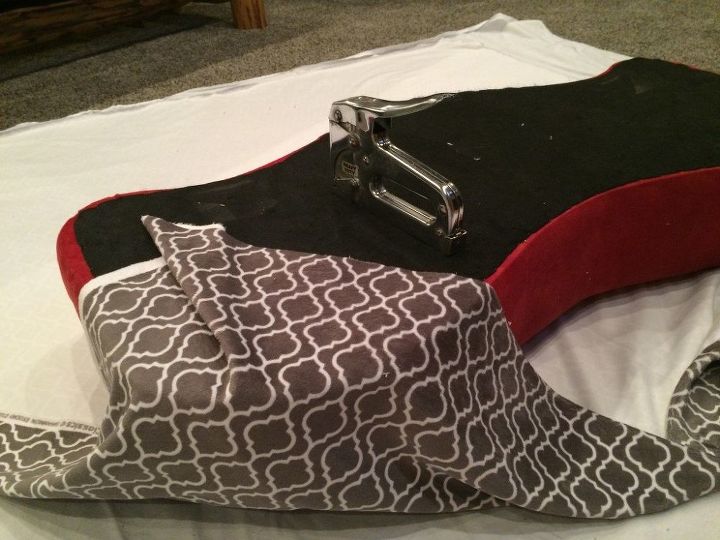
When I went shopping for fabric I wanted upholstery fabric but I didn't want to drive 30 minutes to have to buy it so I went to 2 of the local fabric stores and decided on minky which in my opinion is risky. The lady cutting my fabric suggested interfacing but that wasn't going to work or even zigzag stitching the edge so it didn't fray, but after talking to Misty she suggested folding over the edge and that would give me a nice clean edge and reduce the risk of fraying. I was also concerned about how stretchy the minky was but it actually worked out really well due to the curves on my bench. I also laid my bench and minky out on an old sheet to reduce the mess that minky makes so that I wouldn't have the mess all over my house.
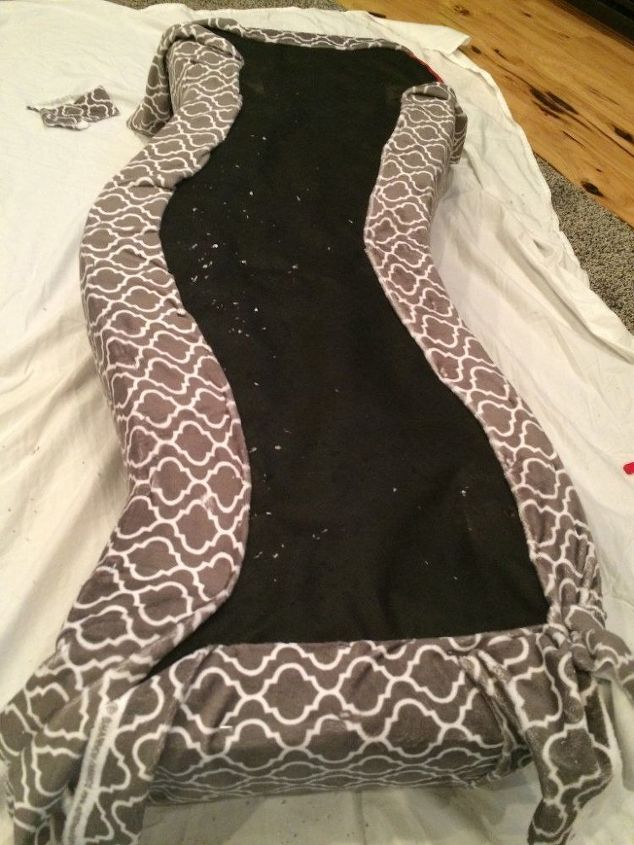
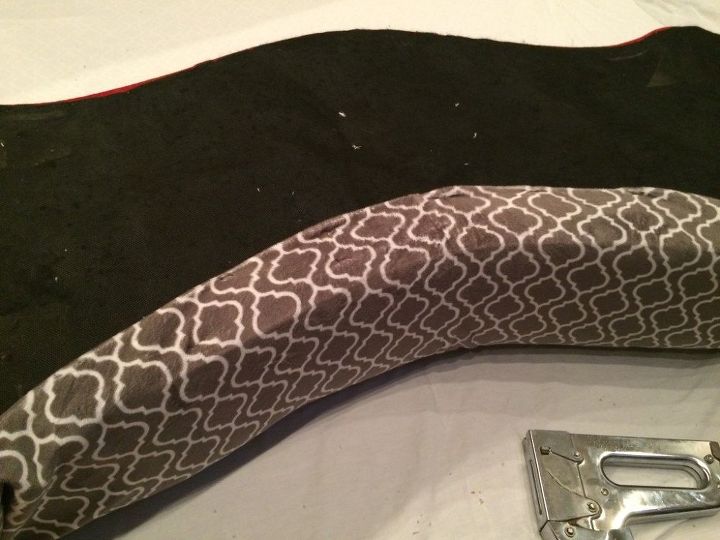
I just stapled all around the edges close to the top and the bottom so that it would have a lot of support for all of those late night chats with mom and girls nights with her friends. It went fast and painless till I got to the corners and that's where I struggled. I spent about 15 minutes on one corner and decided rather than spend a lot of time on one I would do all the easy sides and save all the corners for the end.

Want more details about this and other DIY projects? Check out my blog post!
Comments
Join the conversation
1 comment
-
Love the design! Kind of retro, but modern. Great job. Love the random Chevron wall.


Frequently asked questions
Have a question about this project?