


Mom and Her Pallet Wood Chair Diy
What do moms and pallet wood chairs have in common?
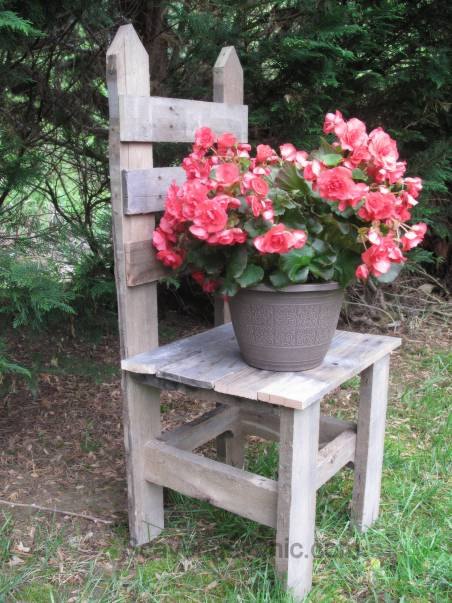
About 10 years ago (or more) my mom came upon this chair with rough wood, aged patina, very rustic in antique store/craft store....perfect for a garden she was creating in the woods
My mom had quite the green thumb and loved creating new garden beds. The little garden in the woods was soon filled with plants that loved the shade...it was her secret garden.

She is so like me (or is it, I'm so like her), that when she first saw the chair, her first inclination was, "I can make that". So, she gets out her little piece of paper and draws a rough sketch of her future garden chair.
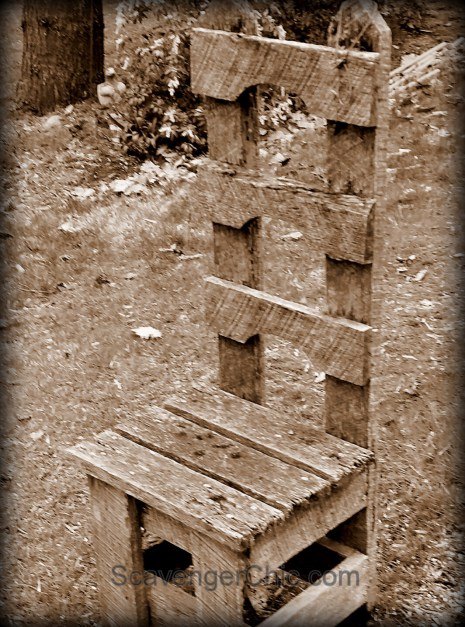
She was not deterred, and I believe she finally found the wood of her dreams at a lumber mill. My dad put the chair together, and it was the perfect chair for her secret garden in the woods.
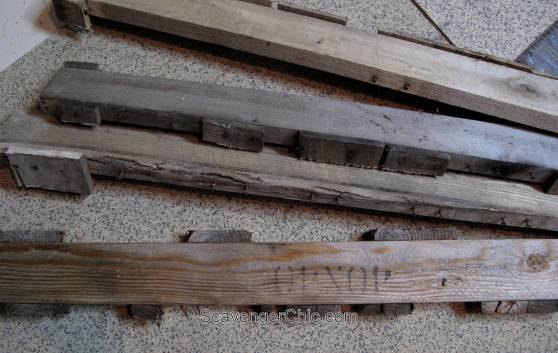
To make your own pallet wood chair, the bulk of the chair is made up of the side rails of pallets. Look for pallets that don't have the notches for the fork lifts...in other words plain 24's.
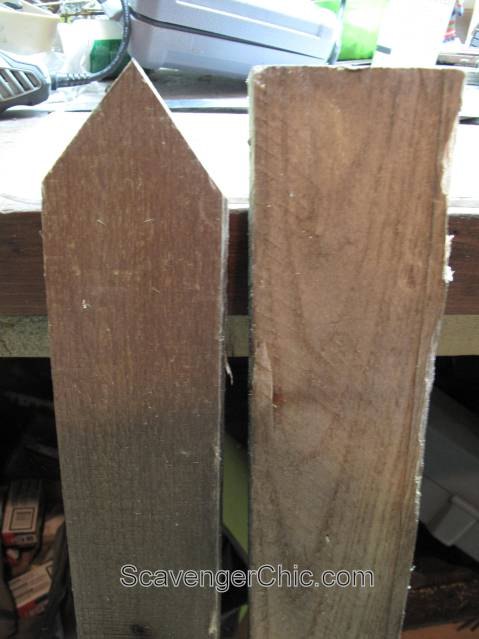
Starting with the back of the chair you'll need 2 full length side pieces of the pallets. Mine were 42. Cut them to the same length and cut the corners so it has a picket fence look.
Cut 2 more pieces, 16 in height. These will be the front legs of your chair.
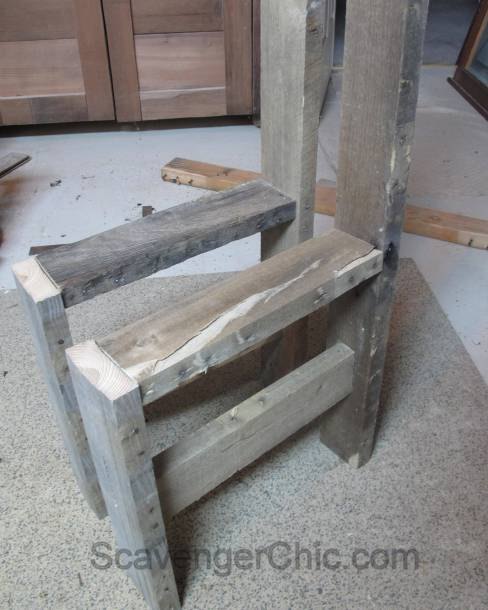
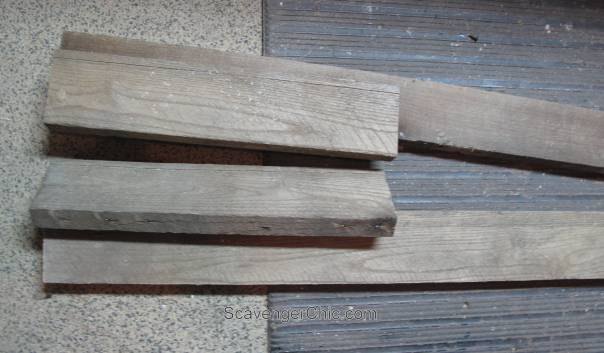
Cut 4, 13 1/2 inch pieces from those pallet sides. These are nailed and screwed in as shown above.
To see how I got from the above step to the final, you'll just have to visit me at the link below where you'll find many more pictures, tips and tricks.

Want more details about this and other DIY projects? Check out my blog post!


Frequently asked questions
Have a question about this project?