


Painted Jewelry Cabinet ~ Thrift Store Makeover
2 Materials
$20
1 Day
Medium
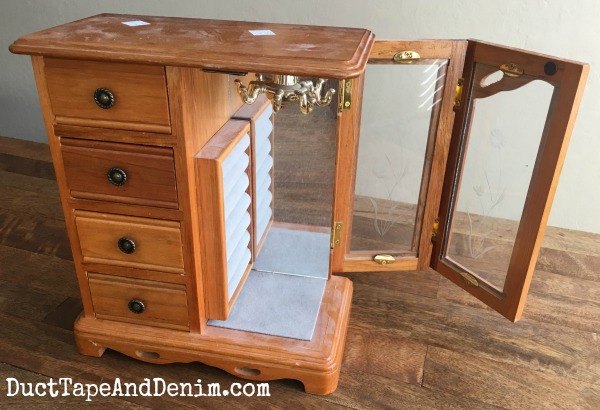
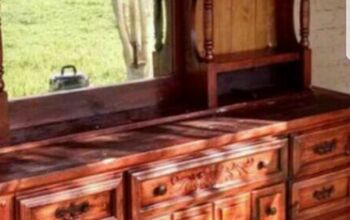
Today I'm sharing another thrift store makeover. I found this old jewelry cabinet at Goodwill a few months ago. It was in good condition but I didn't really like the color of the wood.
You can see more of my jewelry cabinet makeovers on the blog.
Here's what it looked like before I painted it.
You can see more of my jewelry cabinet makeovers on the blog.
Here's what it looked like before I painted it.
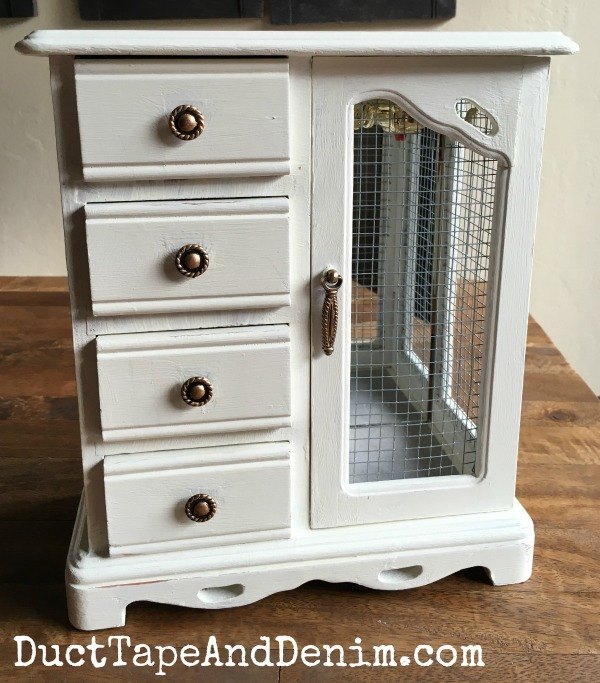
All I did for prep was to dust it off. I used a chalk/mineral type paint that is super easy. I love using these paints. Probably because I'm lazy. I don't like sanding.
Here's what the inside looks like. Luckily, the felt inside was clean. I didn't do anything but dust it off.
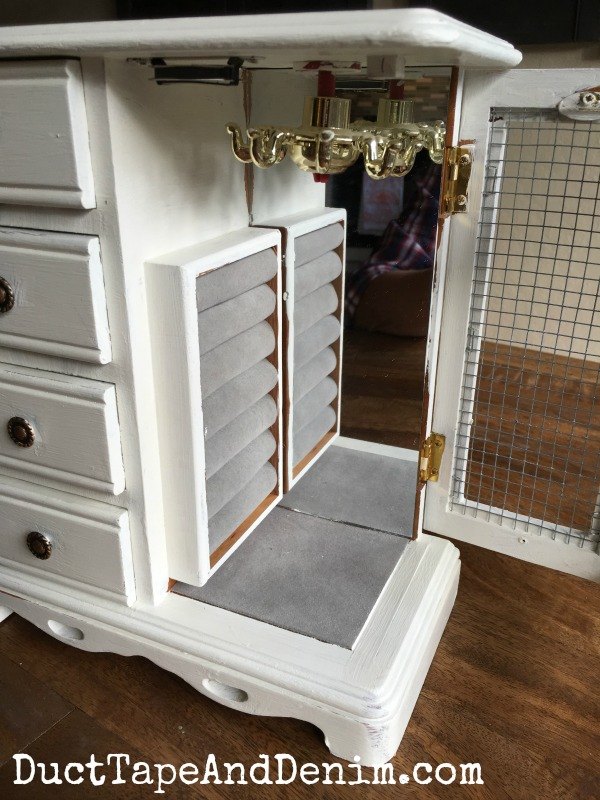
You can also see how I put in the hardware cloth in the door.
You can see a list of all the supplies I used and more thrift store makeovers on my blog, Duct Tape and Denim..

Want more details about this and other DIY projects? Check out my blog post!
Comments
Join the conversation
2 of 7 comments
-
Turned out awesome! I could use one of these lol
-
Thanks, ladies!


Frequently asked questions
Have a question about this project?