


How to Make Vintage Inspired Tags
5 Materials
It's time for another Monthly DIY Challenge! This month's theme was Air-Dry Clay and let's just say my project did not turn out as imagined. My idea was great (or at least I thought), but my execution.....not so much. With that being said, I still felt it was important to share that not all projects turn out as planned. Where there things I would have changed? Yes, but that's the fun part of DIY'ing, crafting and learning.
You can find the full tutorial HERE.
You can find the full tutorial HERE.
I used Crayola Air-Dry Clay simply because that's the brand our local craft store carried. The rest of the supplies I already had on hand, so the entire project cost less than $5.00.

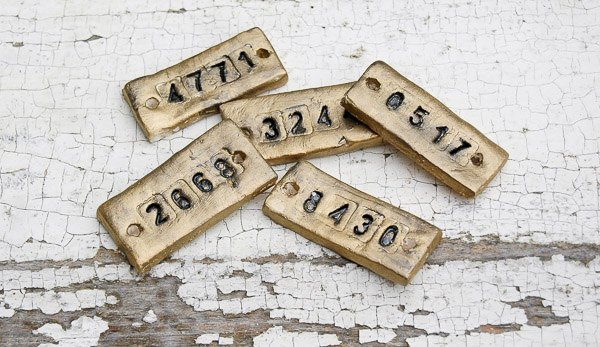
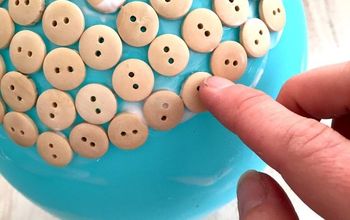
After smoothing out my clay I used a putty knife to cut and shape the tags. Once I was happy with the shape I stamped each tag with various numbers then let them dry for at least 24 hours.

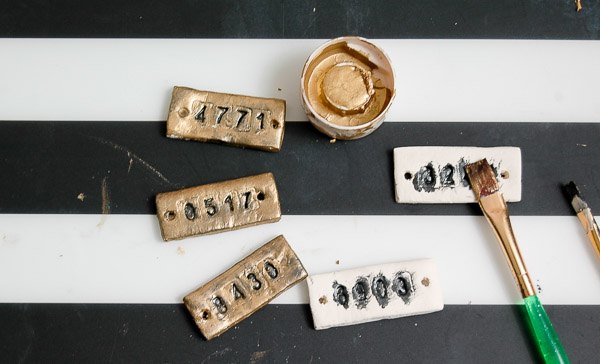
After the clay was fully dry I applied a combination of metallic paints to give each one the perfect aged look.
You can find the full tutorial (including tips for working with clay) over on my blog, Little House of Four. Simply follow the link below!

Want more details about this and other DIY projects? Check out my blog post!
Comments
Join the conversation
2 of 6 comments
-
What a cute idea!!
-
i think they are adorable and thanks for sharing


Frequently asked questions
Have a question about this project?