


Painted Globe & How to Transfer Type

by
Lori Greco
2 Materials
Paint a globe for a fun, modern look. Add type to make it more personal and meaningful.
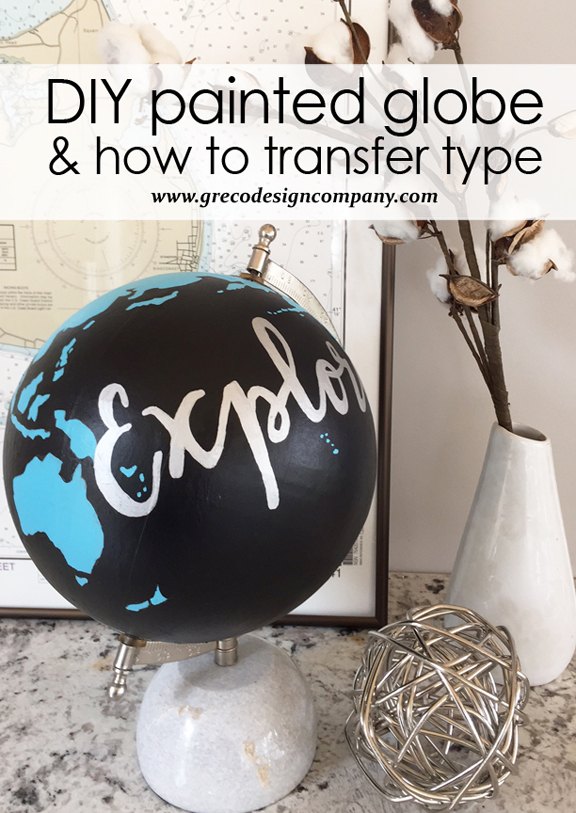
Globes and maps are such fun design elements. I saw this globe at Anthropologie and thought my old looking globe needed a makeover. So I decided to paint it and turn it into a modern little piece of art. I’ll show you how I did this and also how to add type to the globe – or any item – to make it more personal and meaningful.
This project is super fun and it’s something you can do with your kids. And everyone gets a geography lesson while you create!
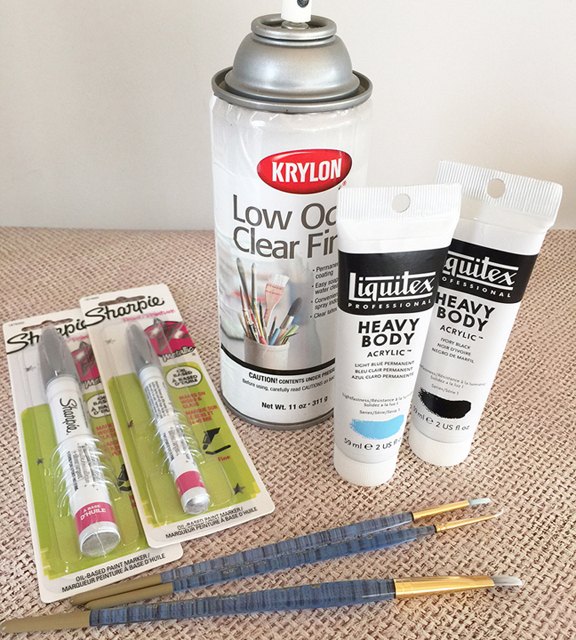
You’ll need the following materials:
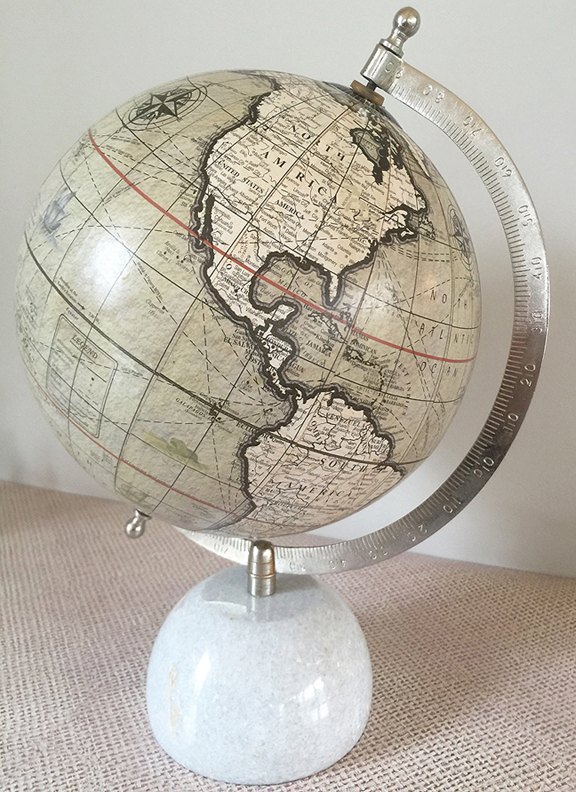
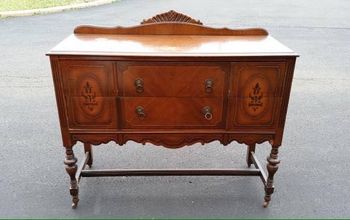
And of course, you need a globe. I got mine on sale at Pier 1 Imports – and I love the marble base. It’s no longer available but you can get similar ones here. You could also find some in antique stores. Be sure your globe doesn’t have a high gloss finish. The paint won’t adhere as well.
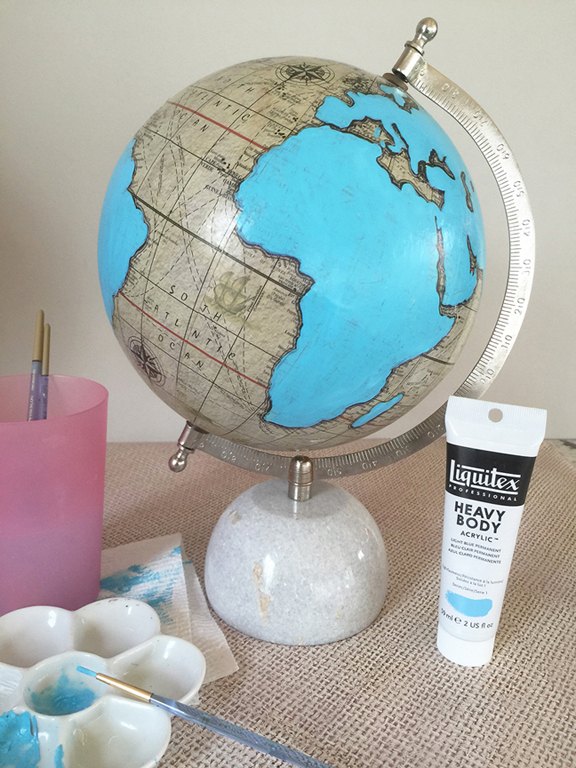
First, use your land paint color and paint all the land areas on your globe. I didn’t fuss too much on the details and edges. Some of the smaller islands got submerged into the ocean as I was going for a more general shape of the continents. This certainly won’t be an exact world representation, but get as close as you can. I used Light Blue and it definitely needed another coat. I recommend waiting until after you paint the water color for your additional coats since the black will add a clean edge.
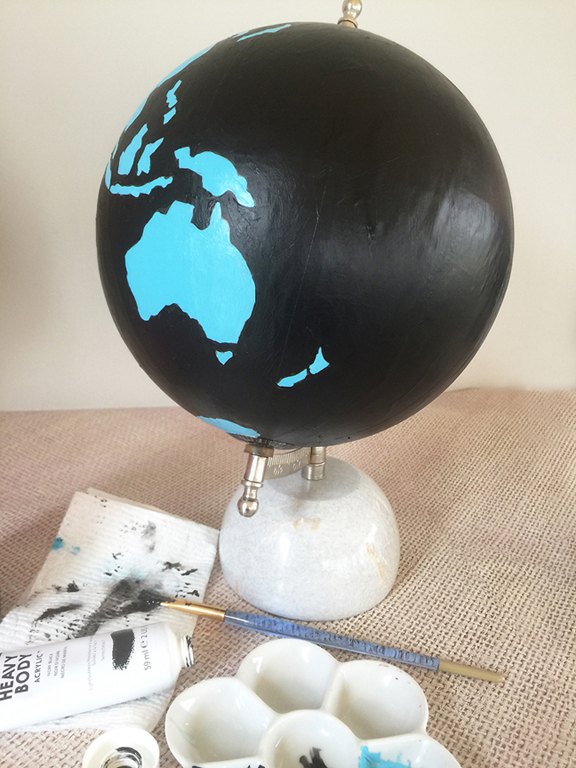
Once all the land is painted, use your second color to paint all the water areas. Paint your second coats of both colors and let dry. I went back after the black was dry and added some of the smaller islands right on top of the final coat.

When all your paint is dry, spray the entire globe with your Acrylic Coating. Let dry.
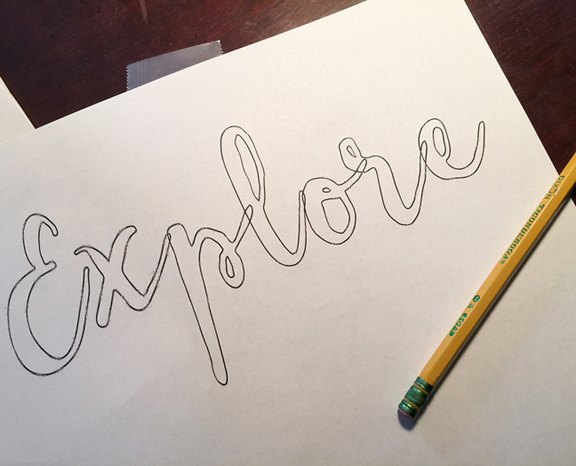
If you want to add type to your painted globe here’s a technique on how best to do it. First, print out your type on your computer using the font and size you choose. Be sure to make the type print as an outline. I chose the word “Explore” but there are so many fun travel, world, and adventure sayings and quotes that would work too. You can also label the different locations on your globe – or locations that are meaningful to you.
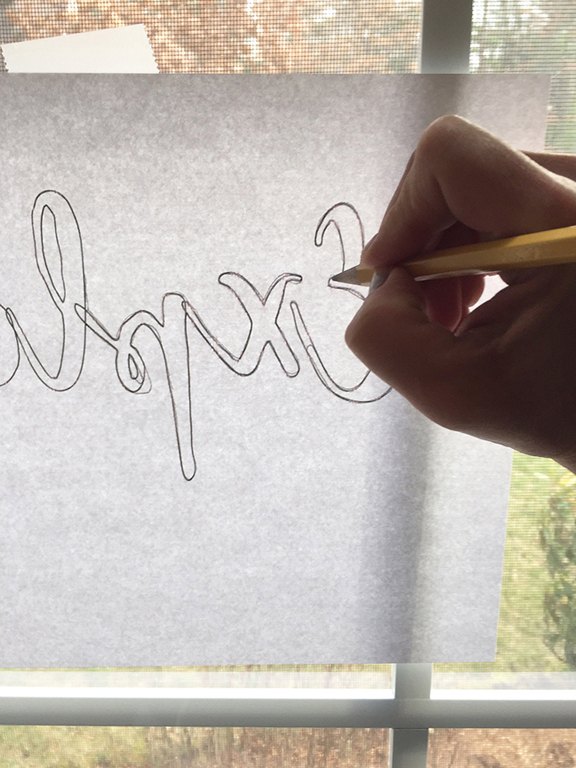
With a pencil, trace the outline of your word on the BACK SIDE of the paper. I find taping the paper to a window makes it easier to see through it and trace it.

Then place the paper PENCIL SIDE DOWN (right reading) on your globe where you want it to go (trim it out if needed). Using your pencil, rub the outline of the type on the FRONT SIDE. This will transfer the pencil markings from the BACK SIDE of the paper onto your globe.
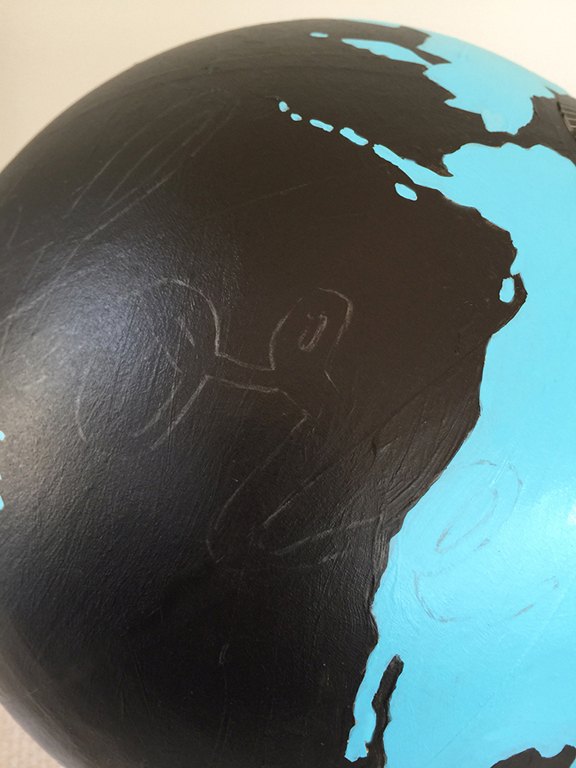
The pencil markings will be light but will serve as the perfect guide for the final step.
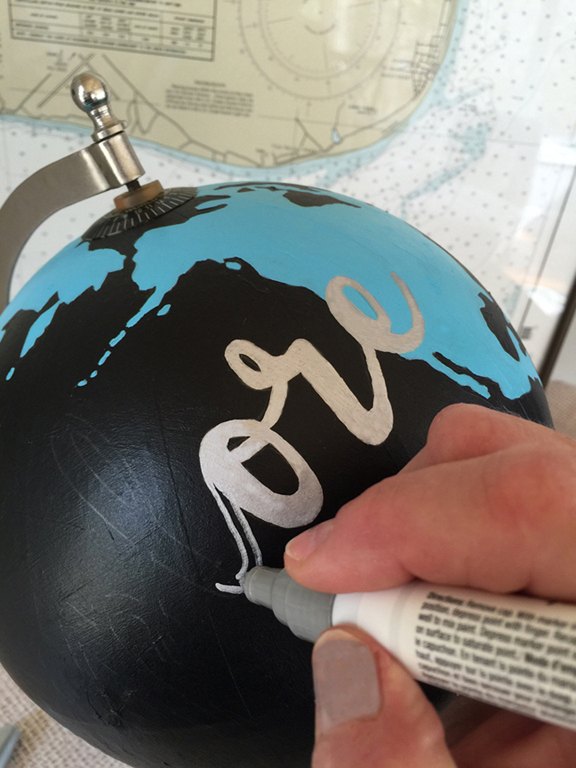
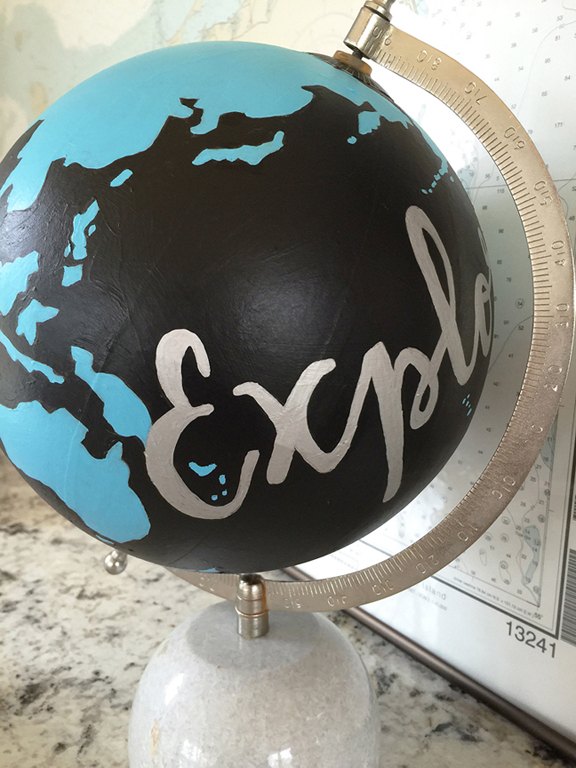
Next, fill in the type with your oil based Sparpie. I used silver to match the metal on my globe but I love the look of gold too if that works for your globe.

This is such a fun and easy DIY project that you can do with your kids and learn in the process. I hope you enjoyed it. My graphic “Explore” globe is definitely an eye-catching element in the room!
Want more details about this and other DIY projects? Check out my blog post!


Frequently asked questions
Have a question about this project?